


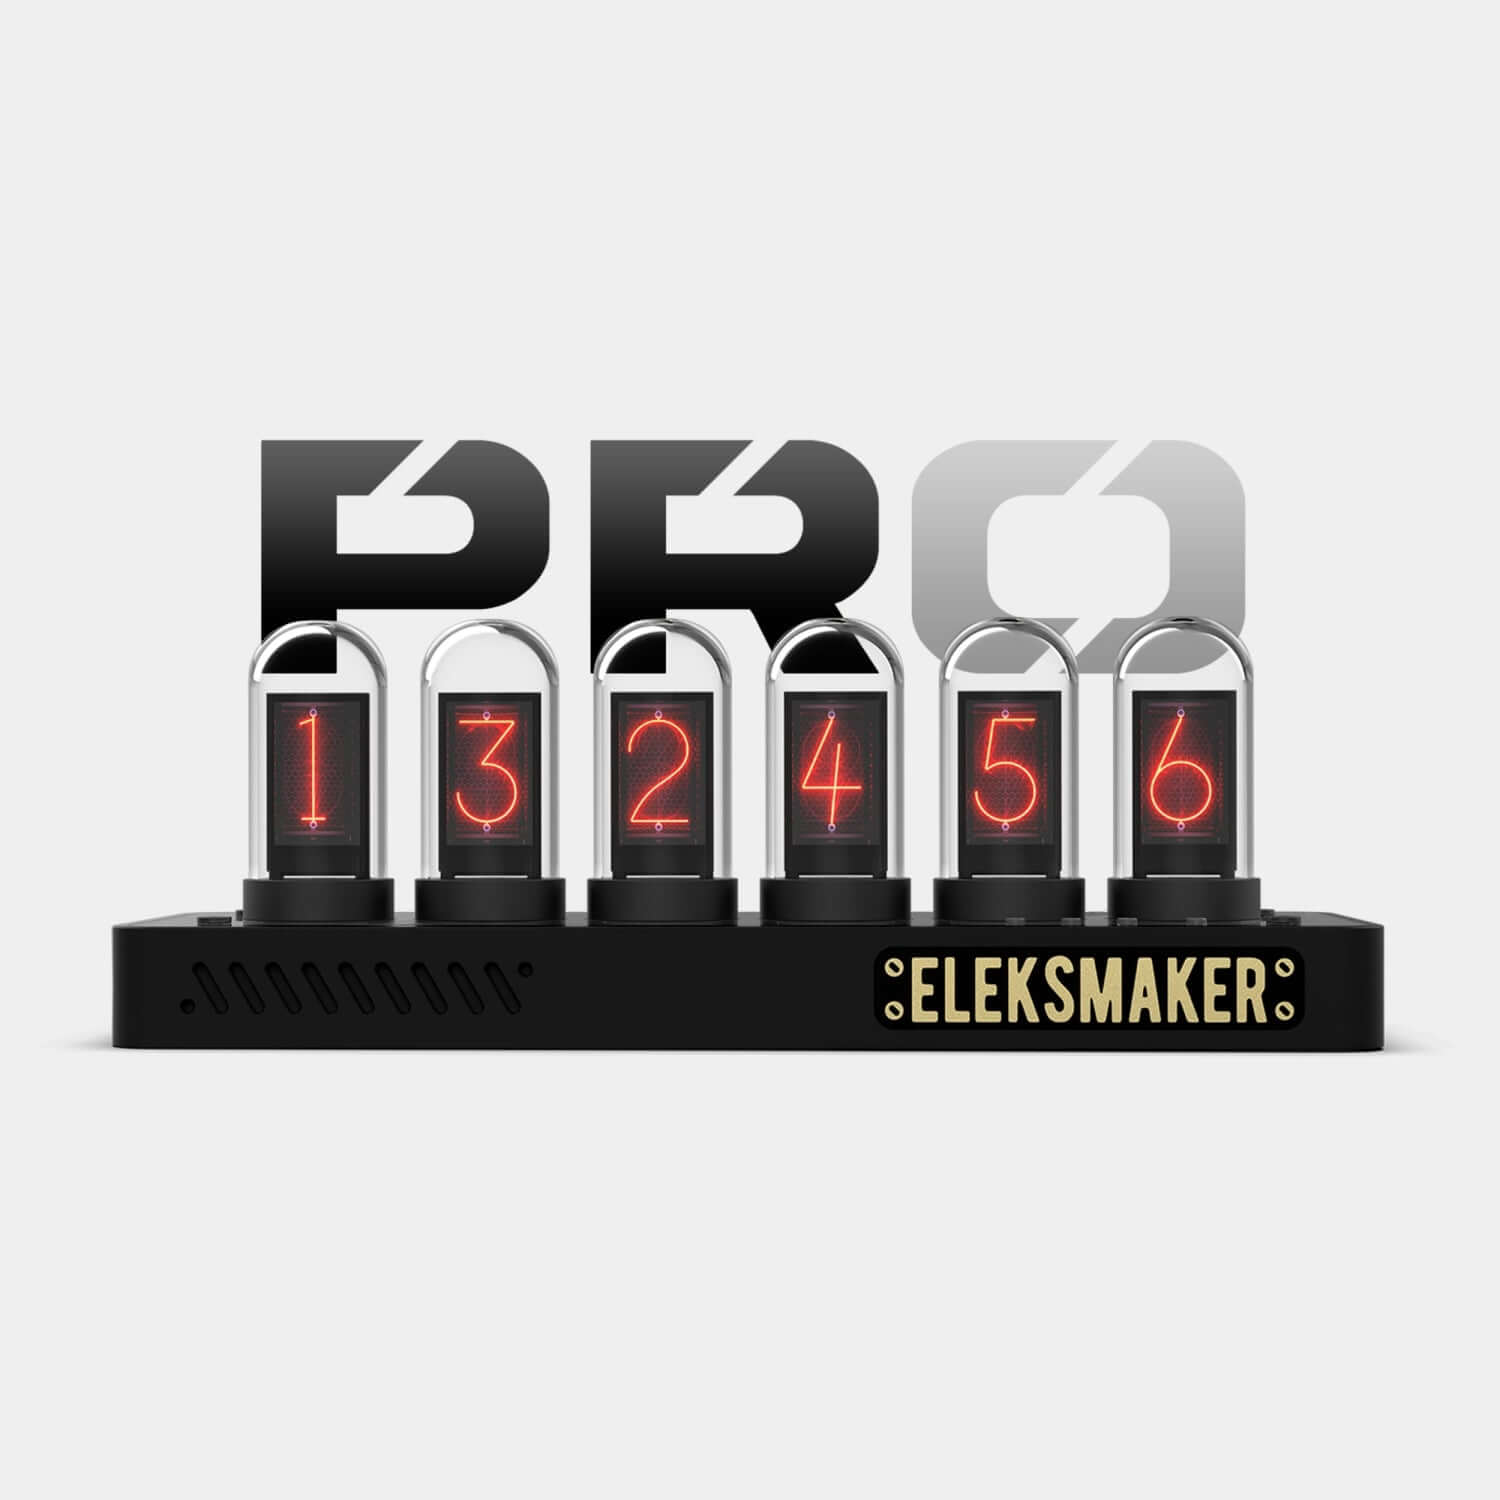

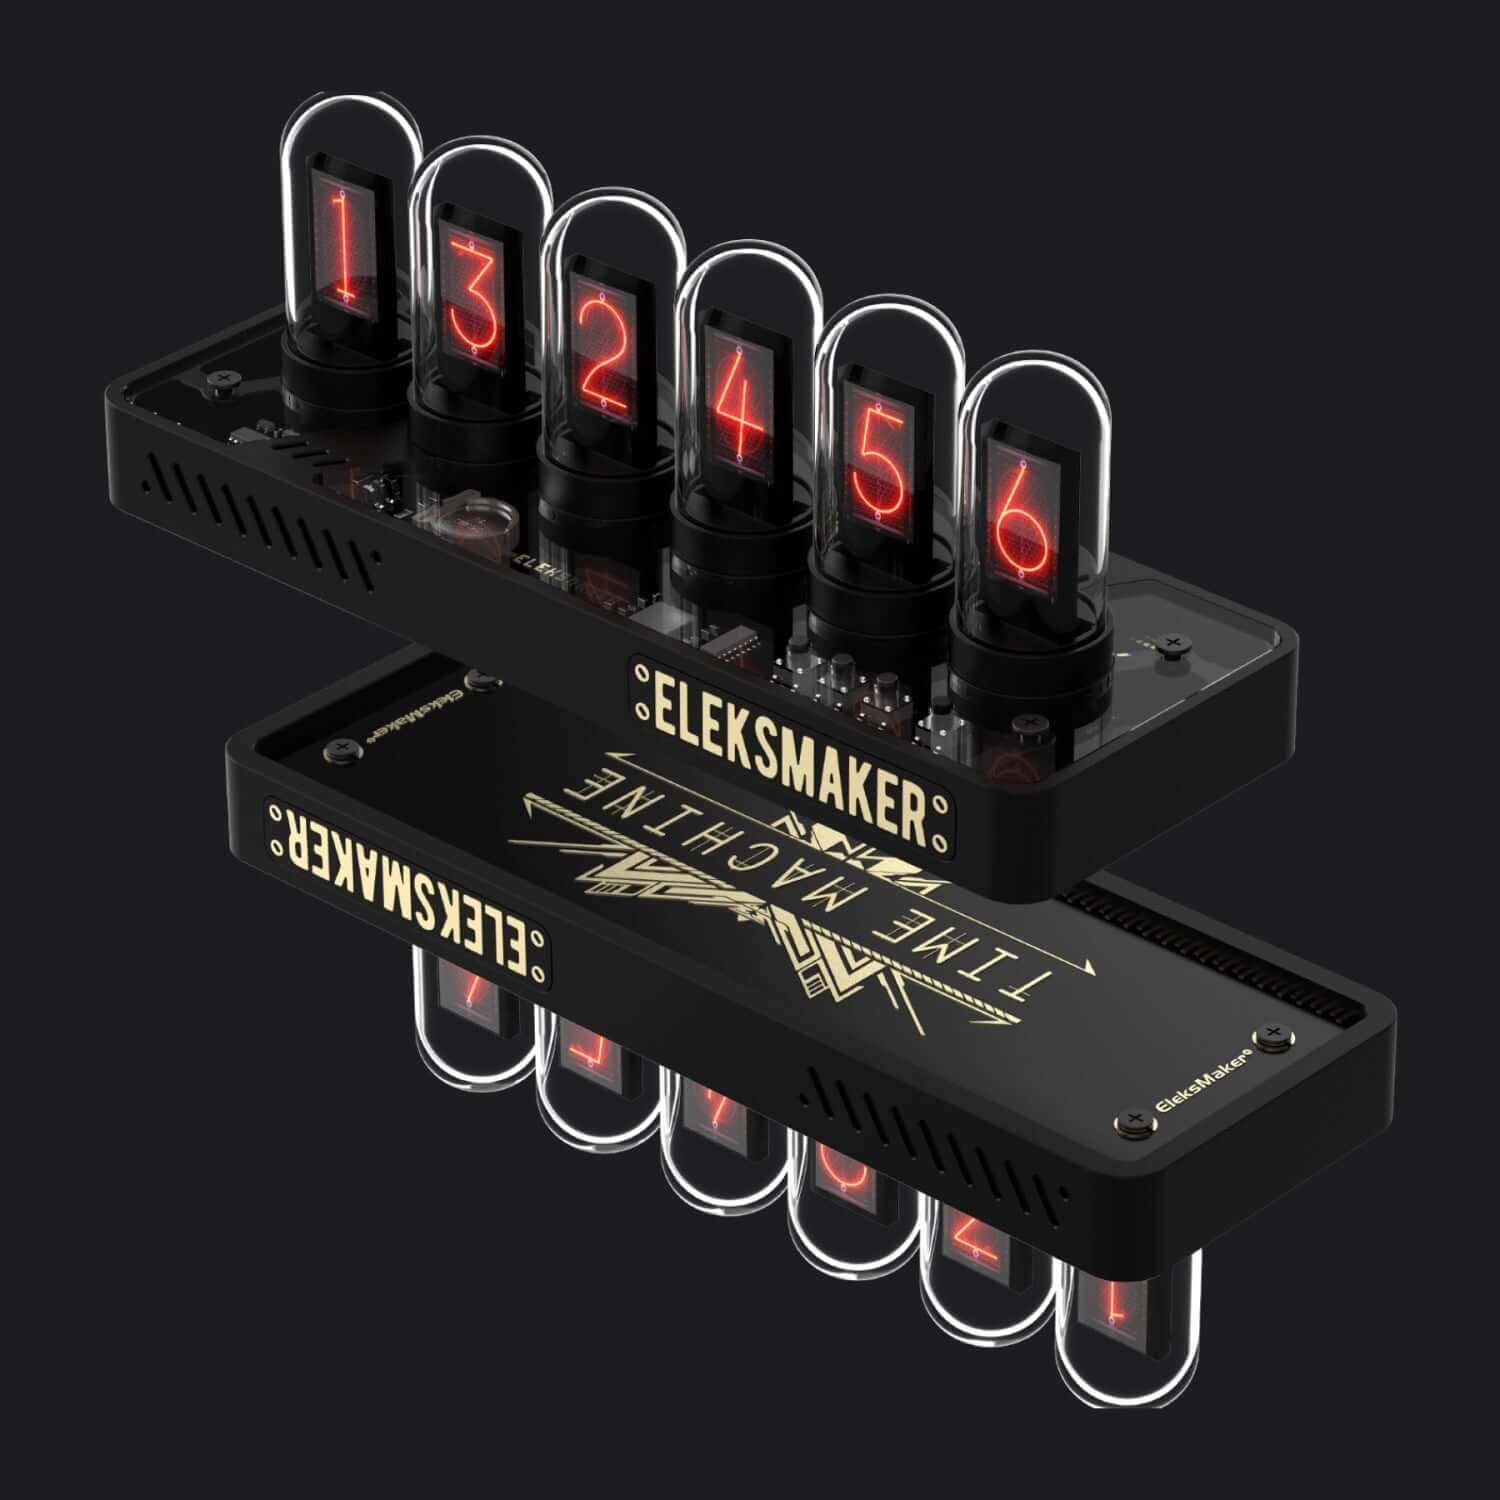
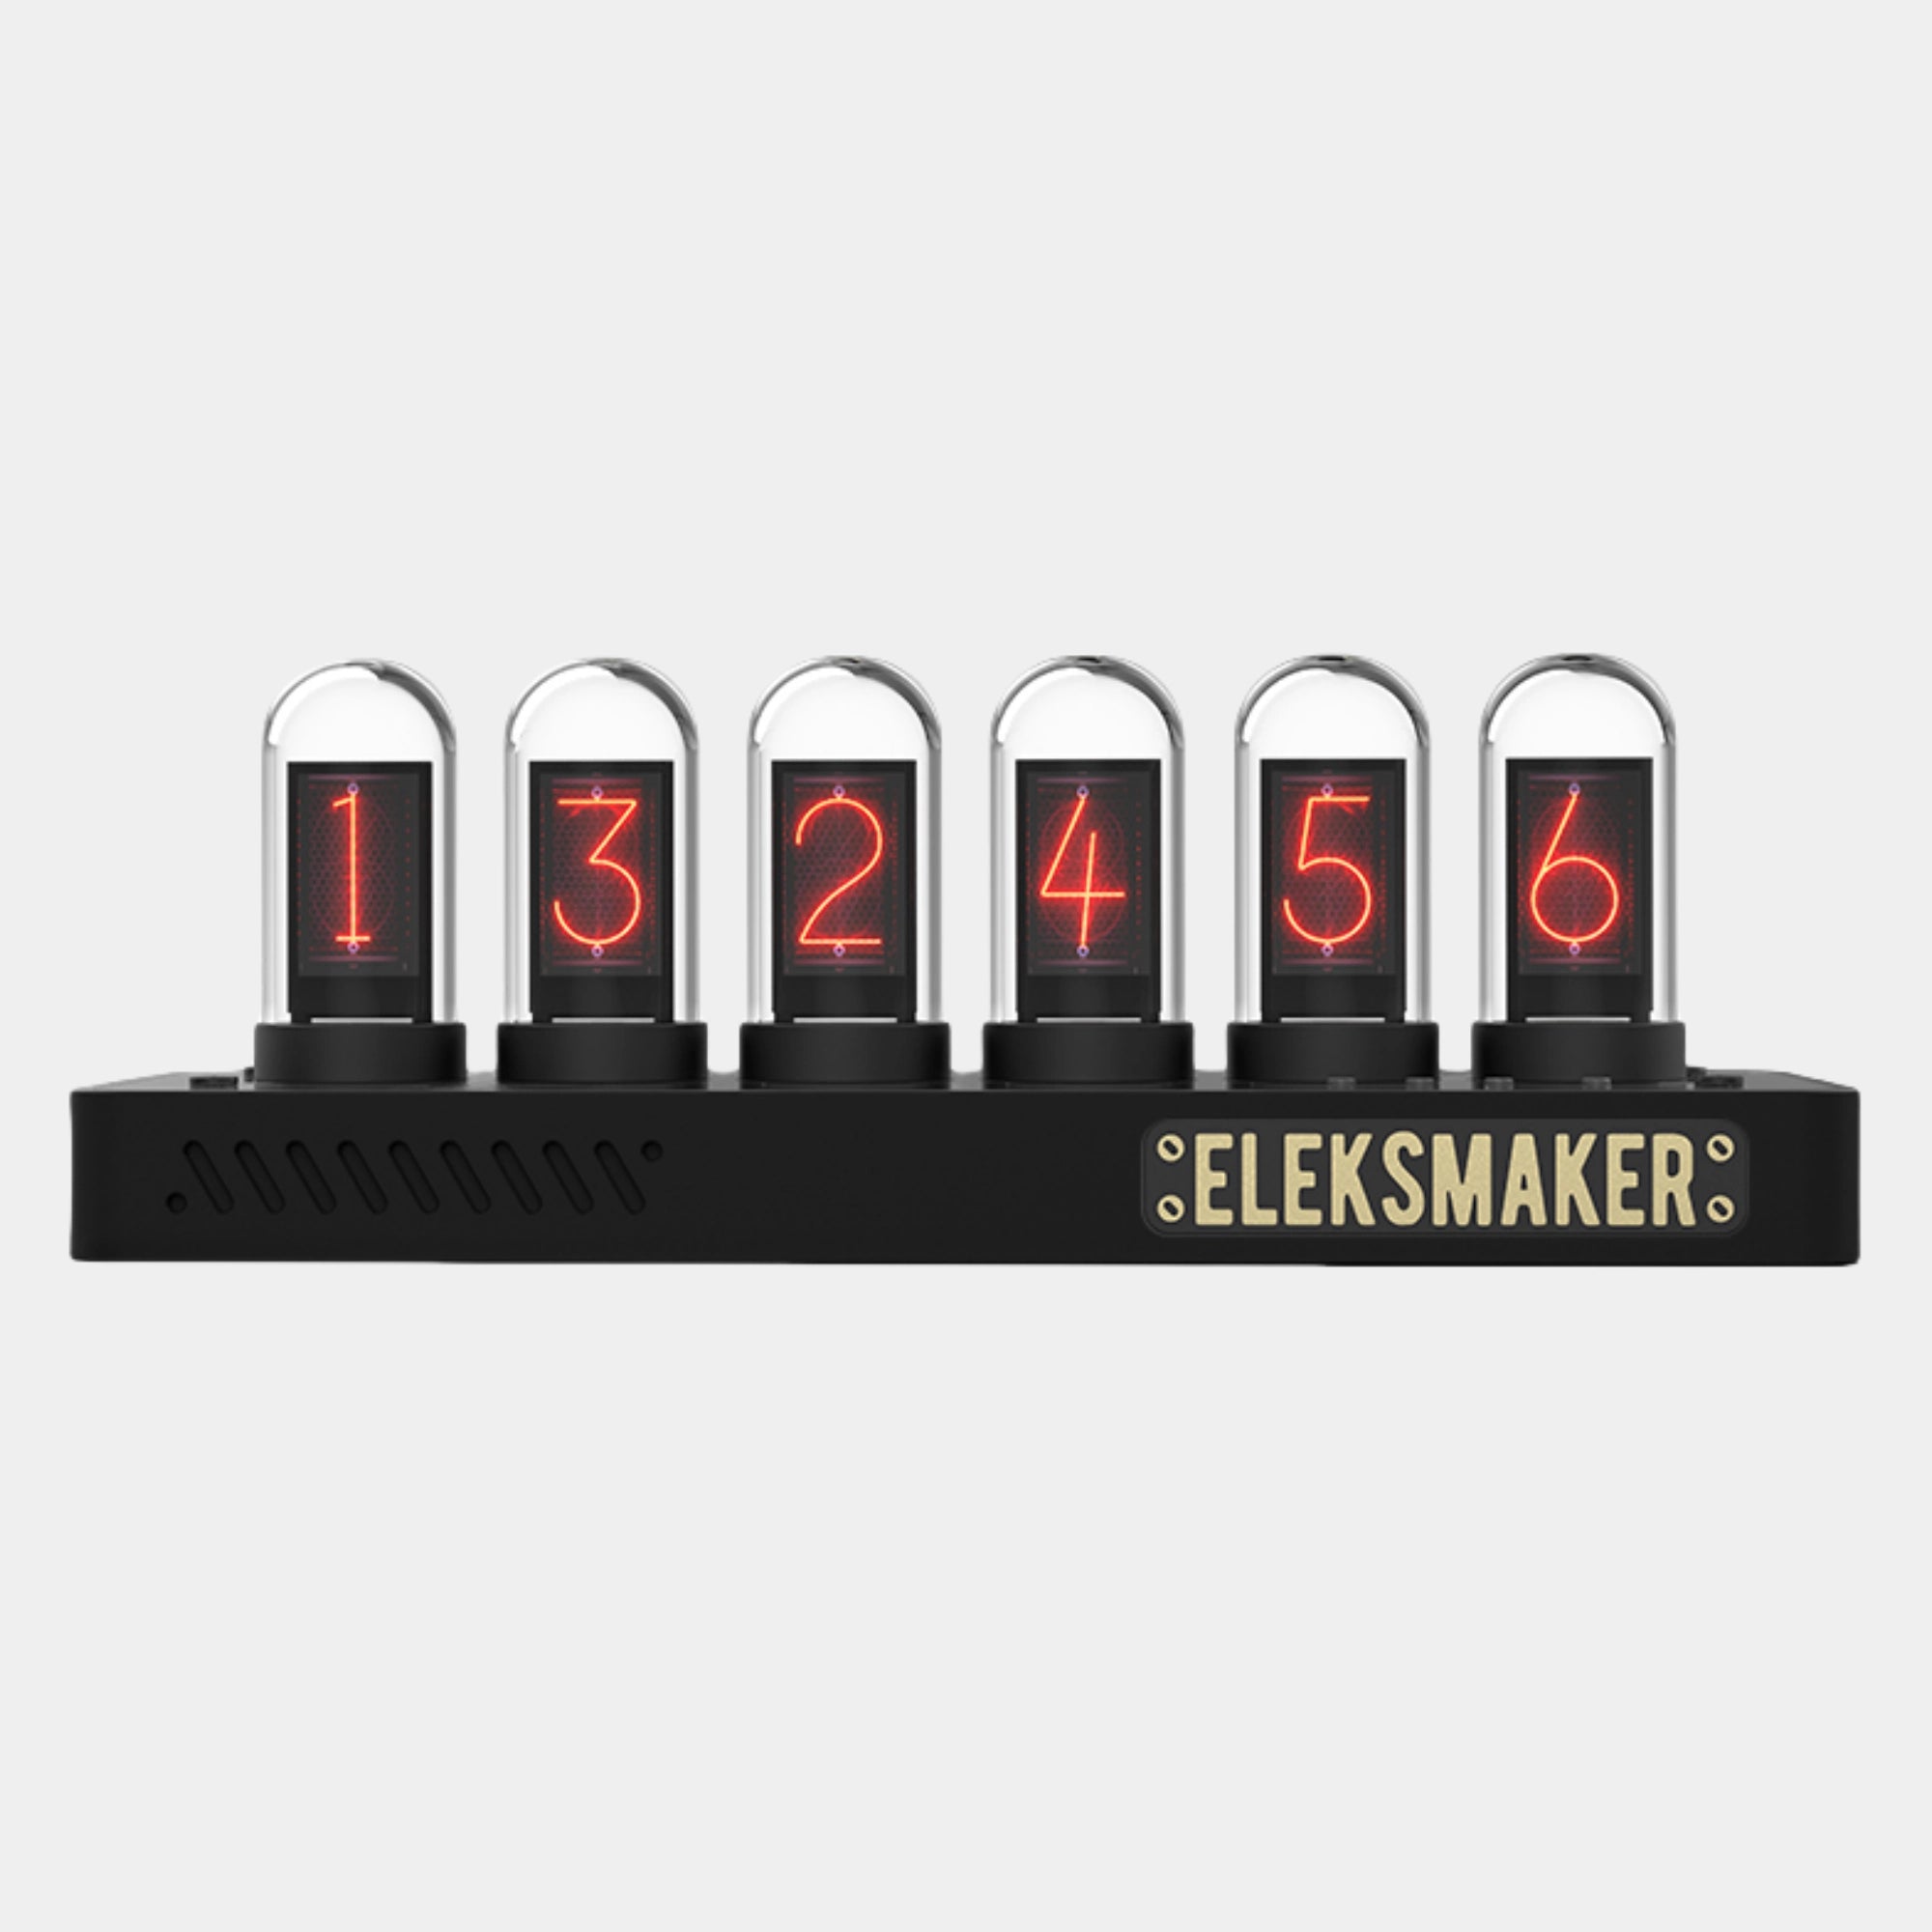
PRO - Digital Clock with Nixie Tube Aesthetic
Imagine a clock that captures the charm of vintage Nixie tubes — but powered by modern technology within.

Buy Any 2 Products & Get 20% Off on 2nd Second.
30-Days Hassle-Free Returns
Unshipped Orders: Returns can be requested unconditionally. Please contact support@atomicvoyage.com to cancel your order.
Please log in to your Atomic Voyage account to cancel your order and the payment will be automatically refunded to your account.
Shipped Orders: Returns can be requested unconditionally within 30 days of the date of purchase.
The shipping fee can be removed due to product quality problems or wrong products sent, otherwise the customer has to pay the shipping fee.
Returned products should be confirmed that there is no human-caused damage affecting secondary sales, and the condition is new or nearly new, otherwise it will not be accepted.
Reviews
Pairs well with
If you have any questions, you are always welcome to contact us. We'll get back to you as soon as possible, within 24 hours on weekdays.
-
Shipping Information
We offer free standard shipping and fast shipping.
Free Standard Shipping to USA: 5-12 days.
Expedited shipping to USA: 4-8 days. -
Customer Support
If you have any questions, please send an email to our support email address and we will respond within 48 hours.
Alternatively, you can contact us by opening the “Contact Us” page on the website.
-
Return & Refund
You can request our Return & Refund Service:
Unshipped Orders: Returns can be requested unconditionally. Please contact support@atomicvoyage.com to cancel your order.
Please log in to your Atomic Voyage account to cancel your order and the payment will be automatically refunded to your account.
Shipped Orders: Returns can be requested unconditionally within 30 days of the date of purchase.
The shipping fee can be removed due to product quality problems or wrong products sent, otherwise the customer has to pay the shipping fee.
Returned products should be confirmed that there is no human-caused damage affecting secondary sales, and the condition is new or nearly new, otherwise it will not be accepted.
Return & Refund Service will not be provided where:
It is requested beyond 30 days of the date of purchase.
A product sent to Atomic Voyage for Return & Refund Service does not include all original accessories, attachments, packaging or gift(s) included in original order, or any item is not in new or like-new condition, i.e. with cracks, dents or scratches.
Damage is caused to the product by improper installation, operation or unauthorized use or modification of the product.
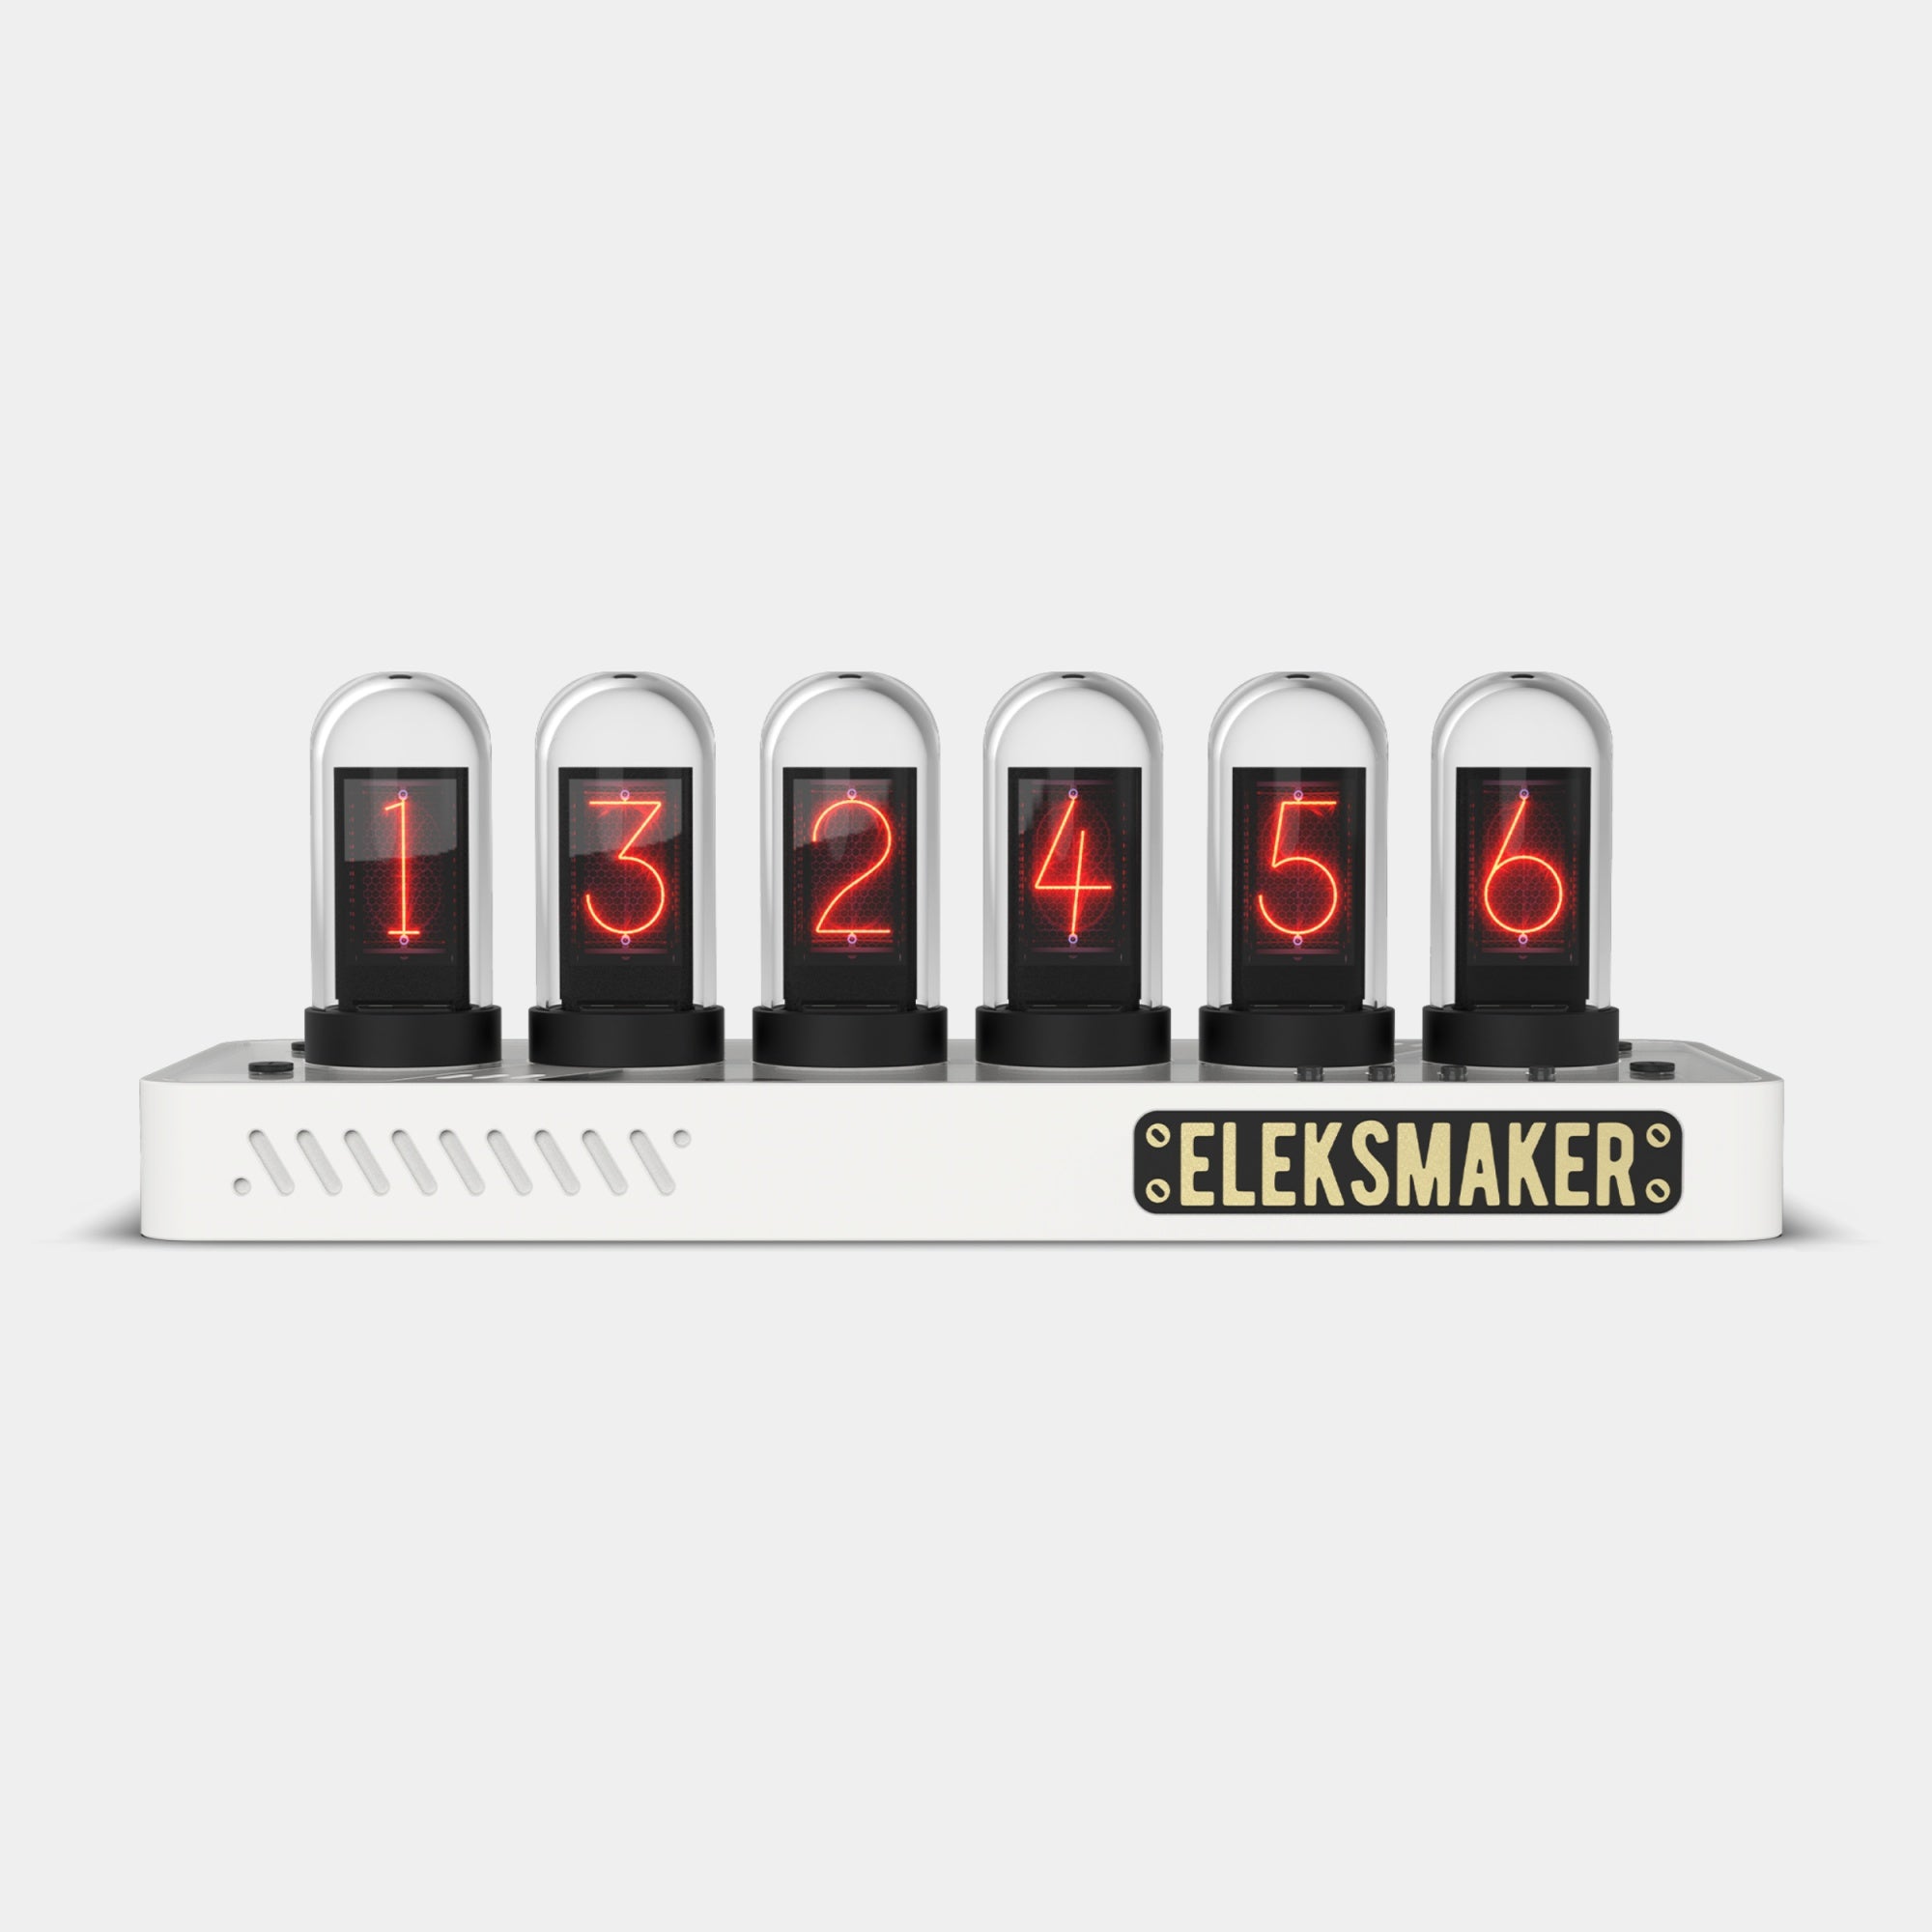
CNC-Machined
At the heart of the Pro is a CNC-machined, anodized aluminum alloy base—offering both exceptional durability and a sleek, refined metallic finish that elevates the clock’s overall look.
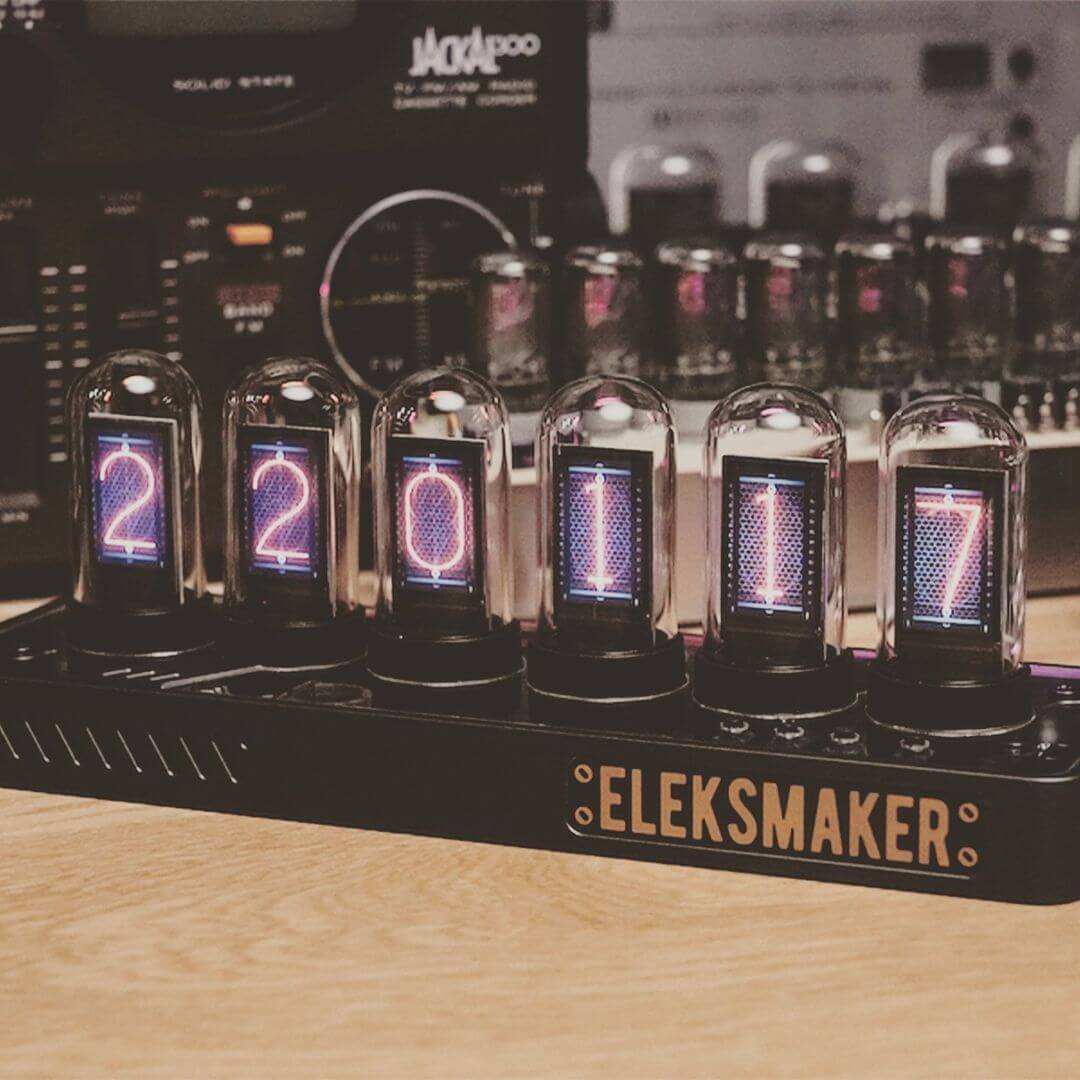
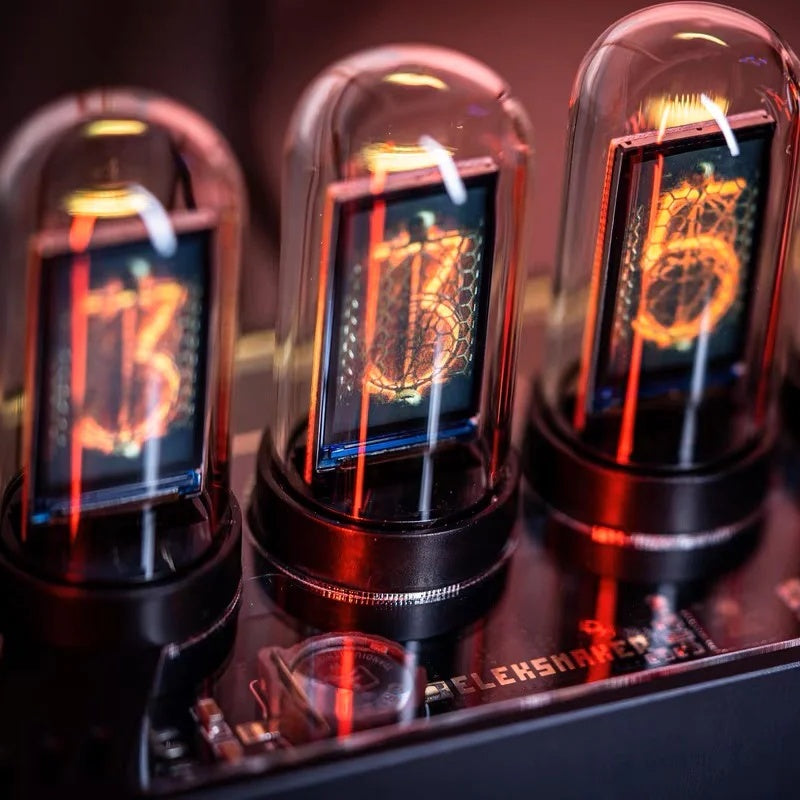
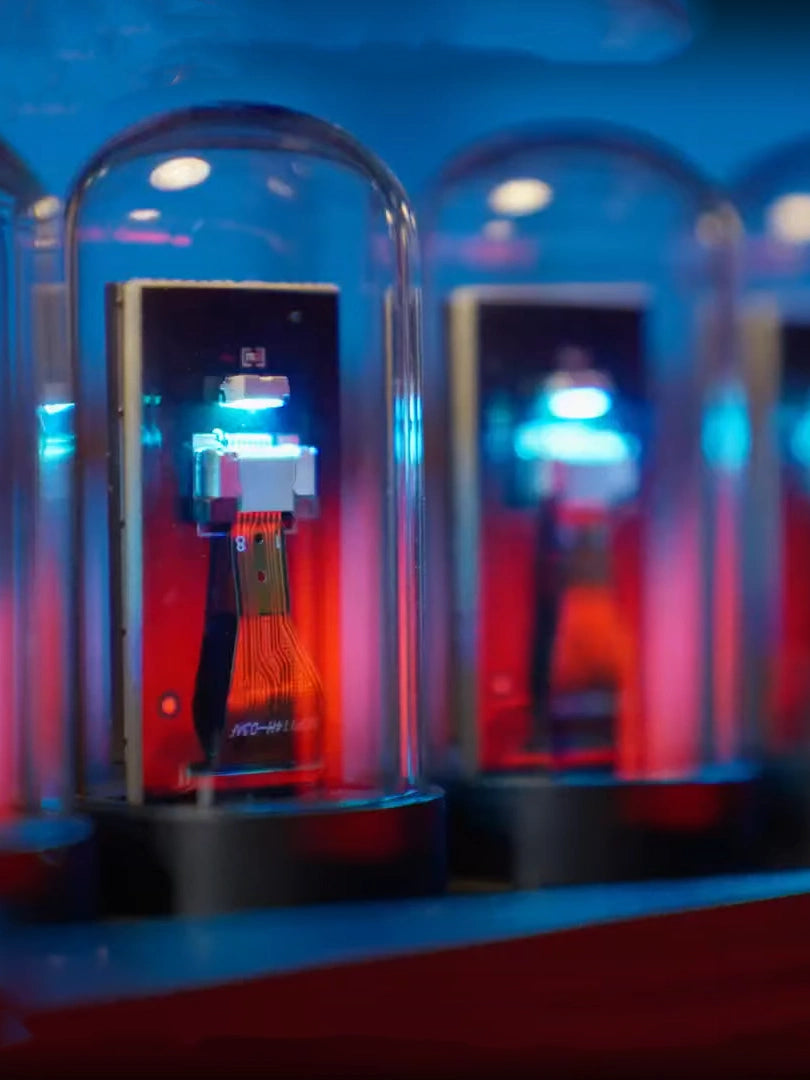
Say Hi to An Old Friend
Love IN-14 or IN-18 Nixie tubes? We’ve captured their nostalgic glow using advanced LED tubes—no more rare parts, no more short lifespans. Just the timeless warmth you love, reimagined for today.


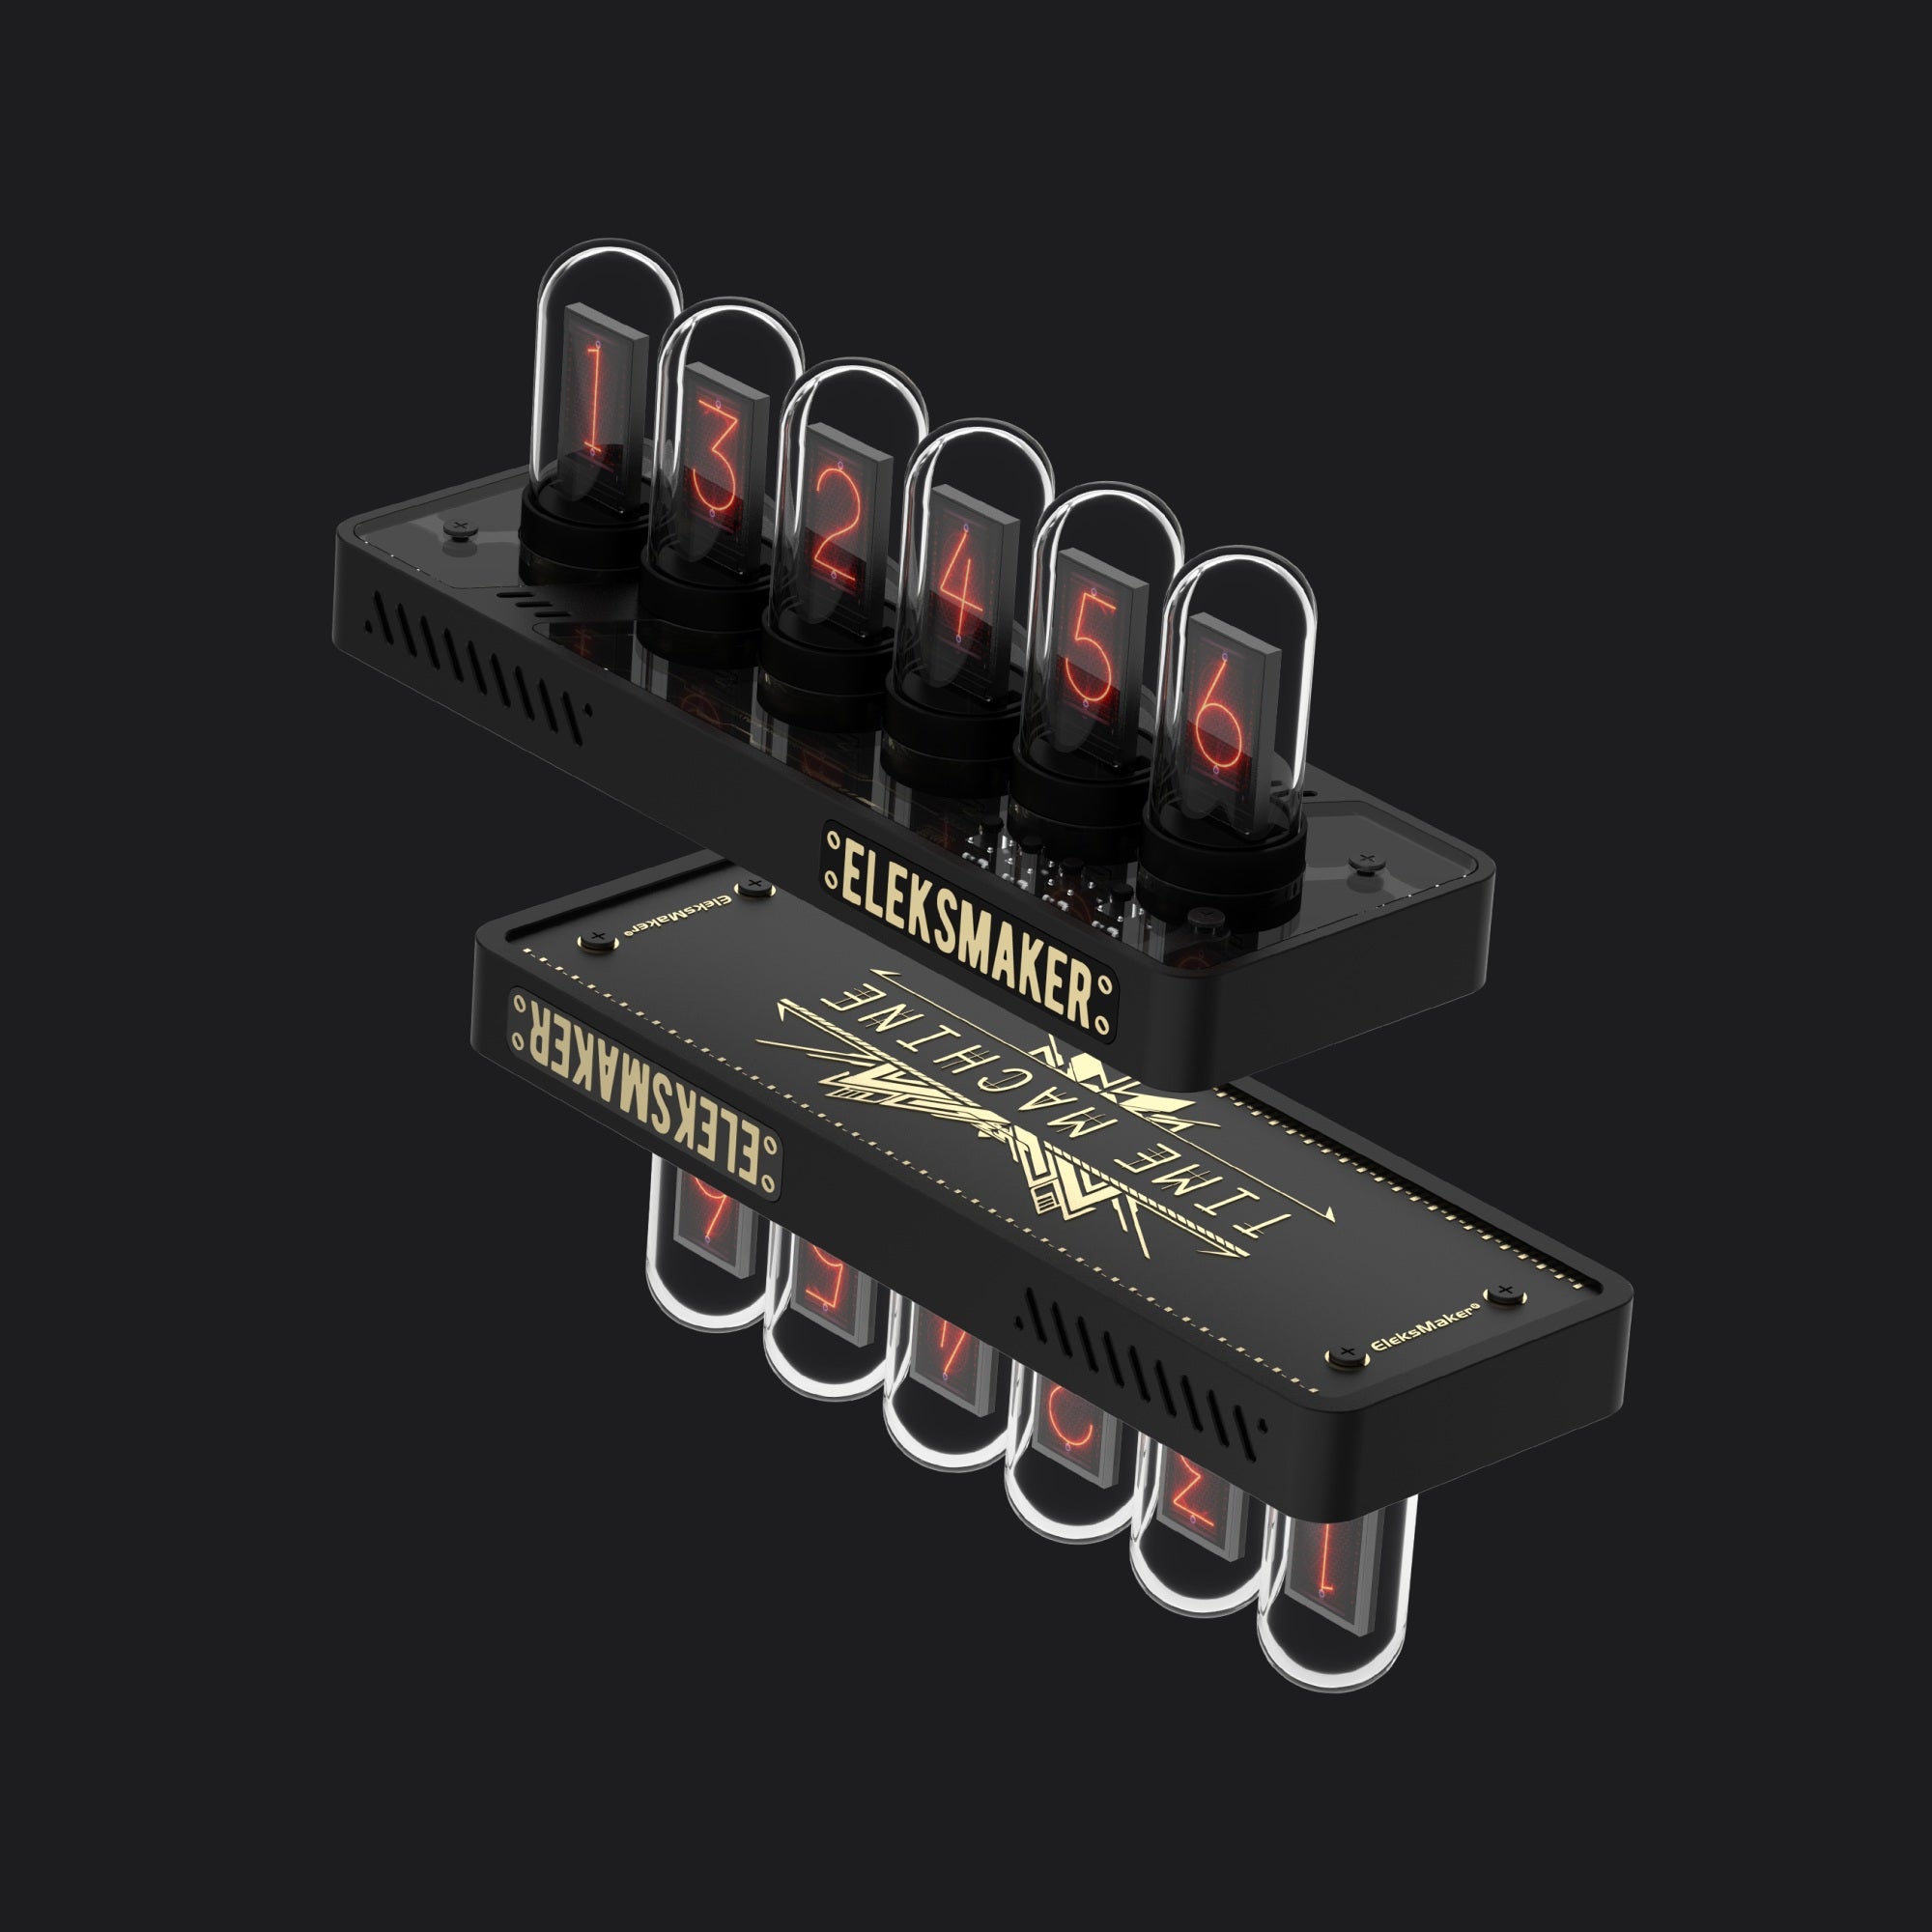
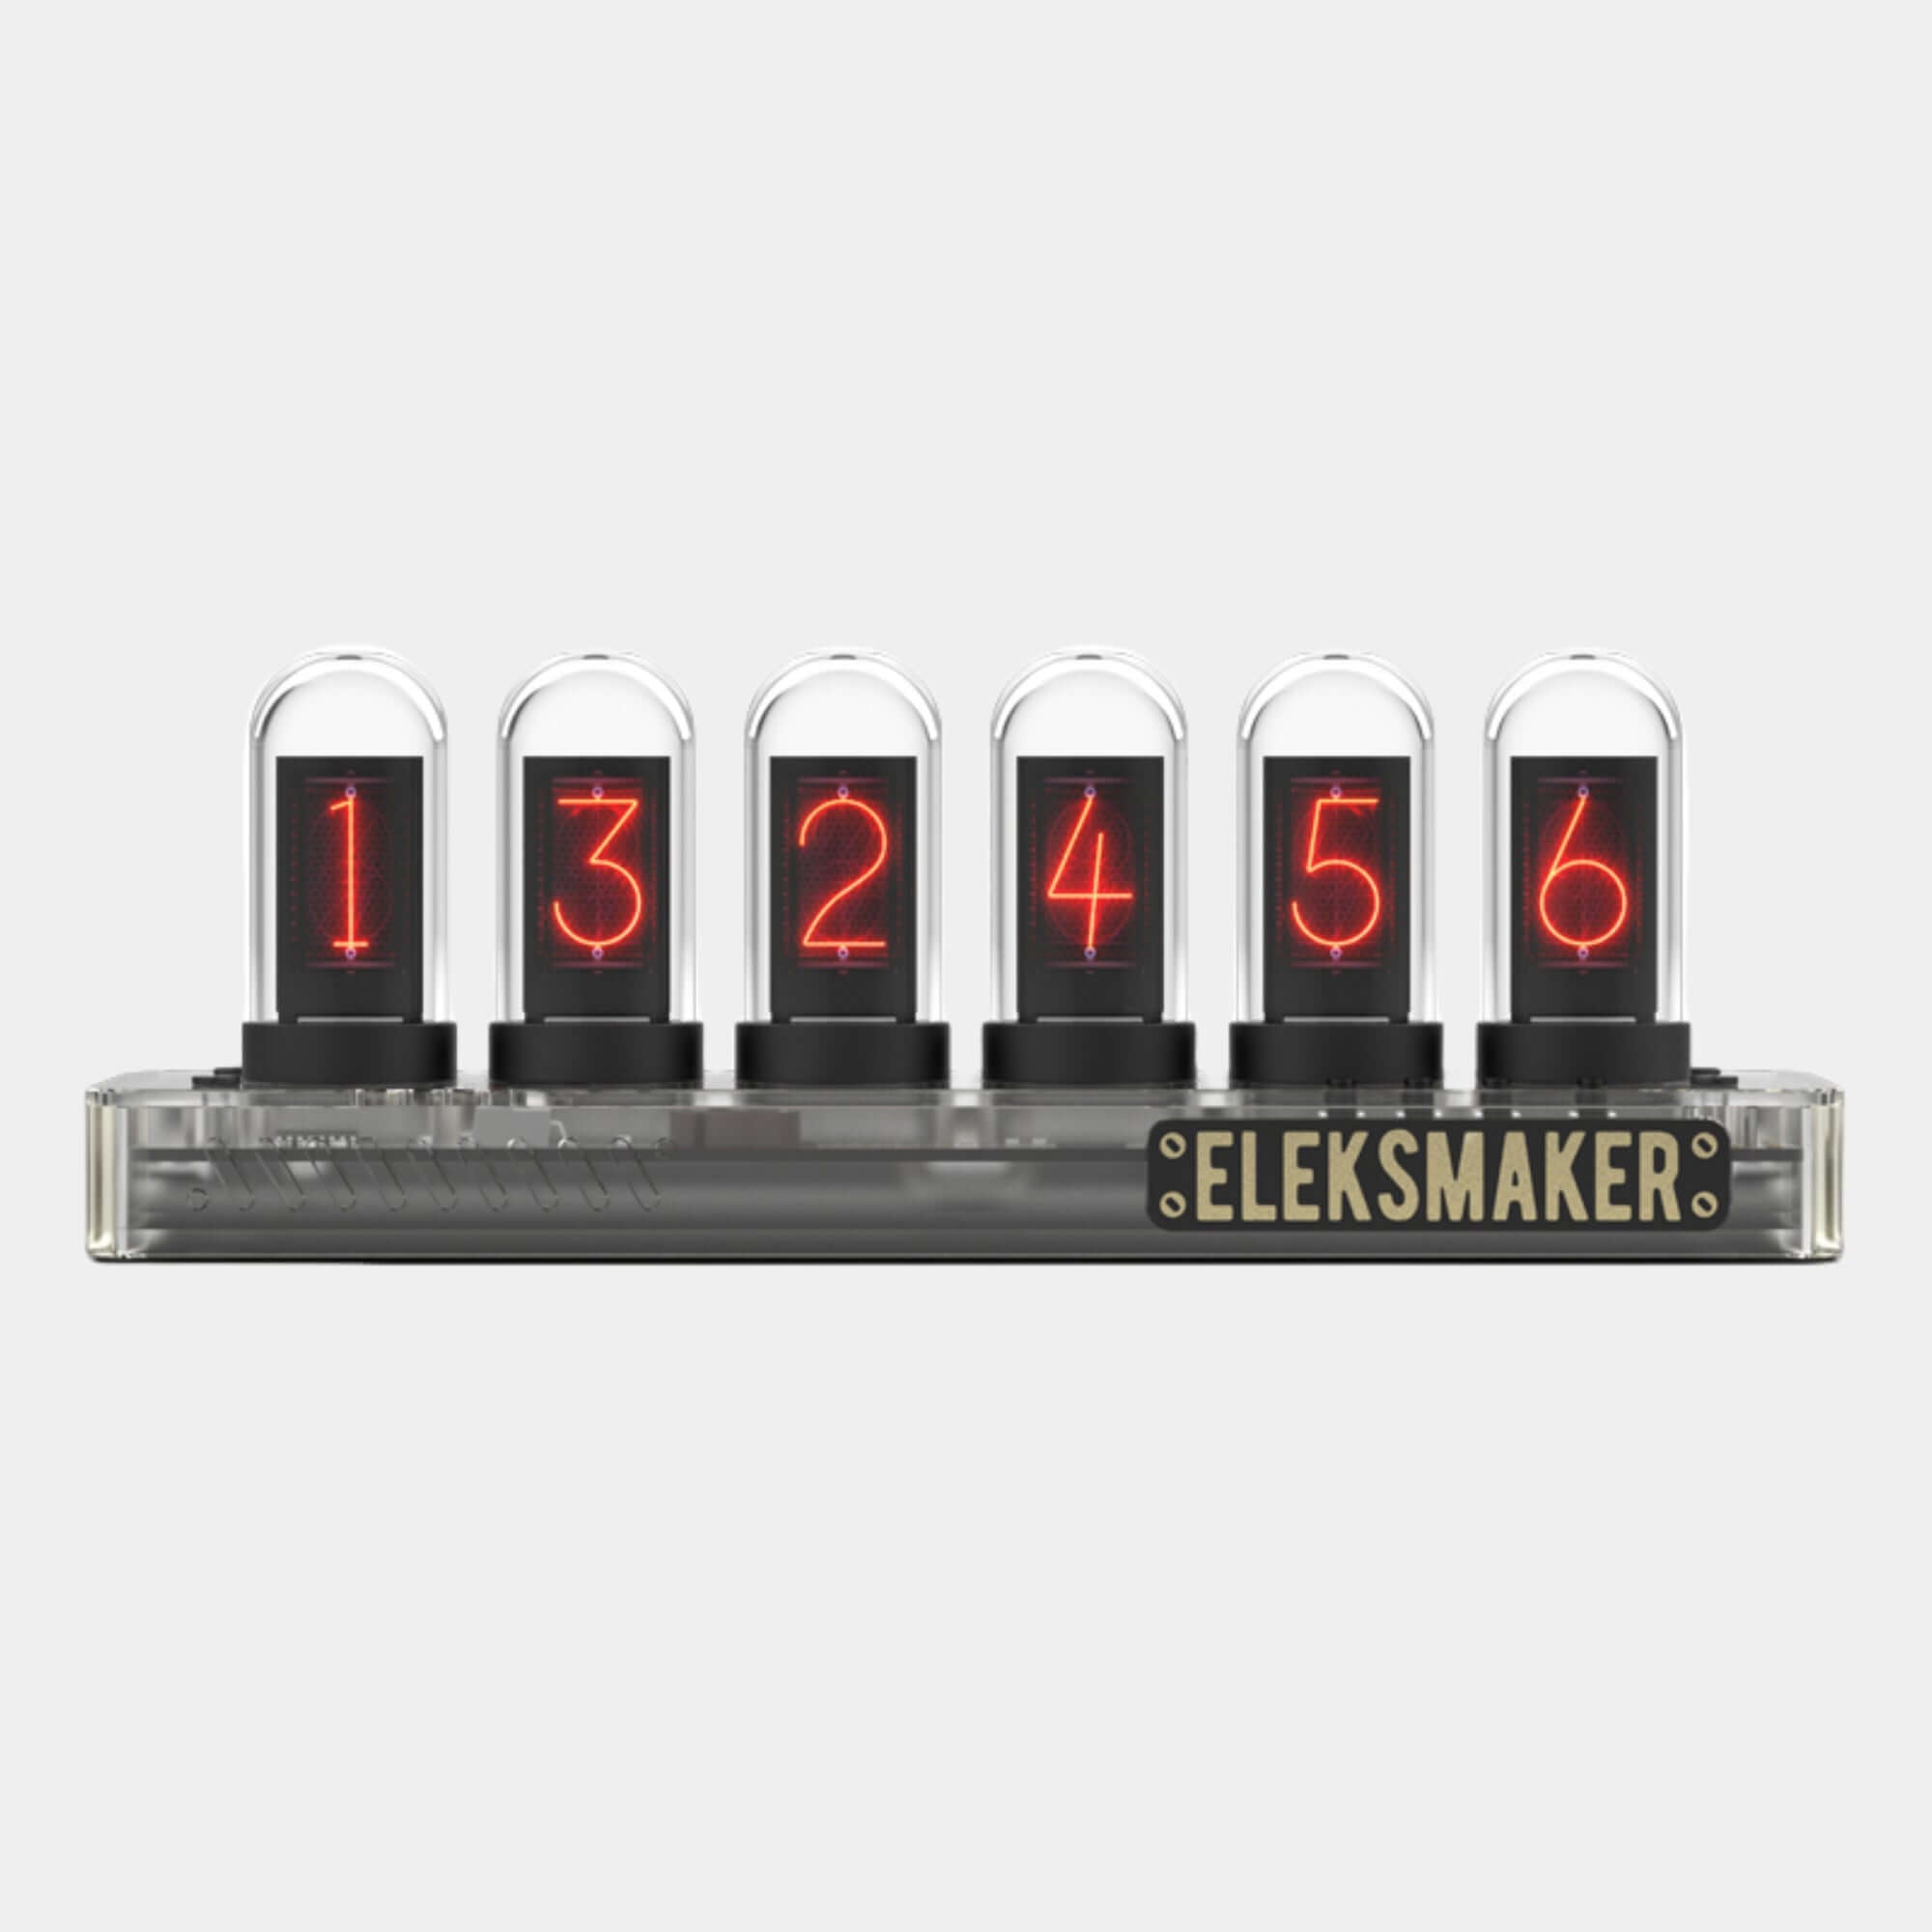
Versatile Styles
With a single press, effortlessly switch between six vintage-style dial faces—each radiating its own unique charm.
Want more options? Explore over 40 dynamic designs through the companion app, giving you full control over your clock’s personality.

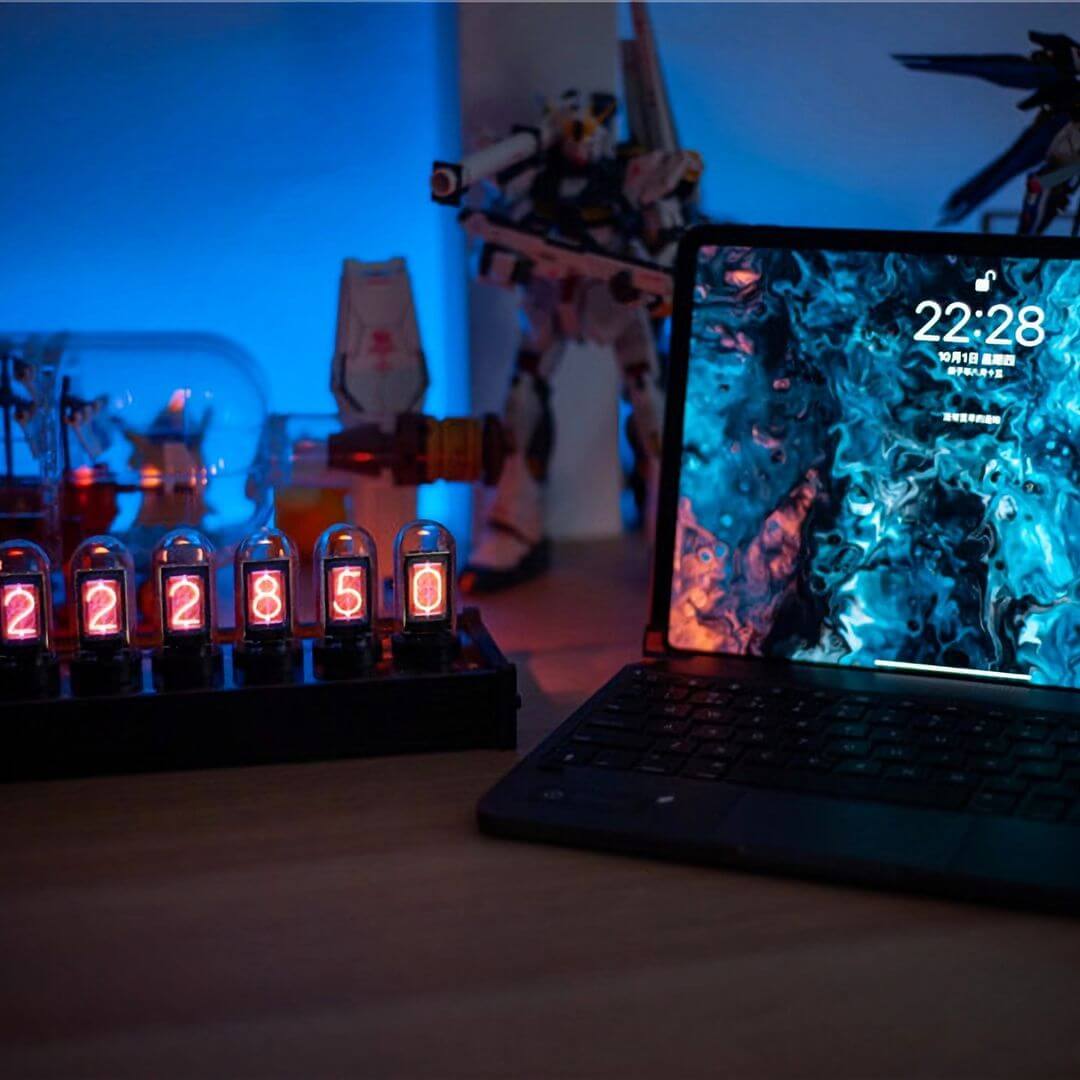
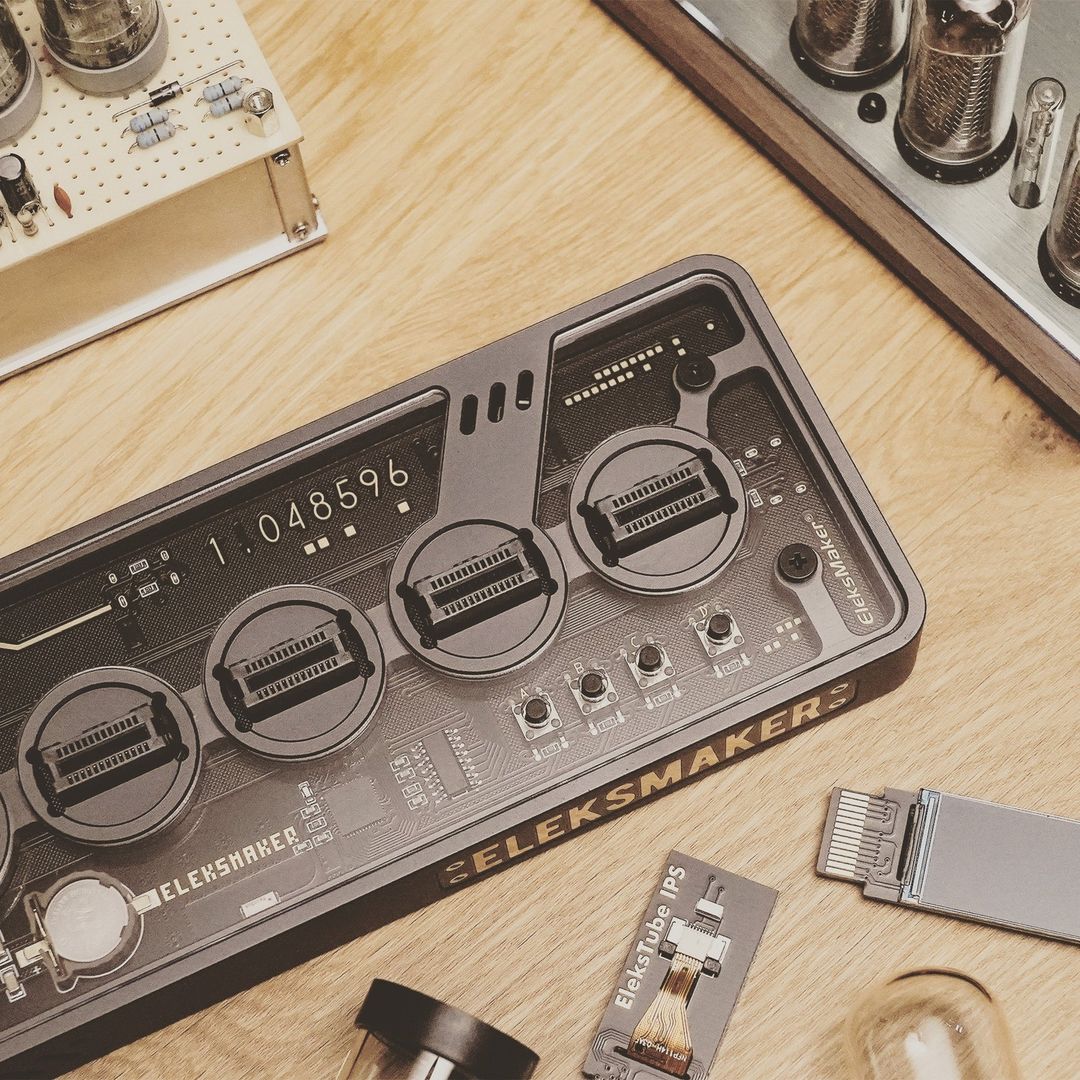
Feeling Connected
Our reimagined IPS Clock App lets you sync, customize, and control your clock in real-time—from dynamic displays to color settings—right from your device.
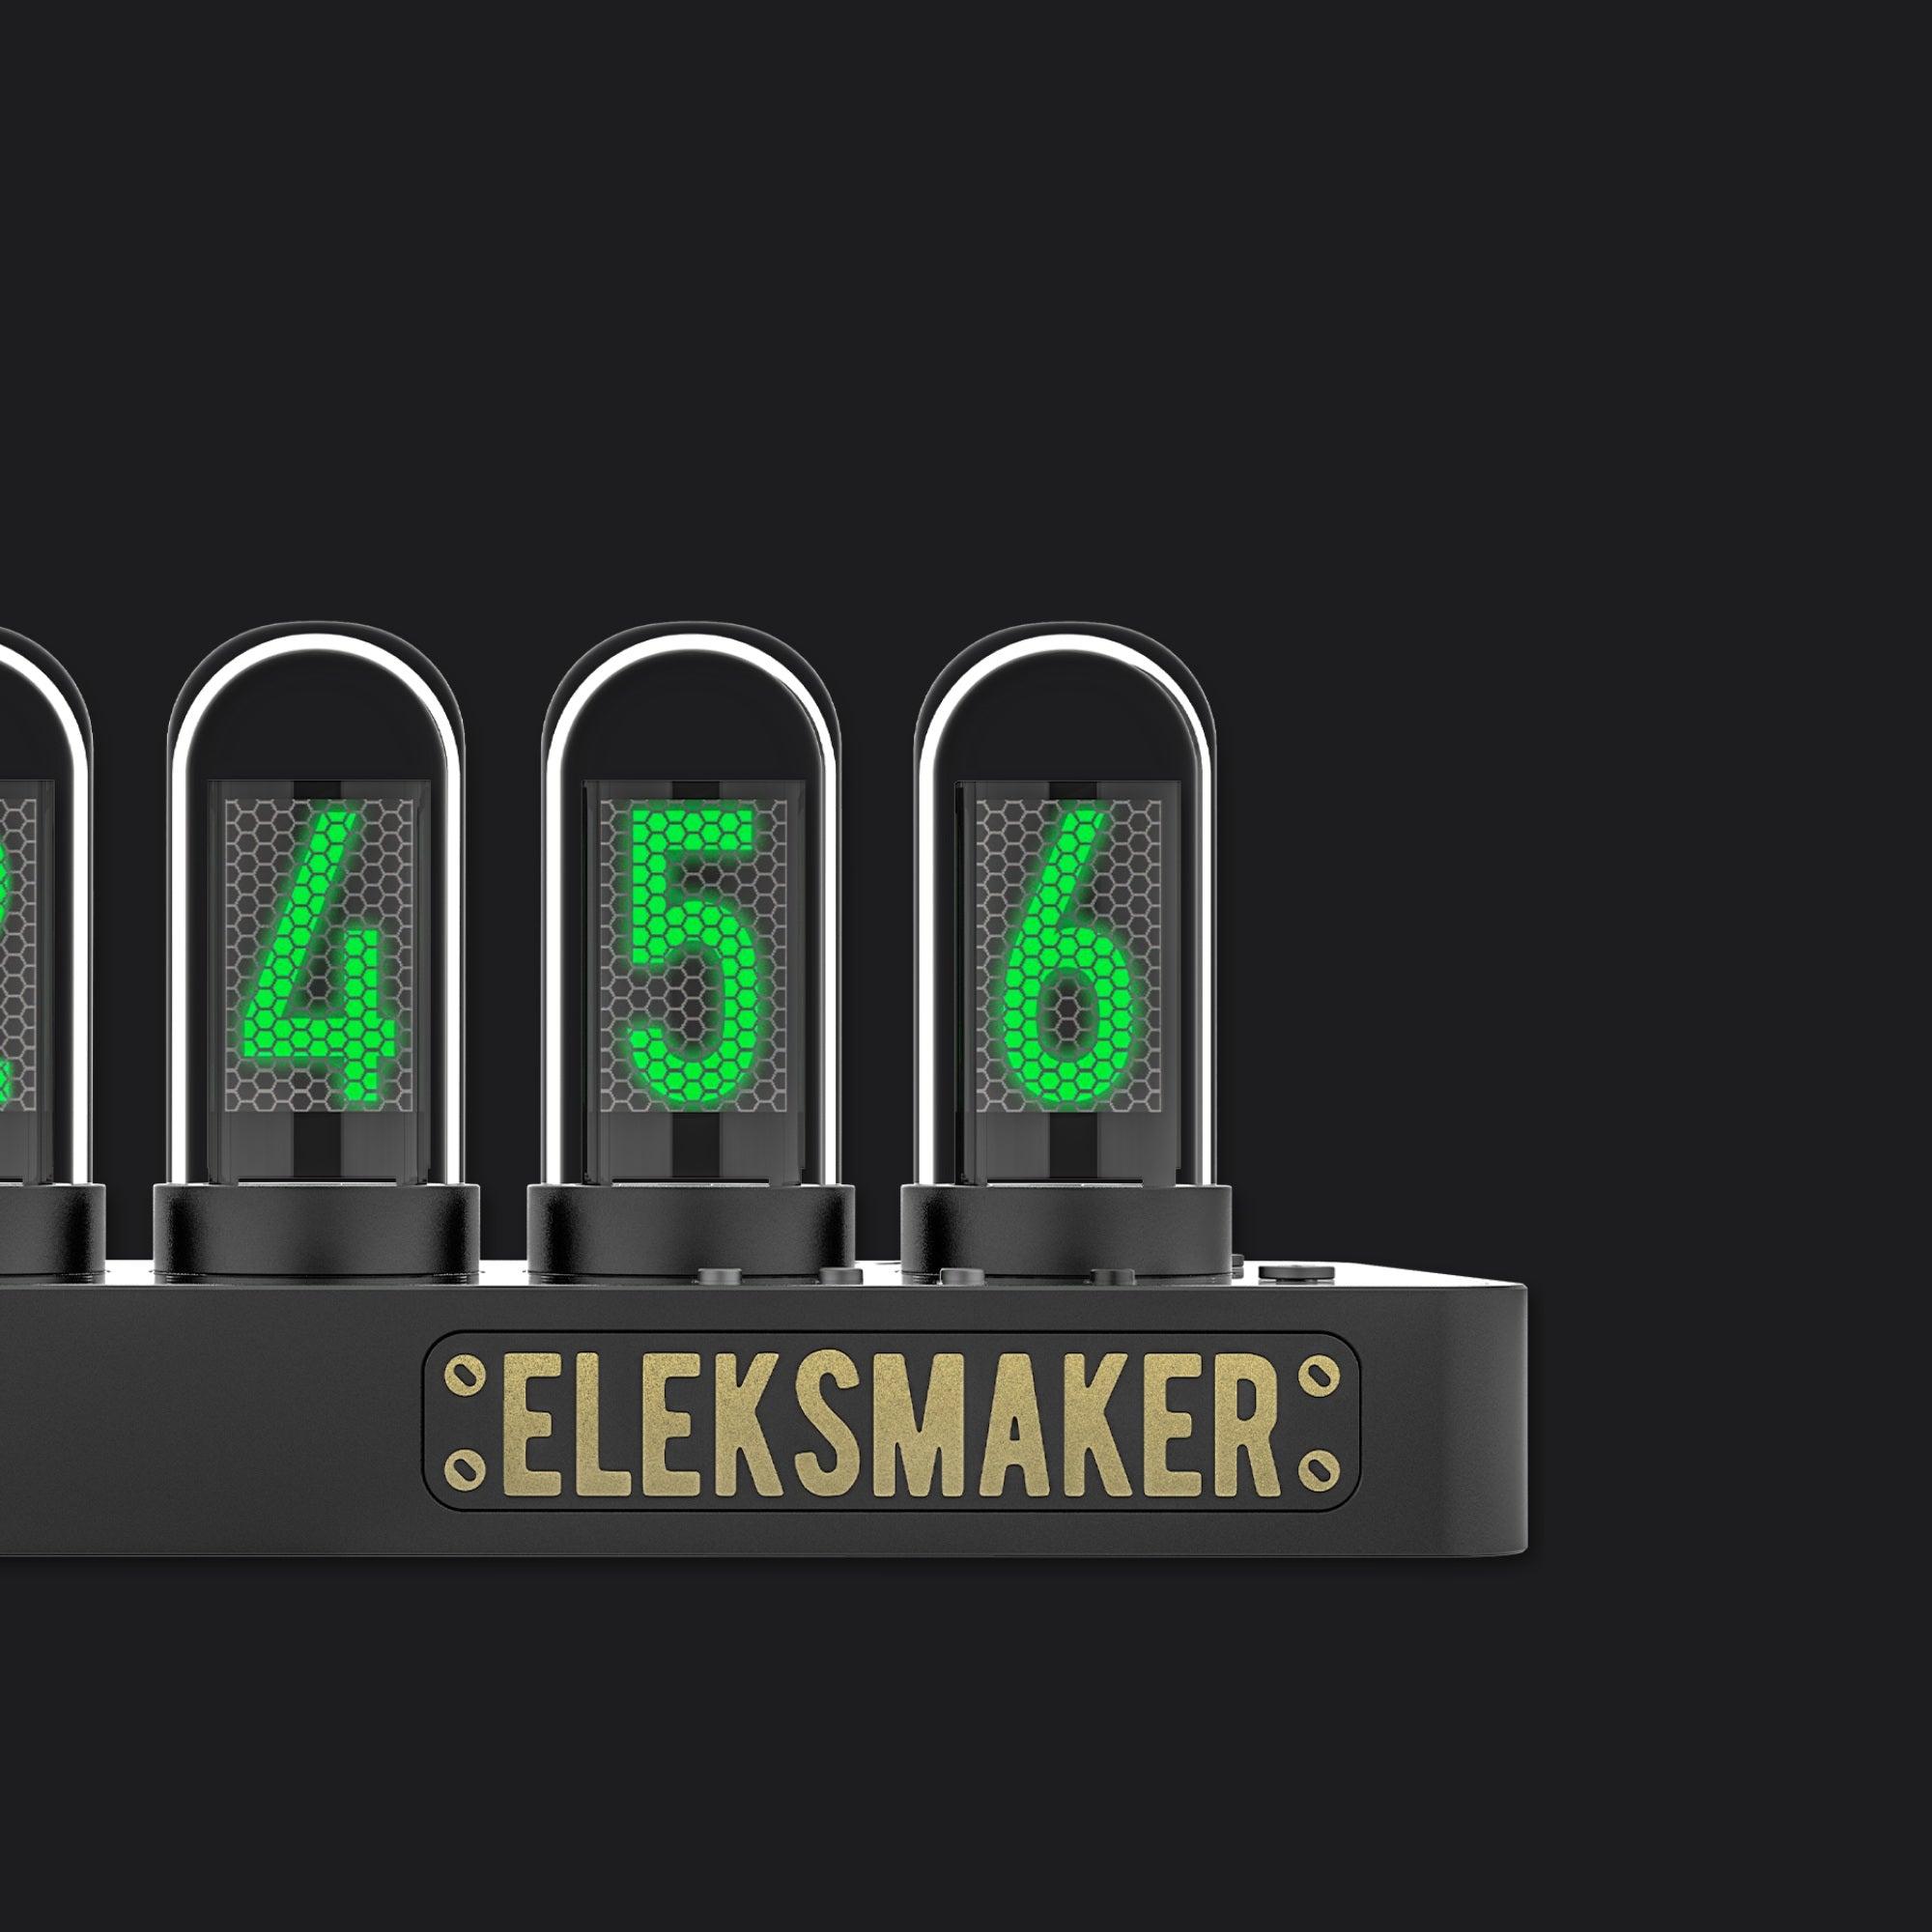
Time to Glow
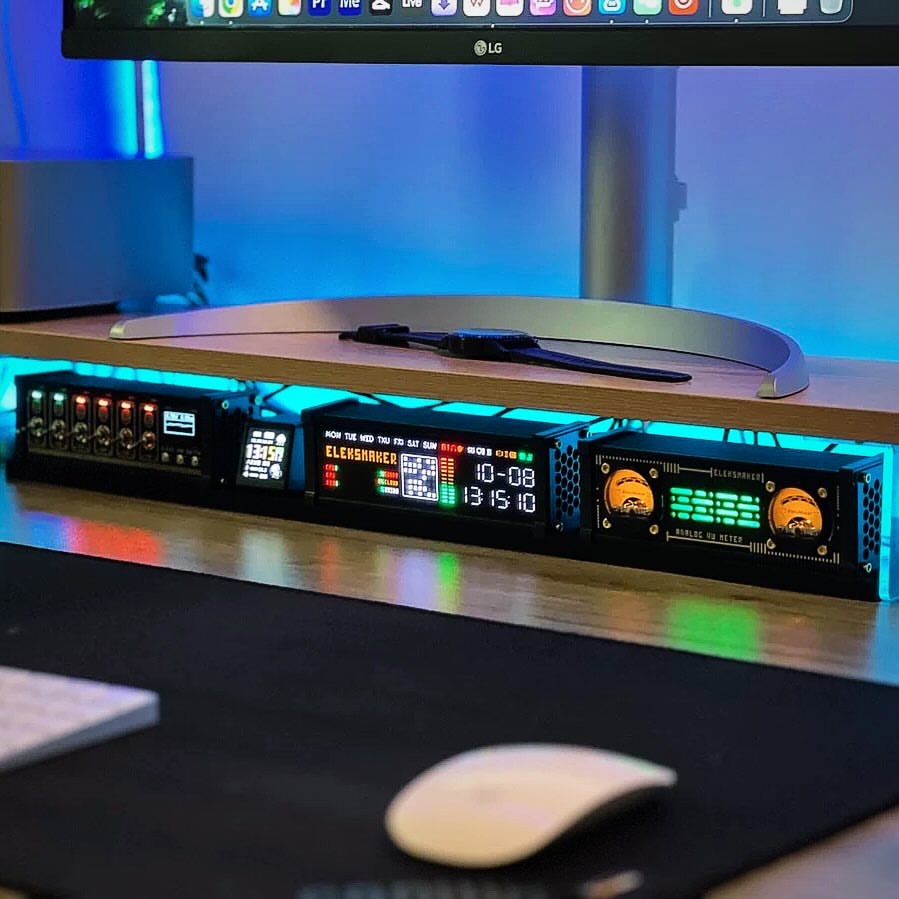
Six vibrant RGB “lamps” illuminate your space with dynamic colors. Use the app to personalize every detail, from soft sunset hues to neon futurism.
A Radically Original Composition
The clock base frame, crafted through high-precision CNC machining technology, is formed from a single block of metal.
Time from The Internet
The clock is connected to the internet, this helps it to stay always accurate. The clock can switch between summertime and wintertime automatically, according to the time zone customer selects.
Illuminating Ahead

Base Material
The IPS Pro features a base crafted from a single piece of CNC-machined aluminum alloy, offering a solid metal feel. Its premium build accounts for a higher cost and limited availability.

Sign of The Times
Of course, the clock of IPS by Atomic Voyage is ridiculously accurate.
Powered by a real time clock with a temperature compensated crystal oscillator, it makes adjusting time completely unnecessary

Extremely Efficient
IPS clock by Atomic Voyage integrates EcoPower to deliver high voltage to the tubes with maximum efficiency of at least 90%, at any time
Safe and Sound
IPS clock is powered by an intelligent USB Type C power interface. It’s the safest way for both power delivery and data transfer. Each power rail is guarded by a precise fuse that shuts down securely when it detects an issue
Same Light. Same Glow.
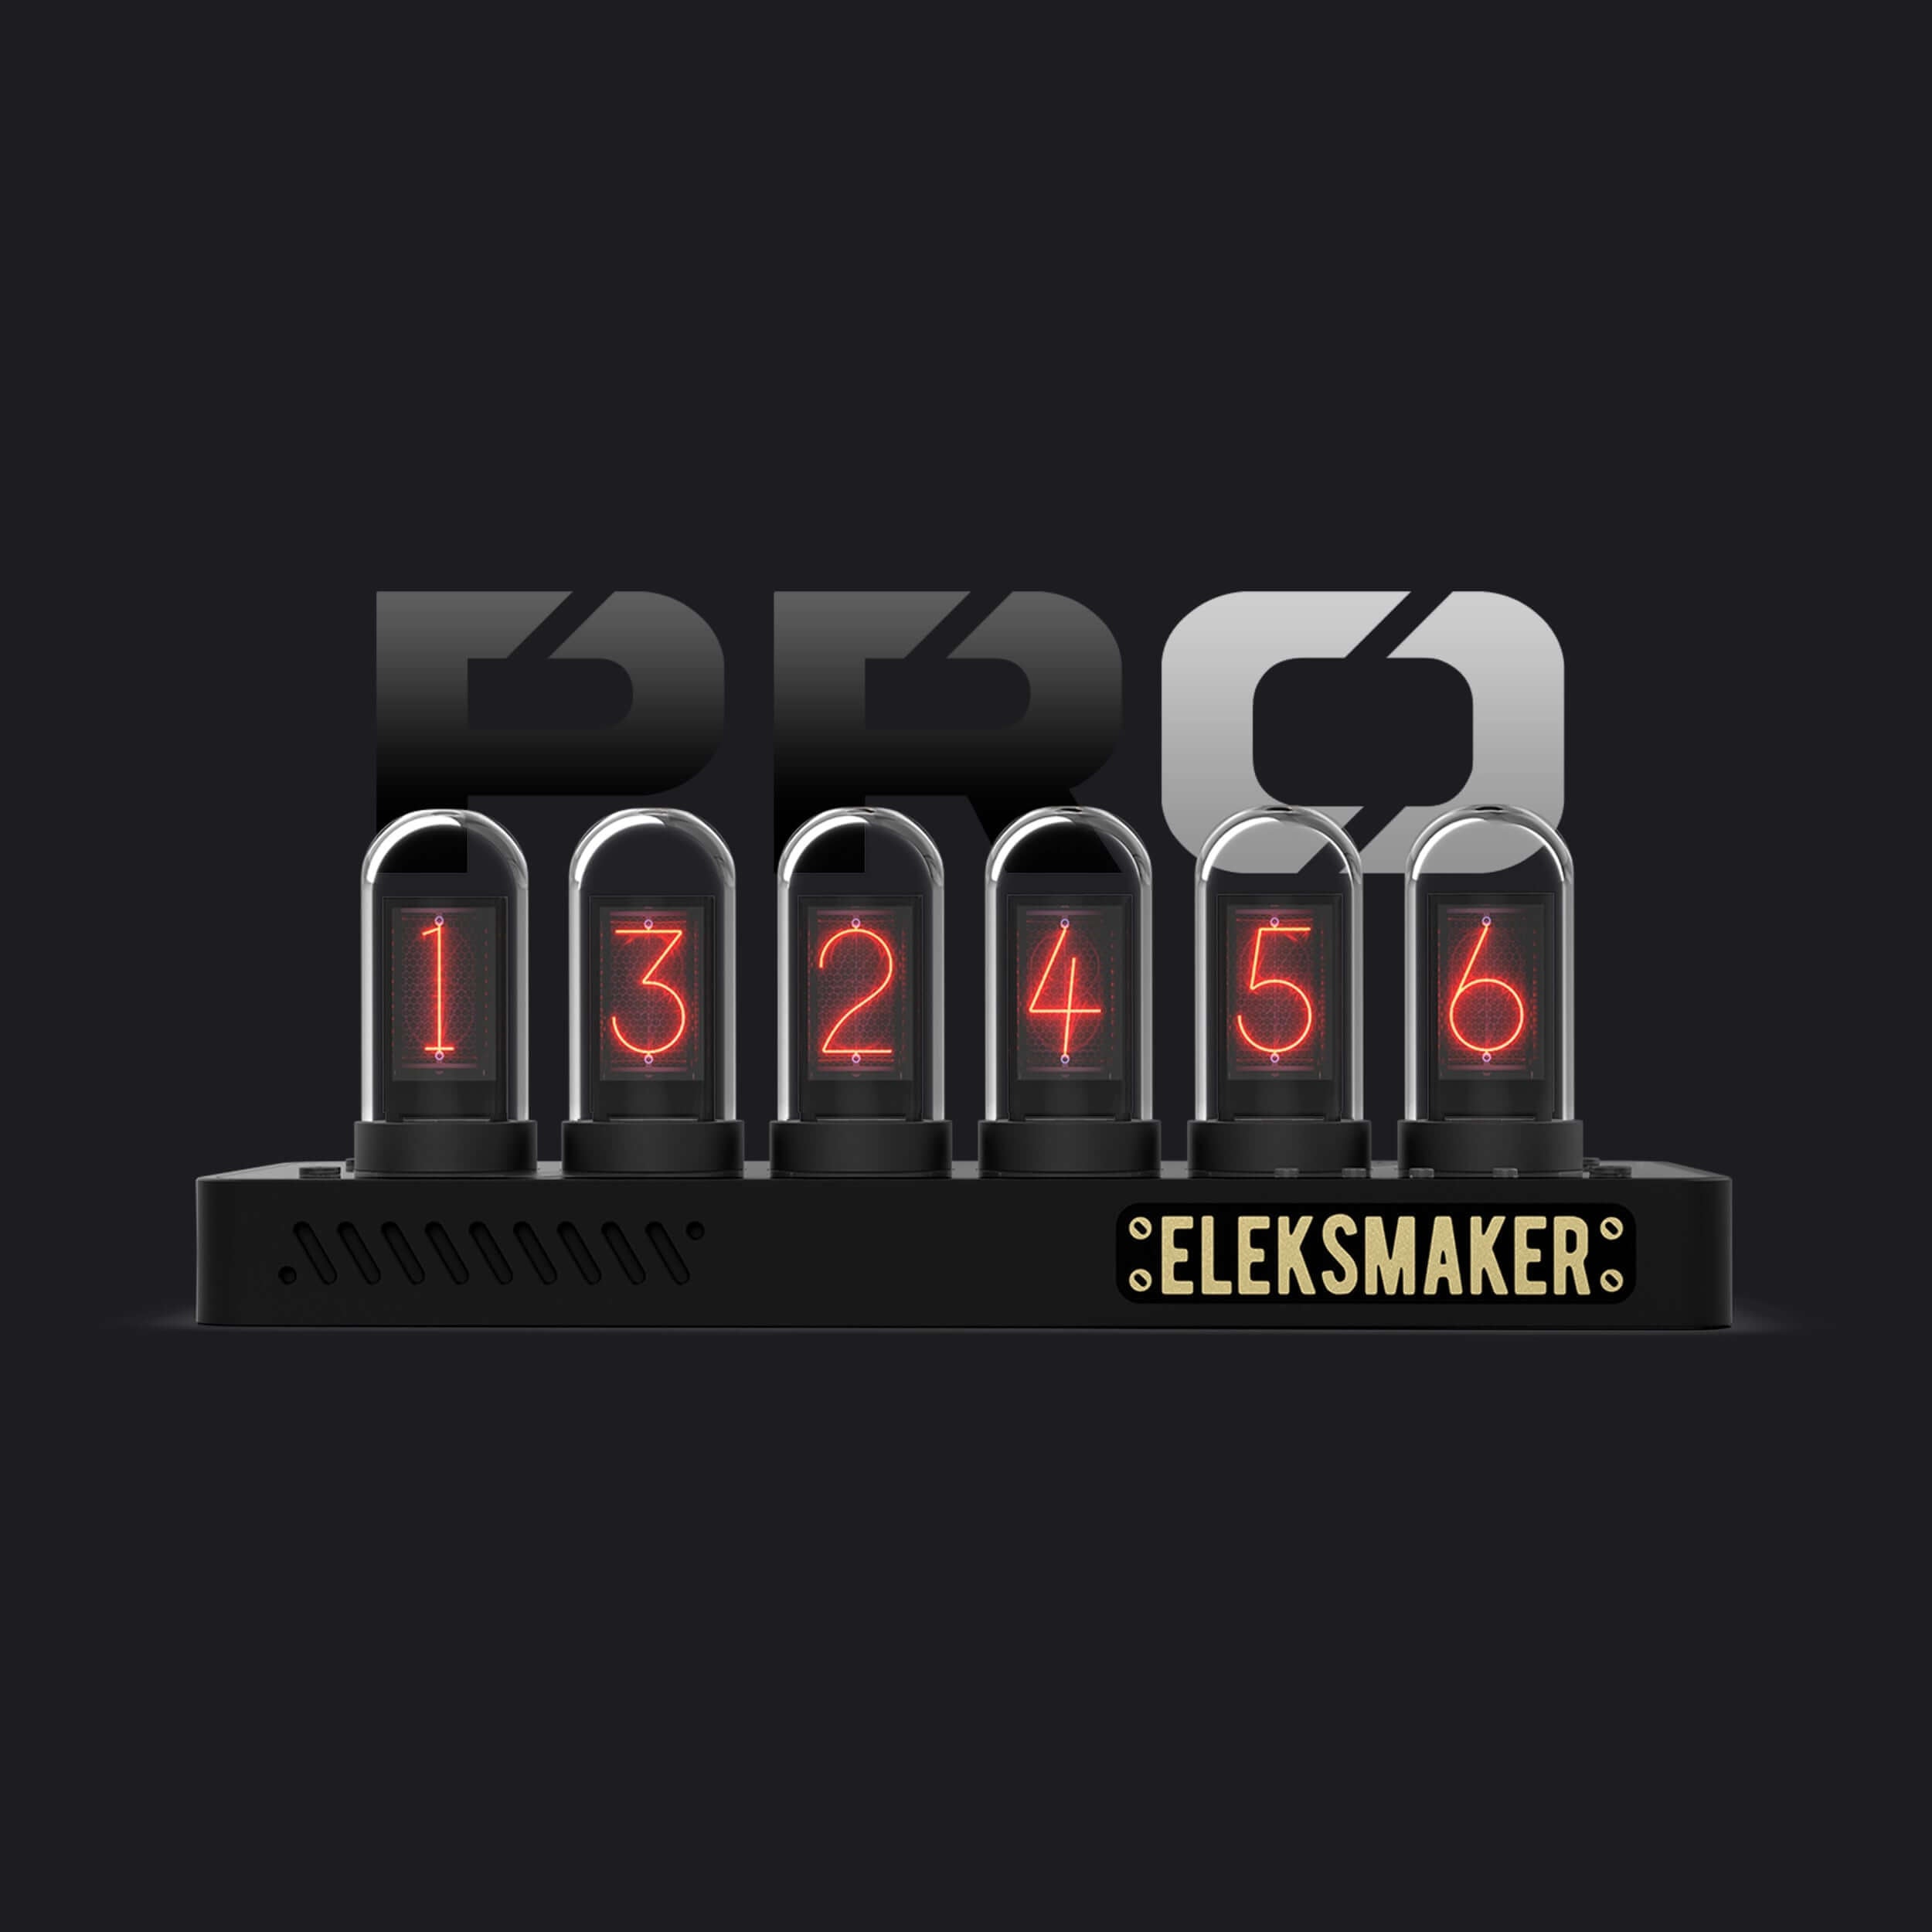
PRO
The base is high-precision CNC machining technology from a single piece of aluminum.
PR2
The base is machined from Strengthened Nylon.
PR3
The base is machined from Strengthened Nylon.

IPS
The base is machined from aluminum.
Tech Specs

Type-C cable

User Manual

Pro


Setup Guide/ Download Driver
Setup IPS Clock in a few easy steps
EleksTube IPS Gen2&Pro/PR1/PR2 Firmware Release Notes [Ver 3.10]
FAQs
Please read our FAQs page to find out more.
after going into settings and setting up the clock how do you get back to the clock display?
After you've successfully set up the clock in the settings, all you need to do is press button D. This will exit the settings and take you back to the clock display.
I have it setup connected to my WIFI and it sets the time, but the time displayed does not account for daylight savings time so it is an hour behind. How do i fix this?
1. Long press Button D for three seconds to enter the settings.
2. Once you're in settings, press Button B to begin adjusting the time.
3. You can now modify the year, month, day, hour, minute, and second. Use Button A to decrease a number and Button C to increase a number.
4. Press Button B to move to the next item.
5. After setting the seconds, press Button B once more to exit the settings.
Please note, once you connect your clock to your computer for adjustments, the time displayed on your clock will automatically synchronize with your computer's network time."
What kind of power supply is needed? Is the referenced 5V / 1A power adapter included?
Yes, the required power supply is a 5V / 1A power adapter.
Does this device need to be connected to a computer (laptop?) all the time for operation, after setting up?
Your device doesn't need to be constantly hooked up to a computer for daily use, just a power supply. Use the USB-A to USB-C cable to connect your clock to a computer or a power source to get it started.
However, if you're looking to change the preset styles, swap out the preset images with your own, or connect the clock to the Internet, you'll need to connect it to a computer. After these changes, you can disconnect it from the computer, but remember, it needs to remain connected to a power source to keep running.
How do you get NTP to work?
To get the NTP to work with the xCool Nixie Tube Clock, follow these steps: 1. First, connect the clock to a computer using the USB-A to USB-C cable. 2. Install and open our software. Please ensure you connect the clock to the computer before launching the software, as it may not recognize the clock otherwise. Once connected, the connection icon on the software interface should turn green. 3. Click on "Network SET". Here, you will need to input your Wi-Fi network's name and password in the "WIFI SSID" and "WIFI PSW" fields respectively. 4. Click "Save Settings" to store your network details. 5. To check if your device is connected, click on "Device INFO". If the network status shows "Connected", your clock should automatically synchronize with your local date and time. You can also manually set the time by long-pressing button D for three seconds. If you're experiencing issues with internet connectivity, it could be due to several reasons: 1. The clock might be connecting to a different Wi-Fi network than the computer. 2. The clock might be too far from the Wi-Fi signal generator. If the signal is weak, the clock might struggle to connect. 3. Switching between languages during Wi-Fi setup can cause the system to re-recognize the network. If this happens, you'll need to set up the network again. Remember to click "Network SET", input your Wi-Fi details, click "Save Settings", and then check "Device INFO" to ensure your clock is connected. Once connected, it should automatically sync with your local time and date.