
IPS
A Modern Glow, Elevated by Solid Aluminum.
Mix & Match — 20% Off Your 2nd Item
Reviews
Customer Reviews
I love it, it’s different!
Package tracking information from shipping company was inaccurate
The clock itself is very good
This is a real cool clock, lots of pretty neat features . Definitely something different.
its A beautiful piece. Nicely presented and well built.
My only complaint is that it doesn’t include a power supply.
It’s cool but I wish there were a few more pre-loaded options.
New Firmware Update
Firmware note: This clock ships with factory firmware. To use the new Web Control Center, you’ll need to run a quick firmware update.
Upgrade guide → Atomic Voyage Clock New WebUI Control Center Guide
Easy 30-Day Returns
Unshipped orders can be canceled for a full refund before they ship.
For shipped orders, returns can be requested within 30 days of delivery.
Items must be returned in new or like-new condition with the original packaging, accessories, manuals, and included gifts.
Atomic Voyage covers return shipping for product quality issues, wrong items, or shipping errors. For other return reasons, the customer is responsible for return shipping.
Pairs well with
IPS
If you have any questions, you are always welcome to contact us. We'll get back to you as soon as possible, within 24 hours on weekdays.
-
Shipping Information
We ship from our U.S. warehouse.
• Standard (2–7 business days)
Orders $0.00–$128.99 → $7.99
Orders $129.00 and up → Free
• Expedited (2–5 business days) → $11.99
• Express (1–3 business days) → $19.99 -
Customer Support
If you have any questions, please send an email to our support email address and we will respond within 48 hours.
Alternatively, you can contact us by opening the “Contact Us” page on the website.
-
Return & Refund
You can request our Return & Refund Service:
Unshipped Orders: Returns can be requested unconditionally. Please contact support@atomicvoyage.com to cancel your order.
Please log in to your Atomic Voyage account to cancel your order and the payment will be automatically refunded to your account.
Shipped Orders: Returns can be requested unconditionally within 30 days of the date of purchase.
The shipping fee can be removed due to product quality problems or wrong products sent, otherwise the customer has to pay the shipping fee.
Returned products should be confirmed that there is no human-caused damage affecting secondary sales, and the condition is new or nearly new, otherwise it will not be accepted.
Return & Refund Service will not be provided where:
It is requested beyond 30 days of the date of purchase.
A product sent to Atomic Voyage for Return & Refund Service does not include all original accessories, attachments, packaging or gift(s) included in original order, or any item is not in new or like-new condition, i.e. with cracks, dents or scratches.
Damage is caused to the product by improper installation, operation or unauthorized use or modification of the product.

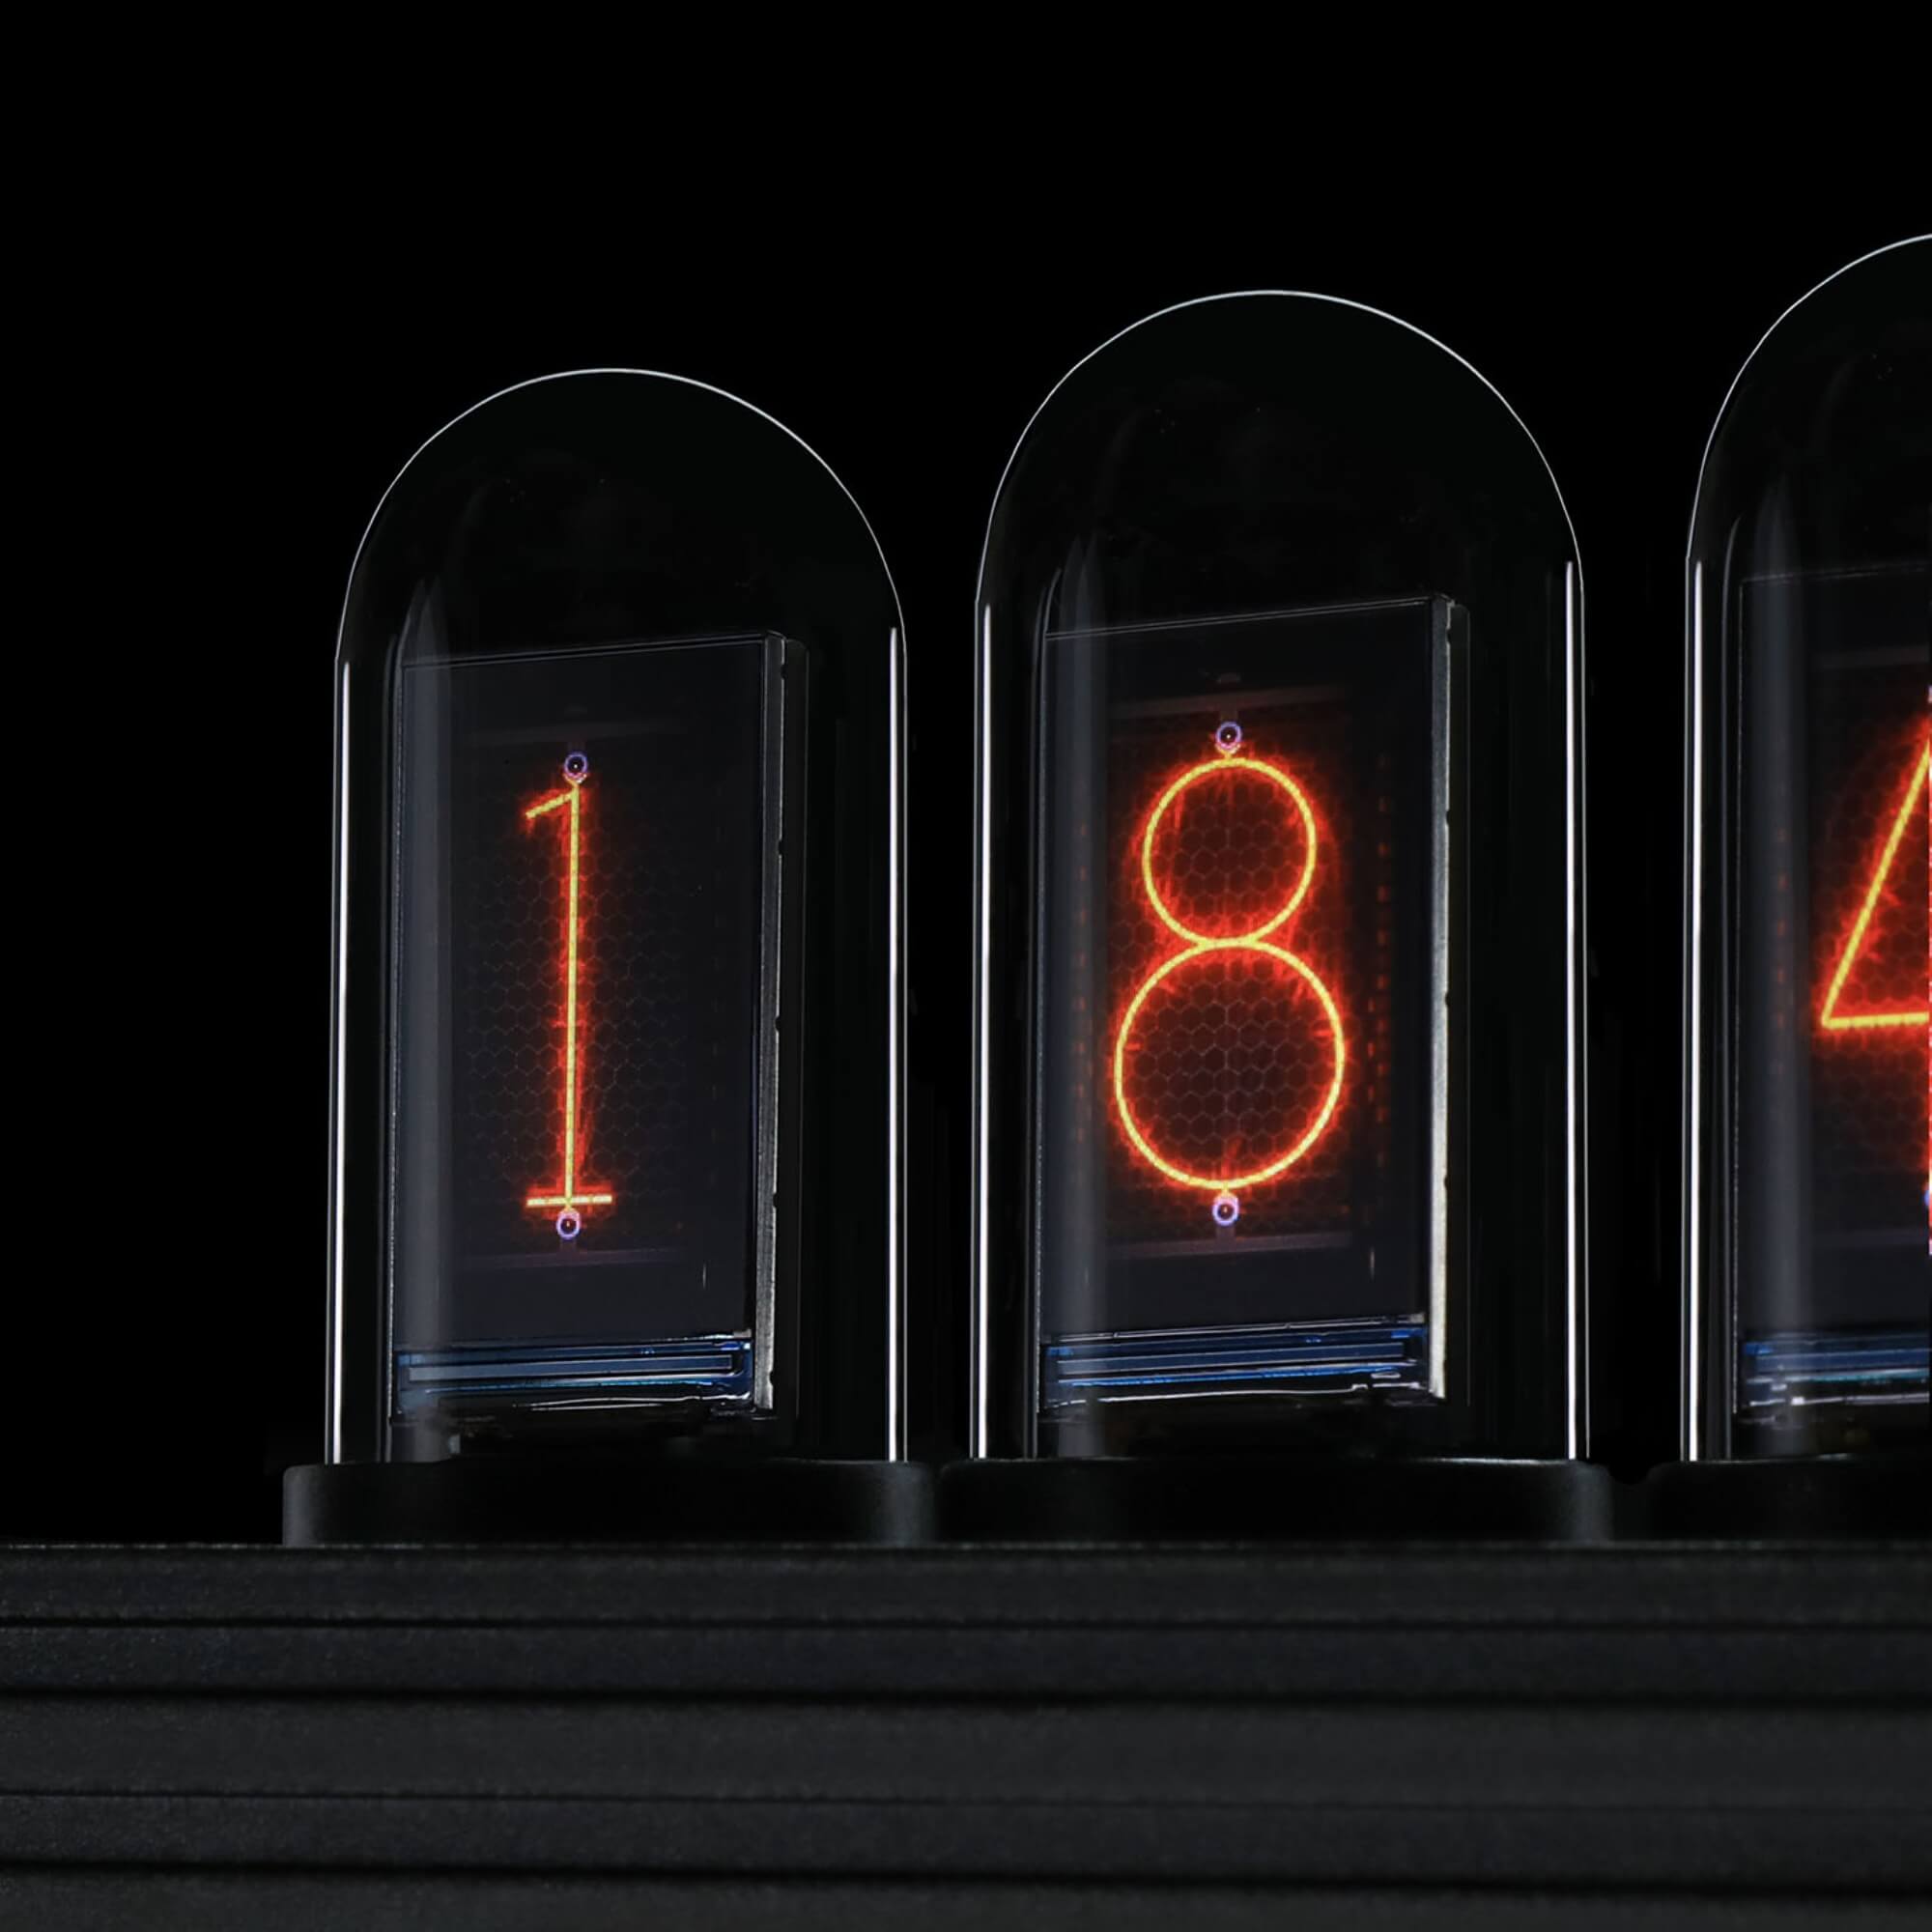
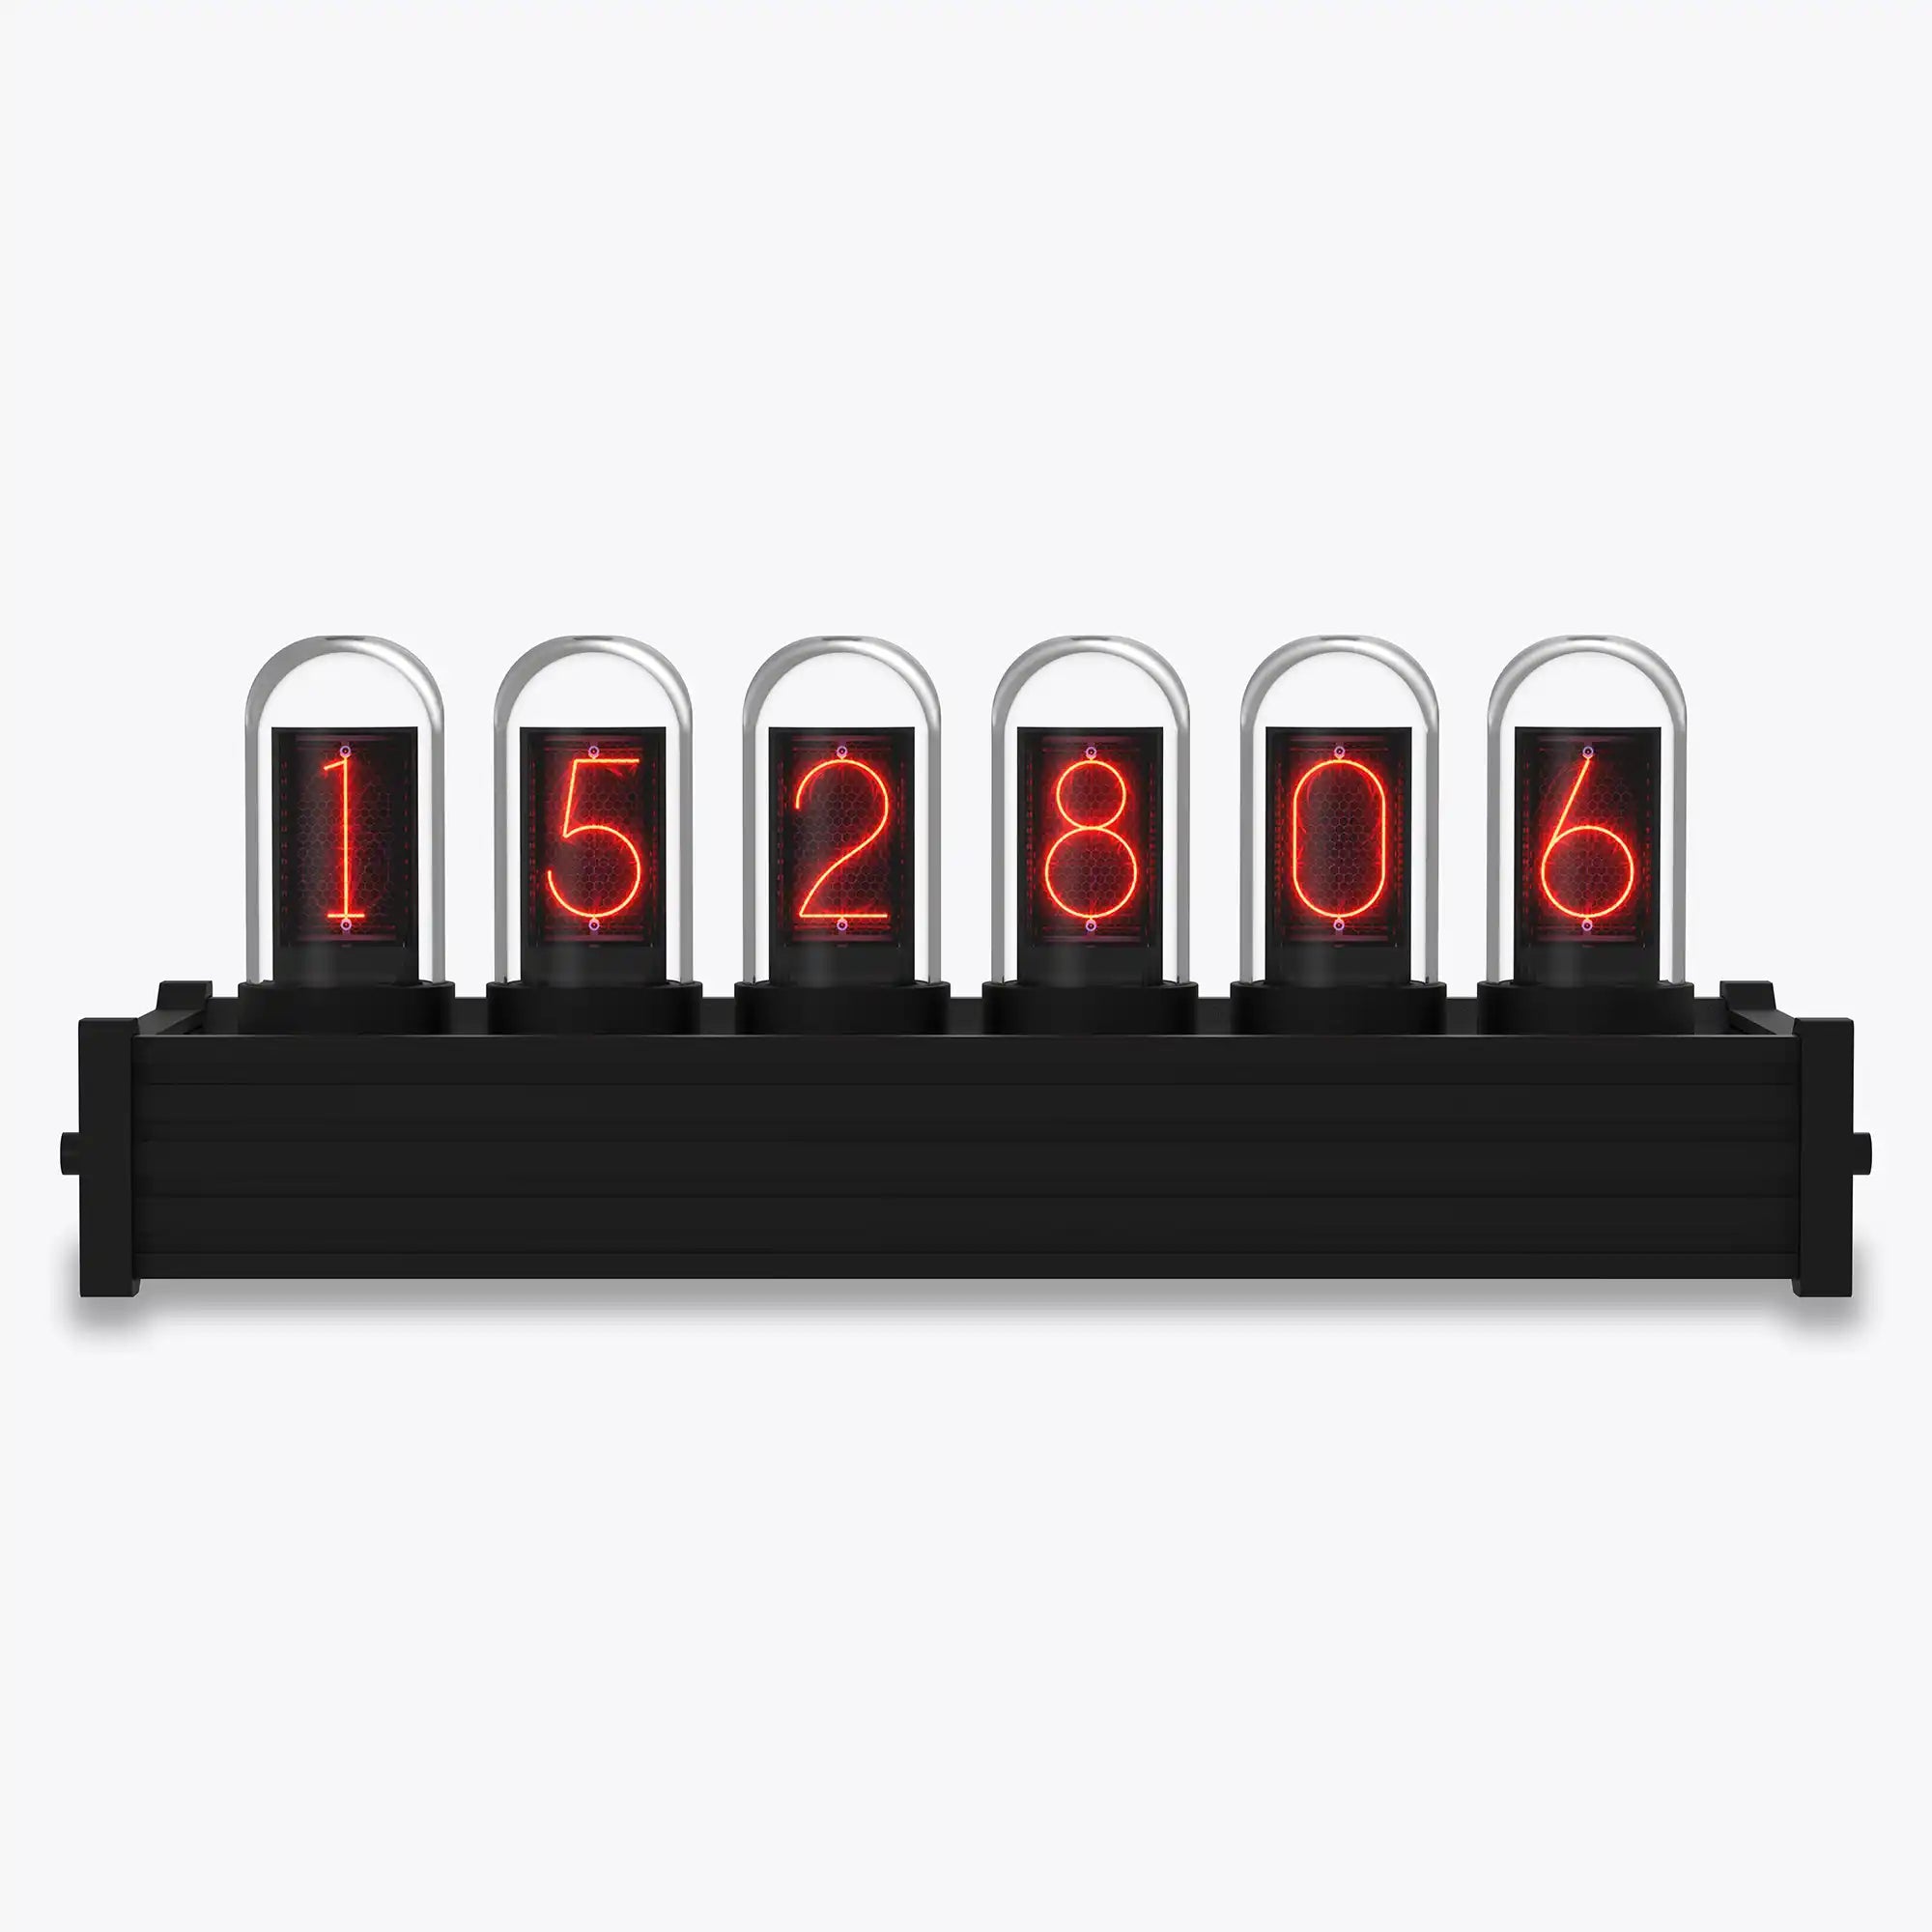
How We Reimagined the Glow
Instead of recreating the original tubes,
we focused on what made them unforgettable —
the glow.
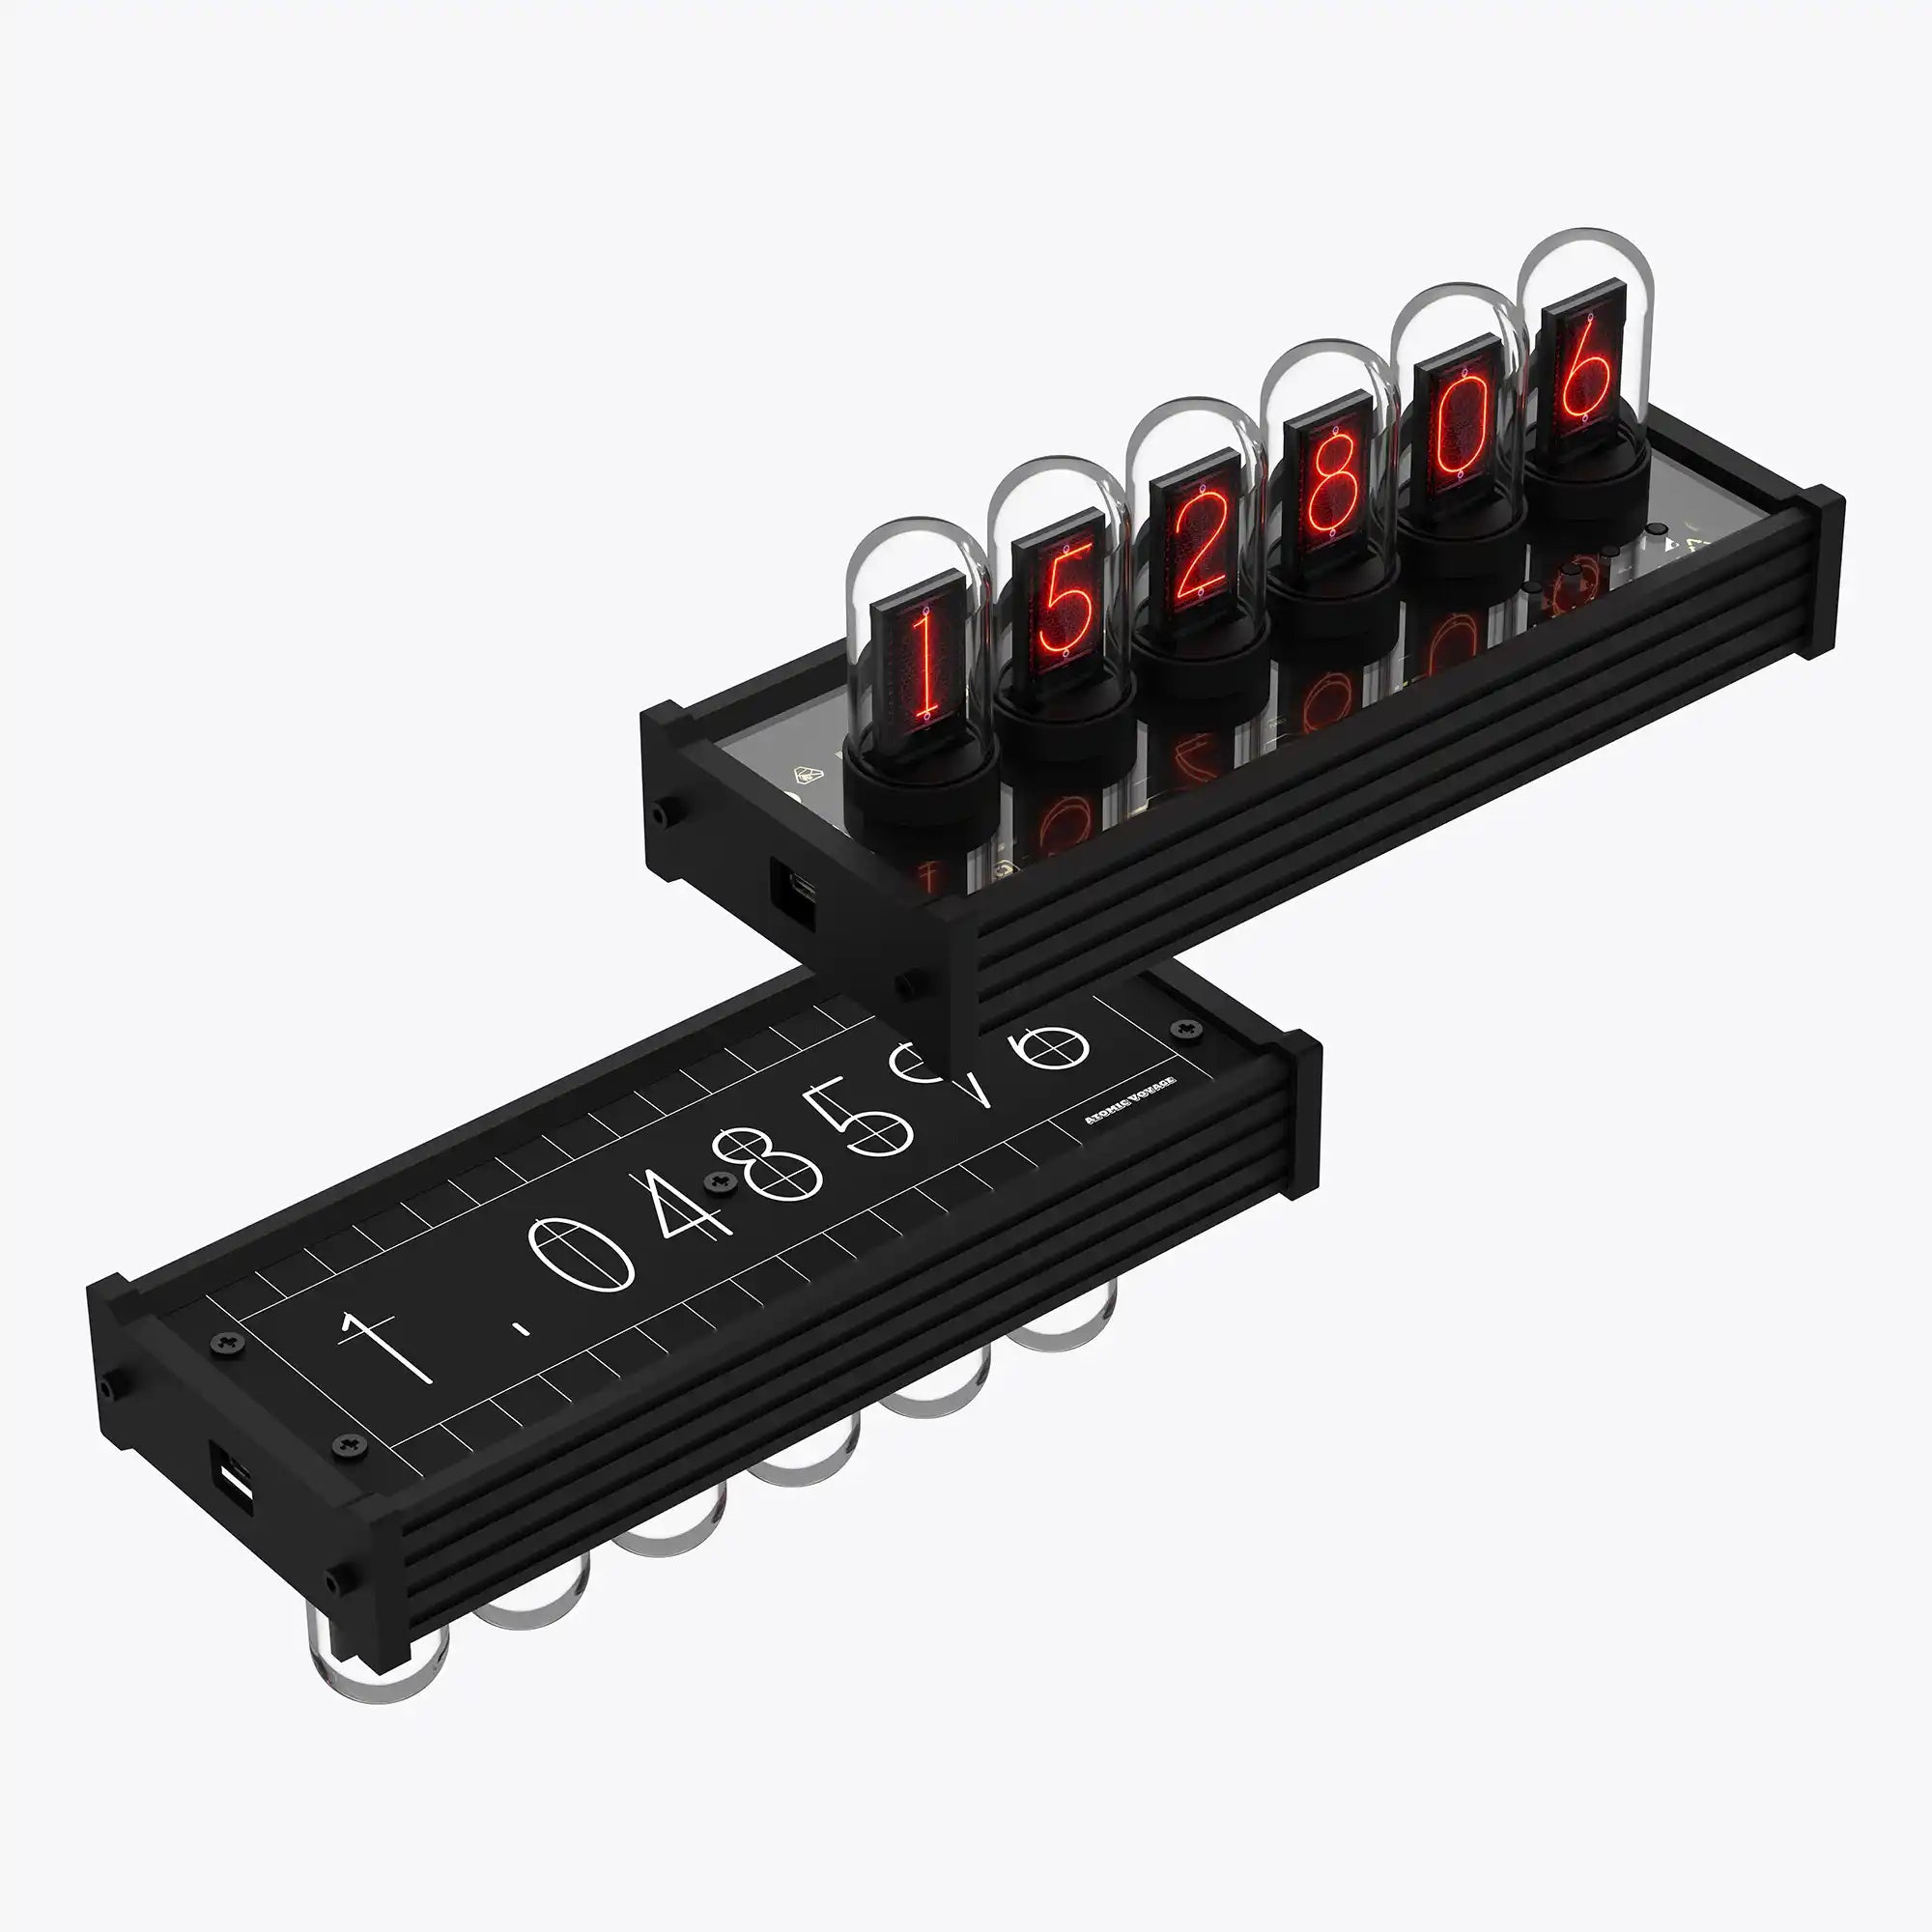
IPS carries that glow with a cleaner, more refined presence.
Its solid aluminum base adds weight,
stability, and a quiet sense of craft.
The essence of a Nixie glow,
grounded in metal.
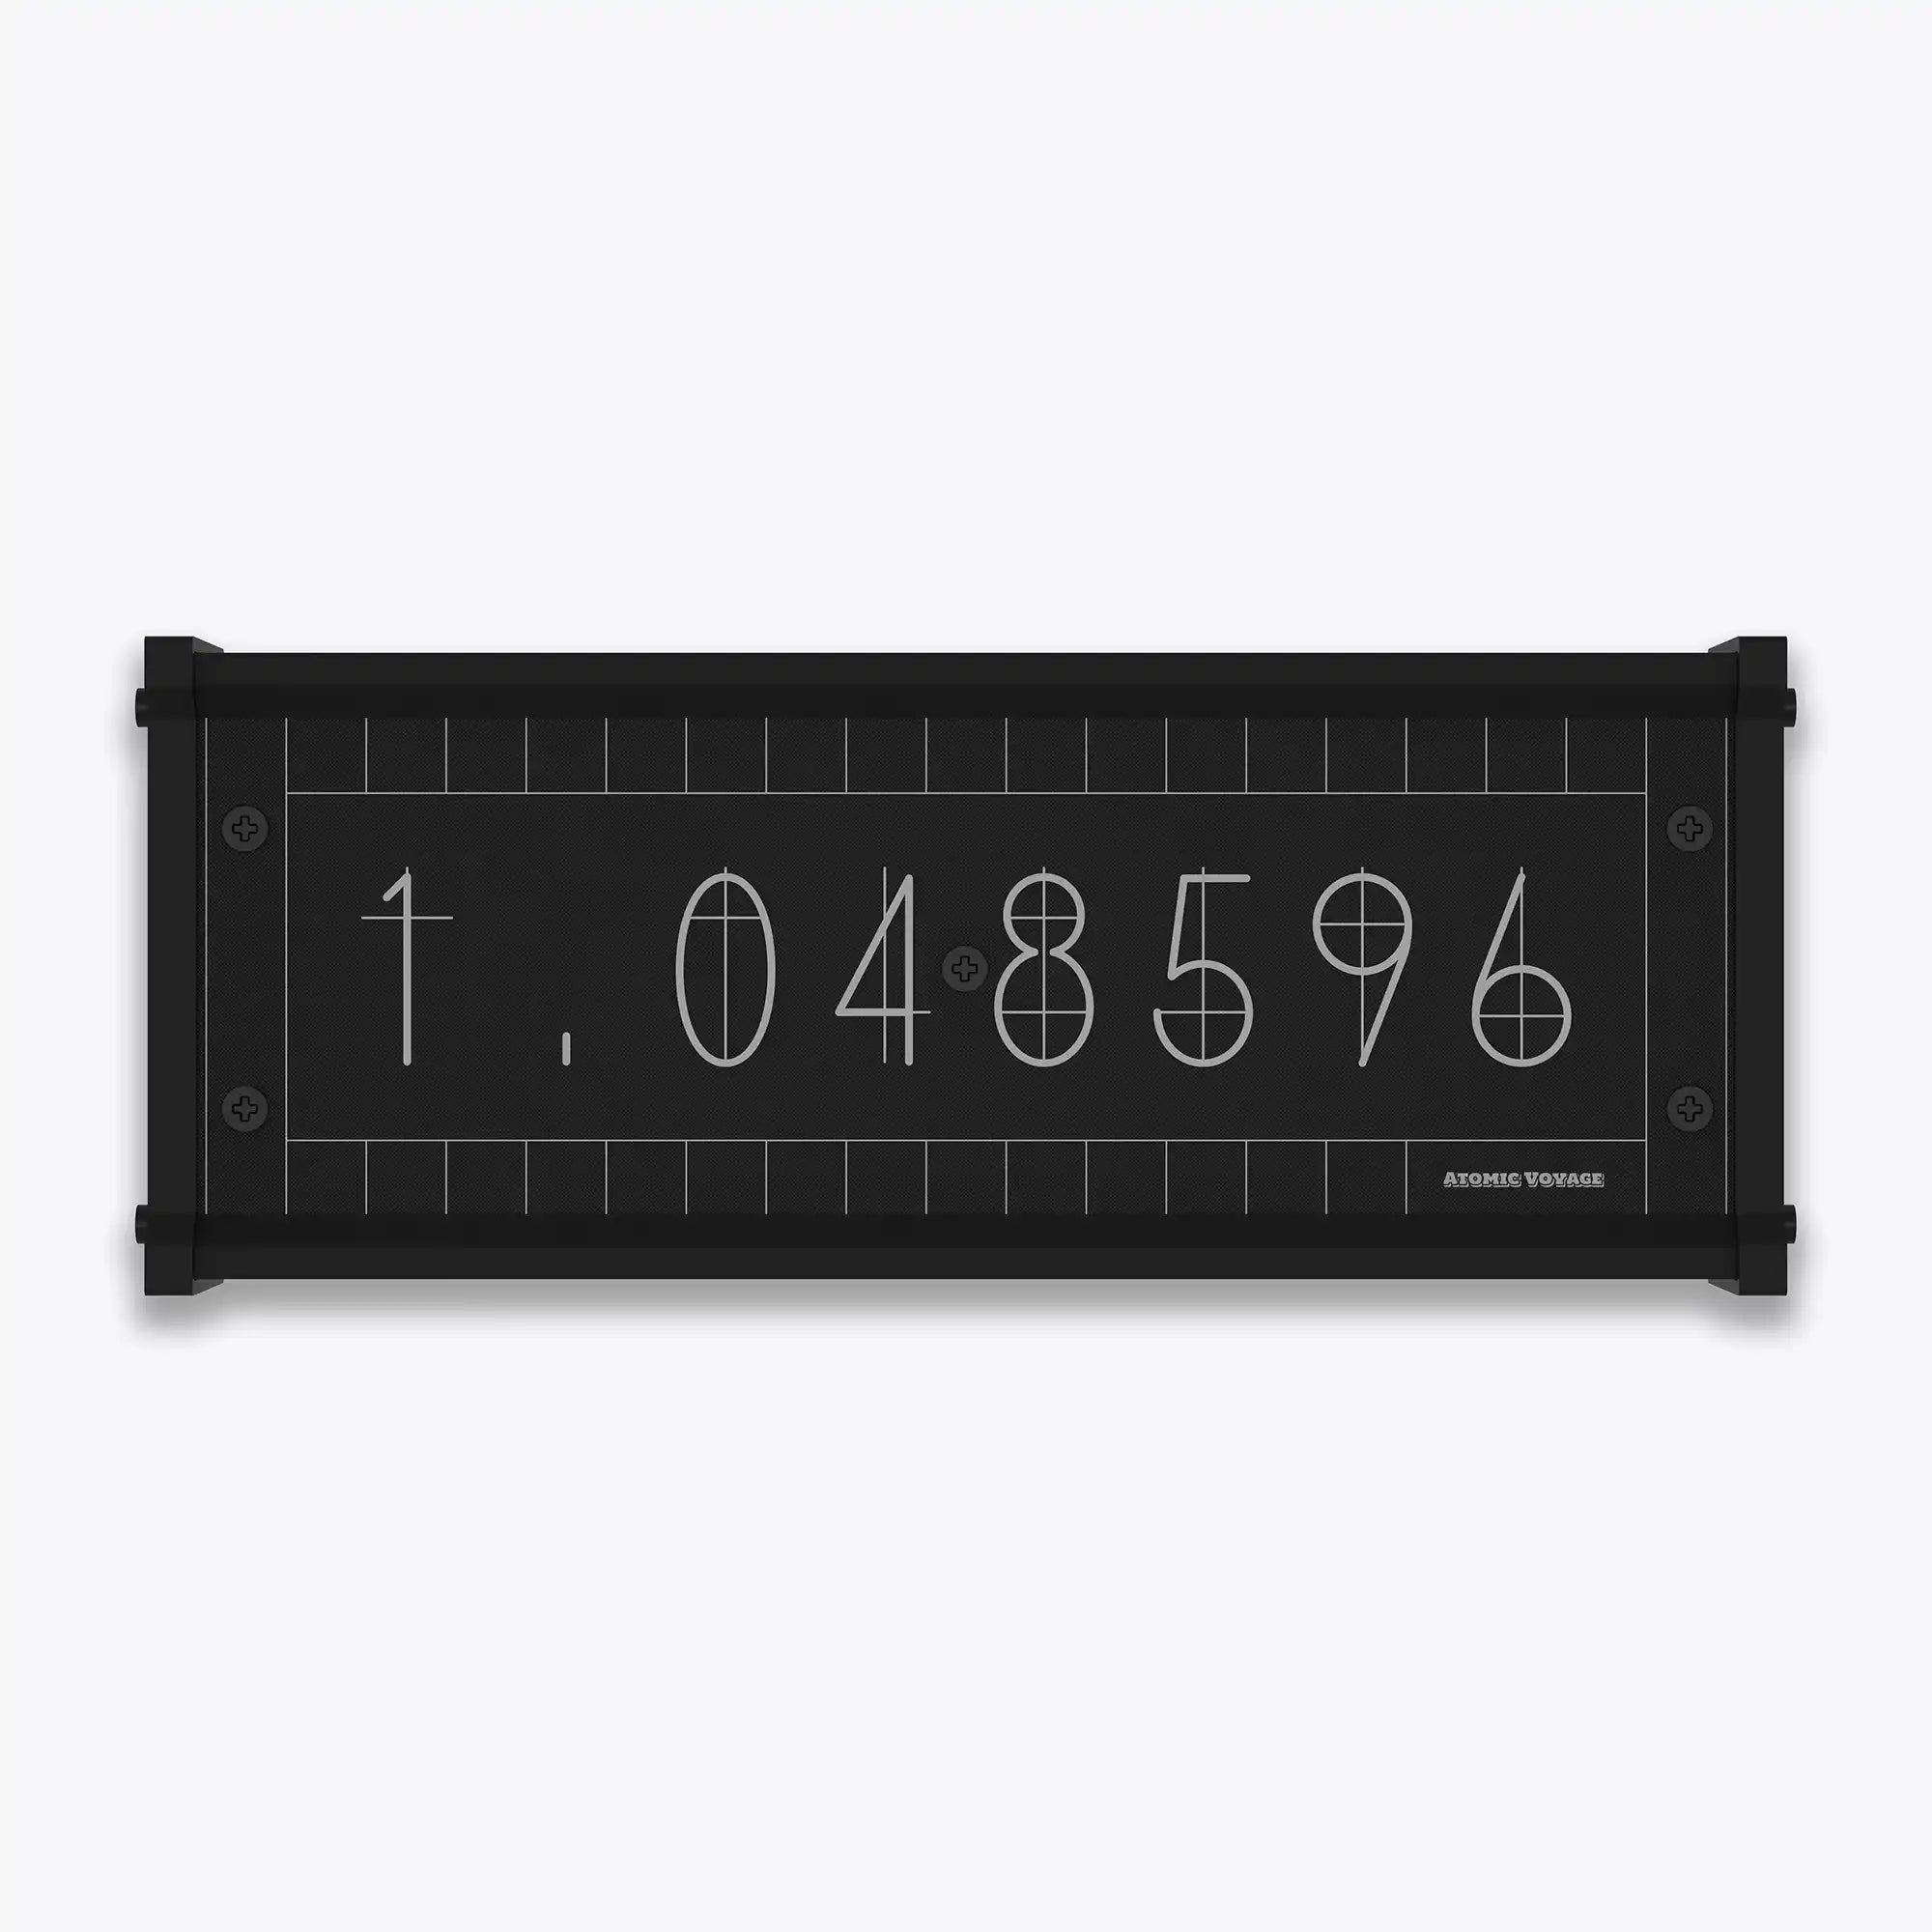
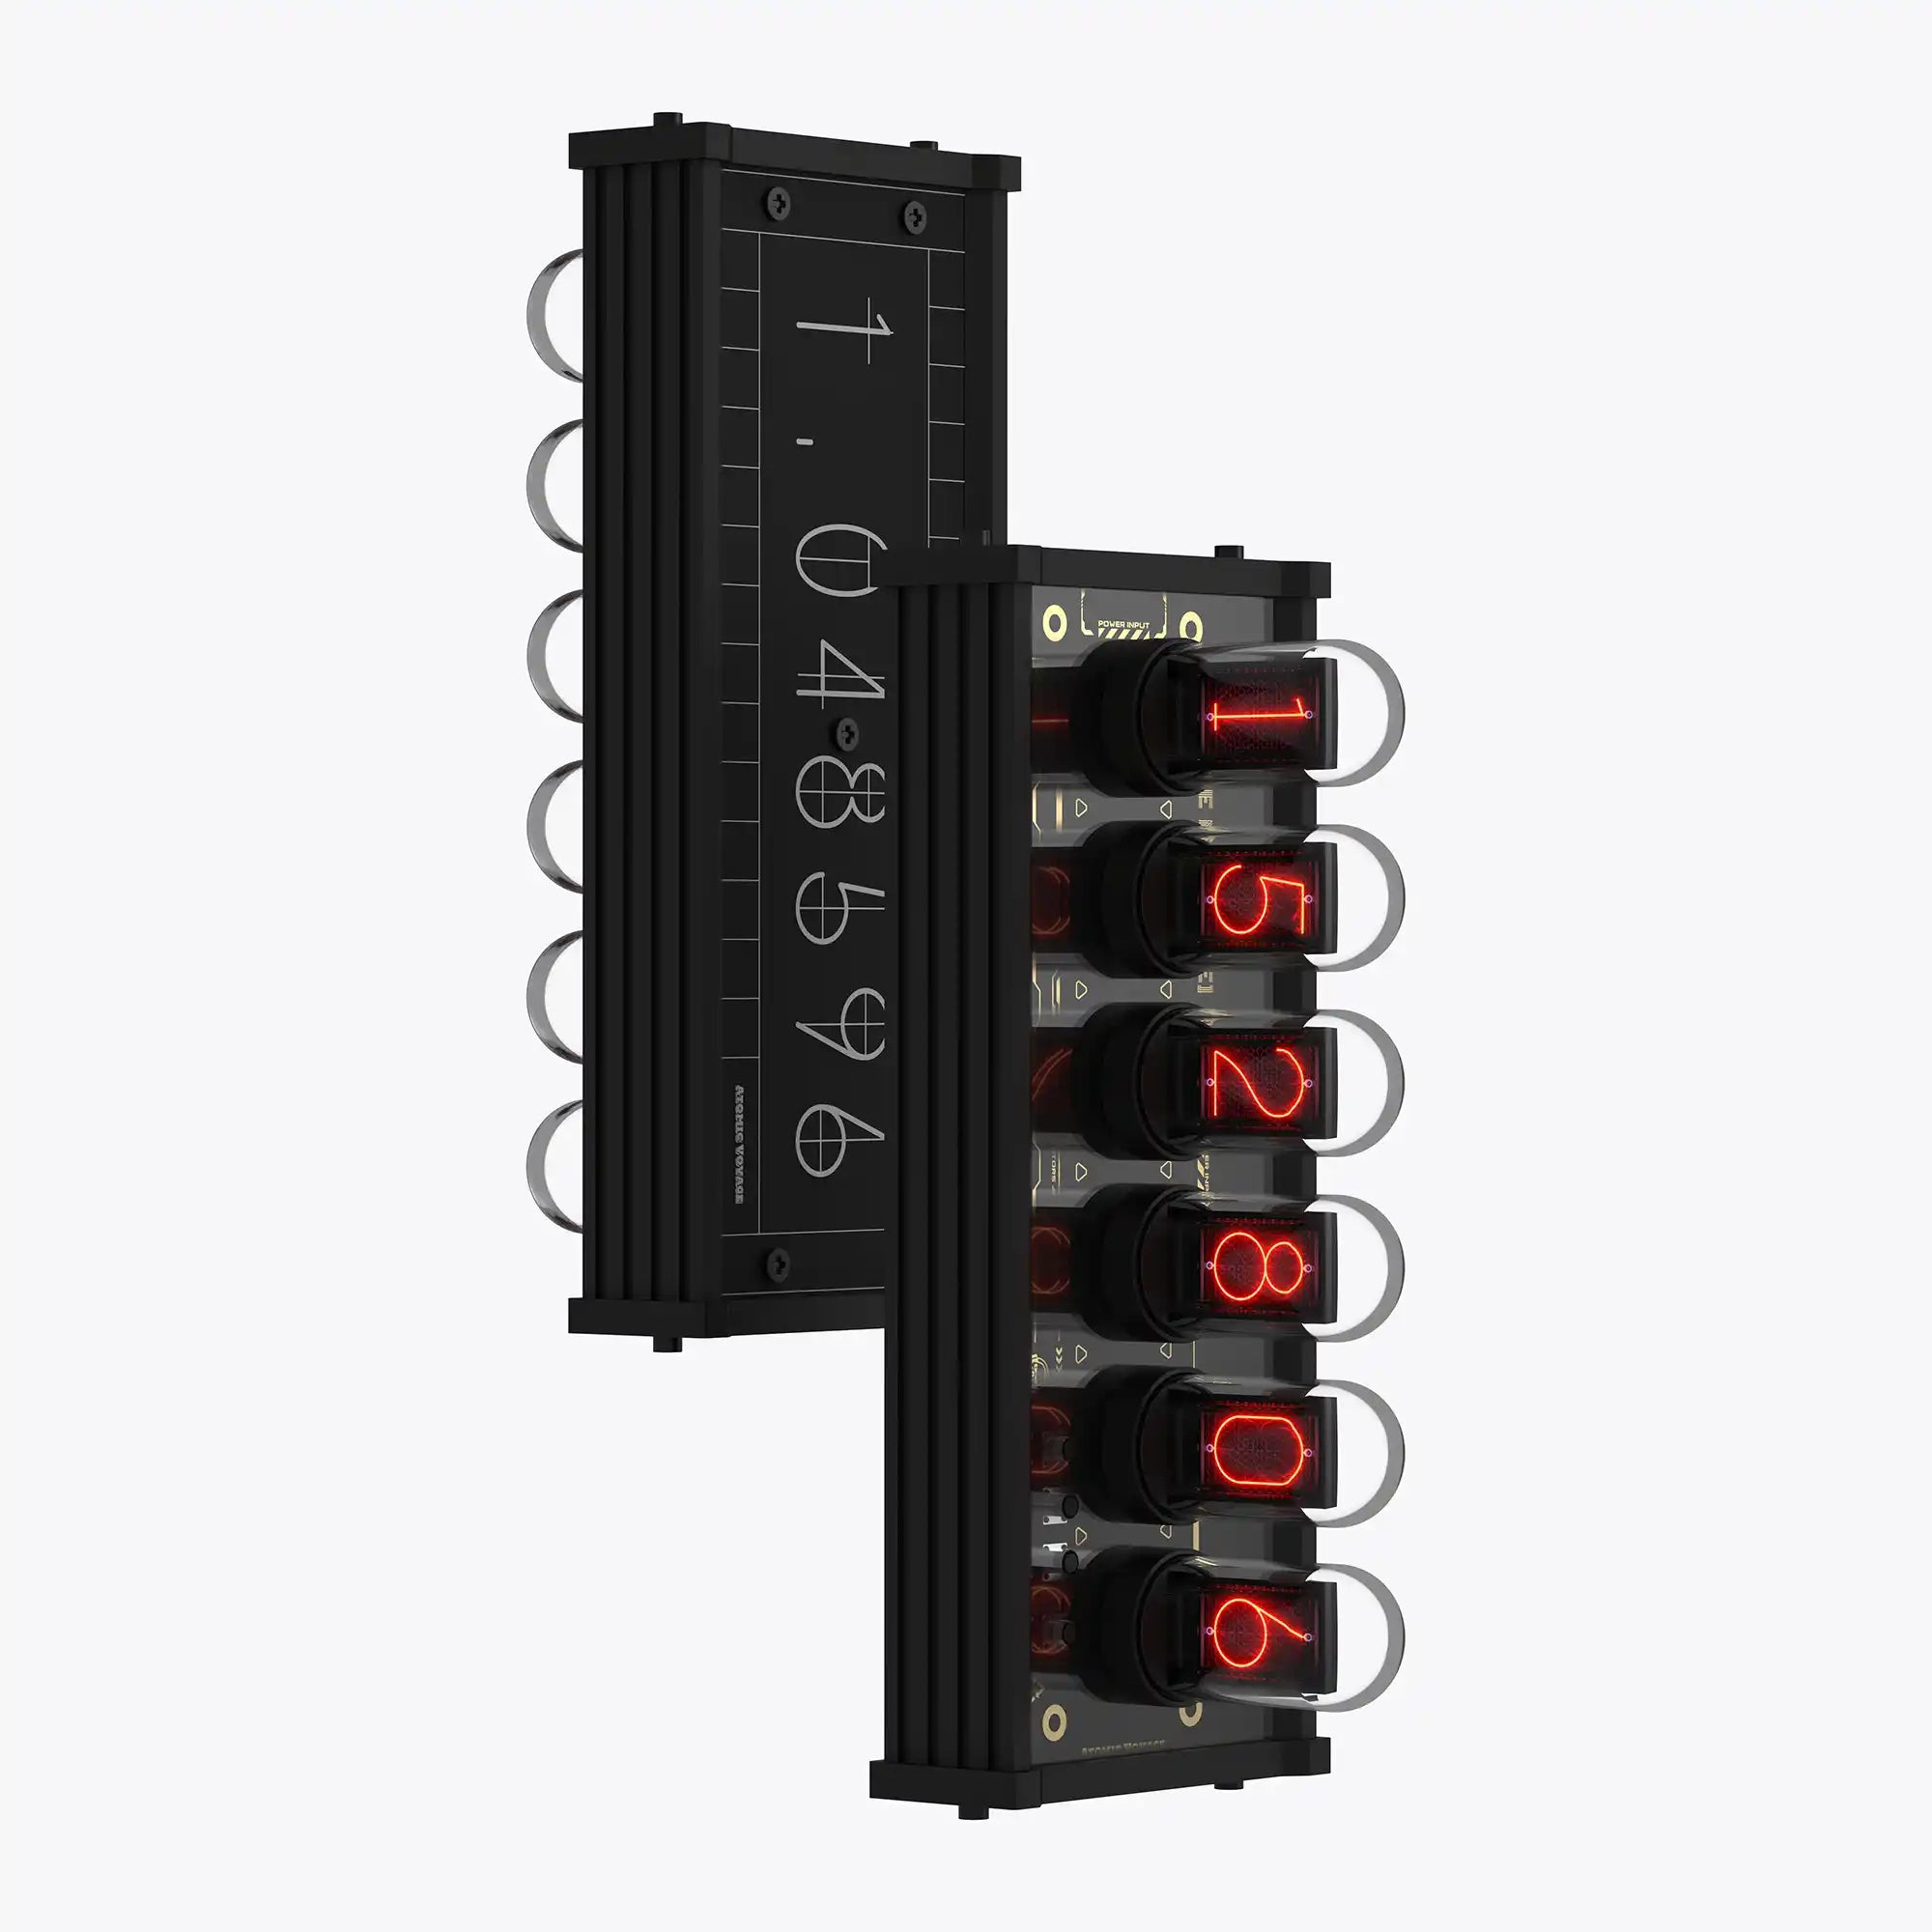
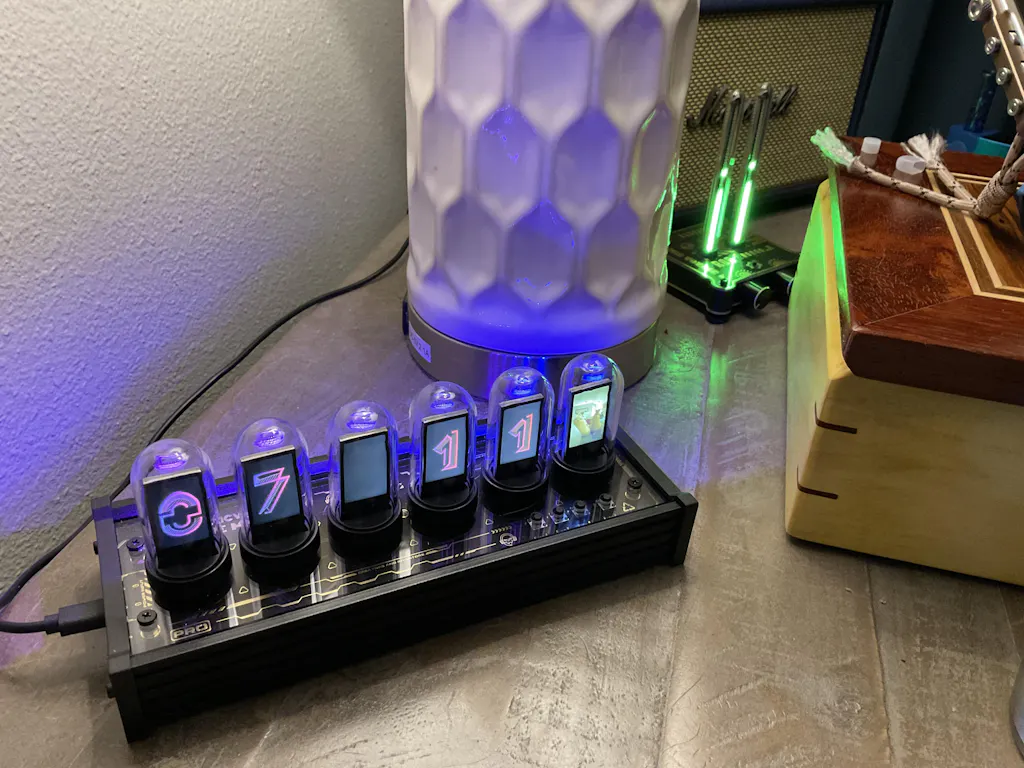
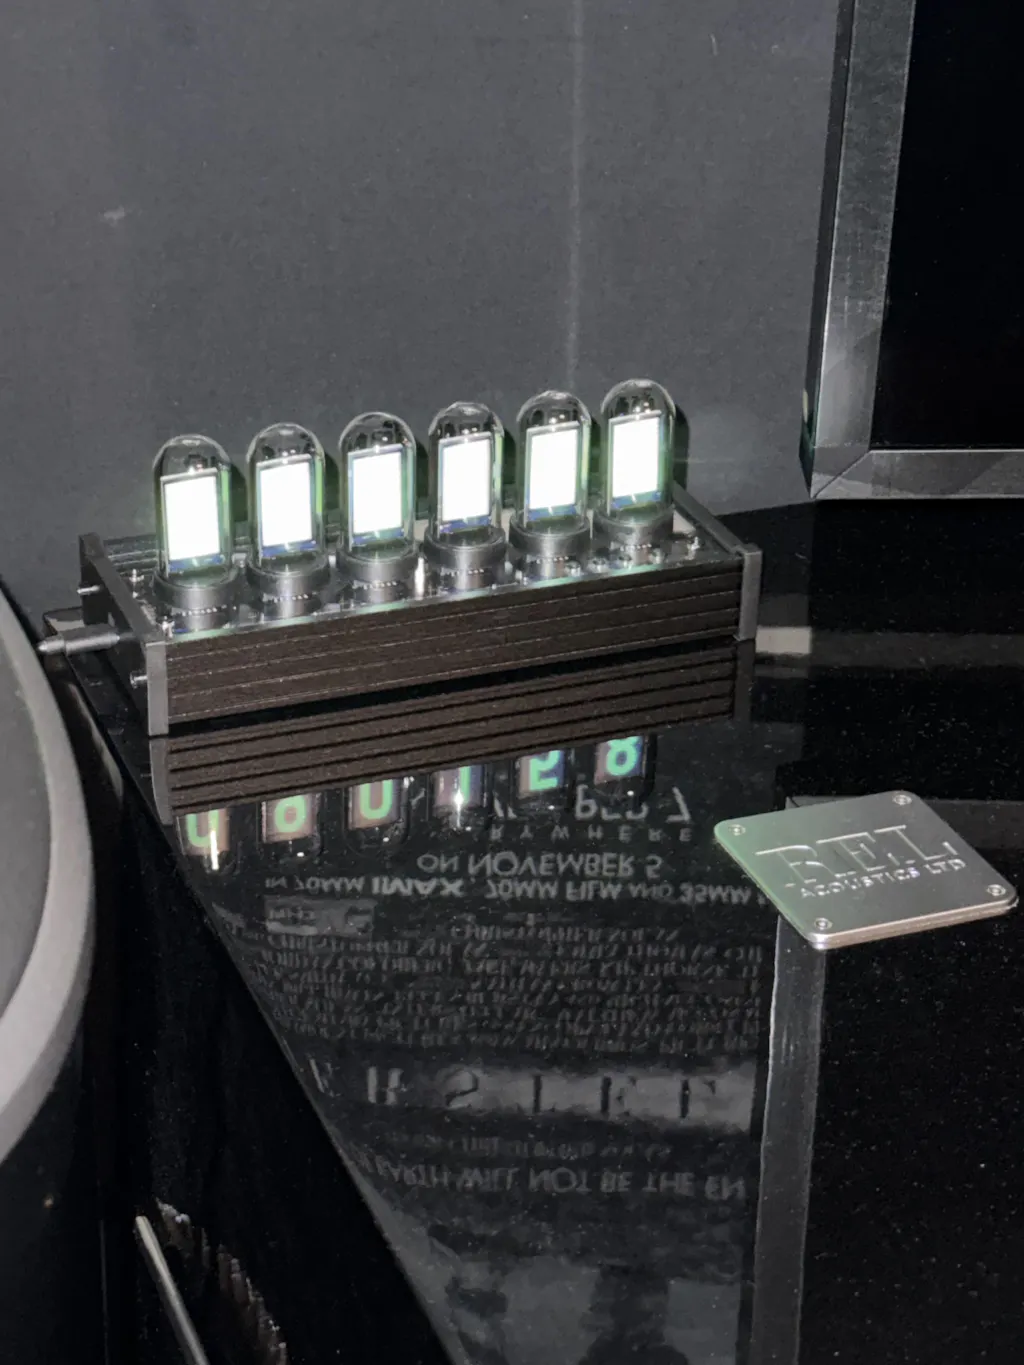
How It Lives in Your Space


From minimal digits to retro-inspired tubes —
styles that match your space, your rhythm, and your mood.


Weather, At a Glance
Your city. Your sky.
Always within reach.
Automatically synced with your local weather — temperature, conditions, and forecast in real time.


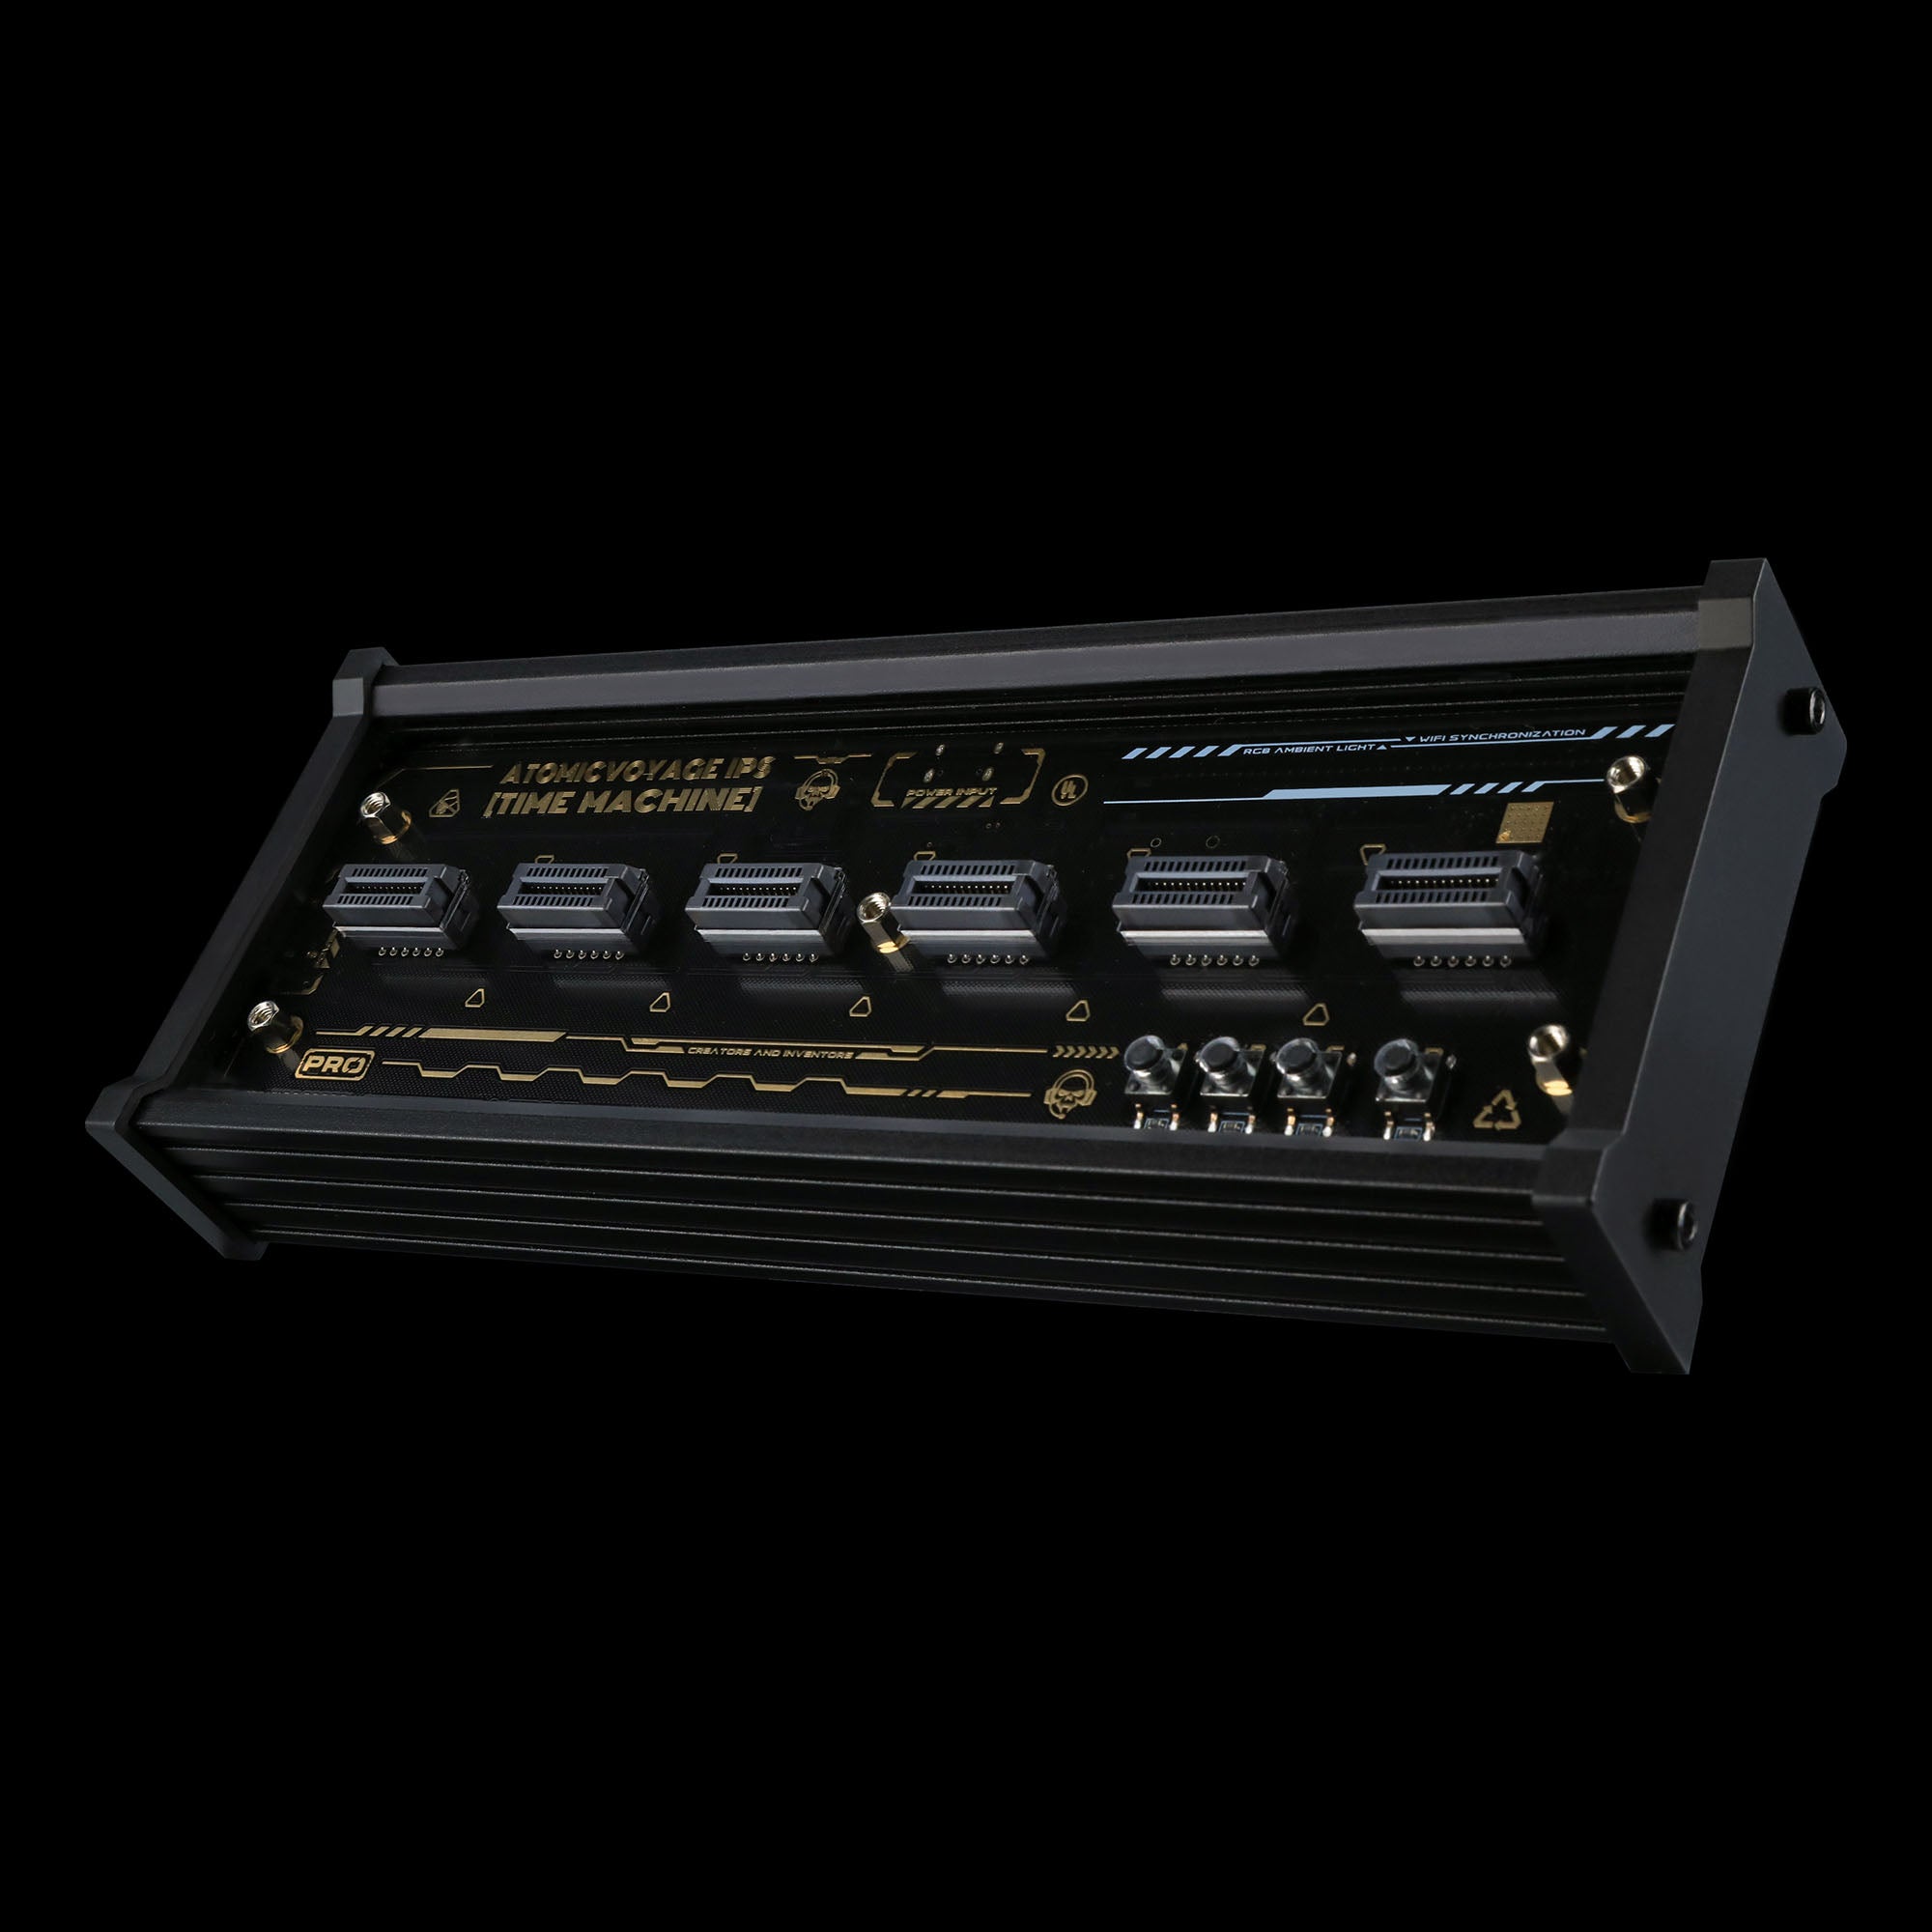
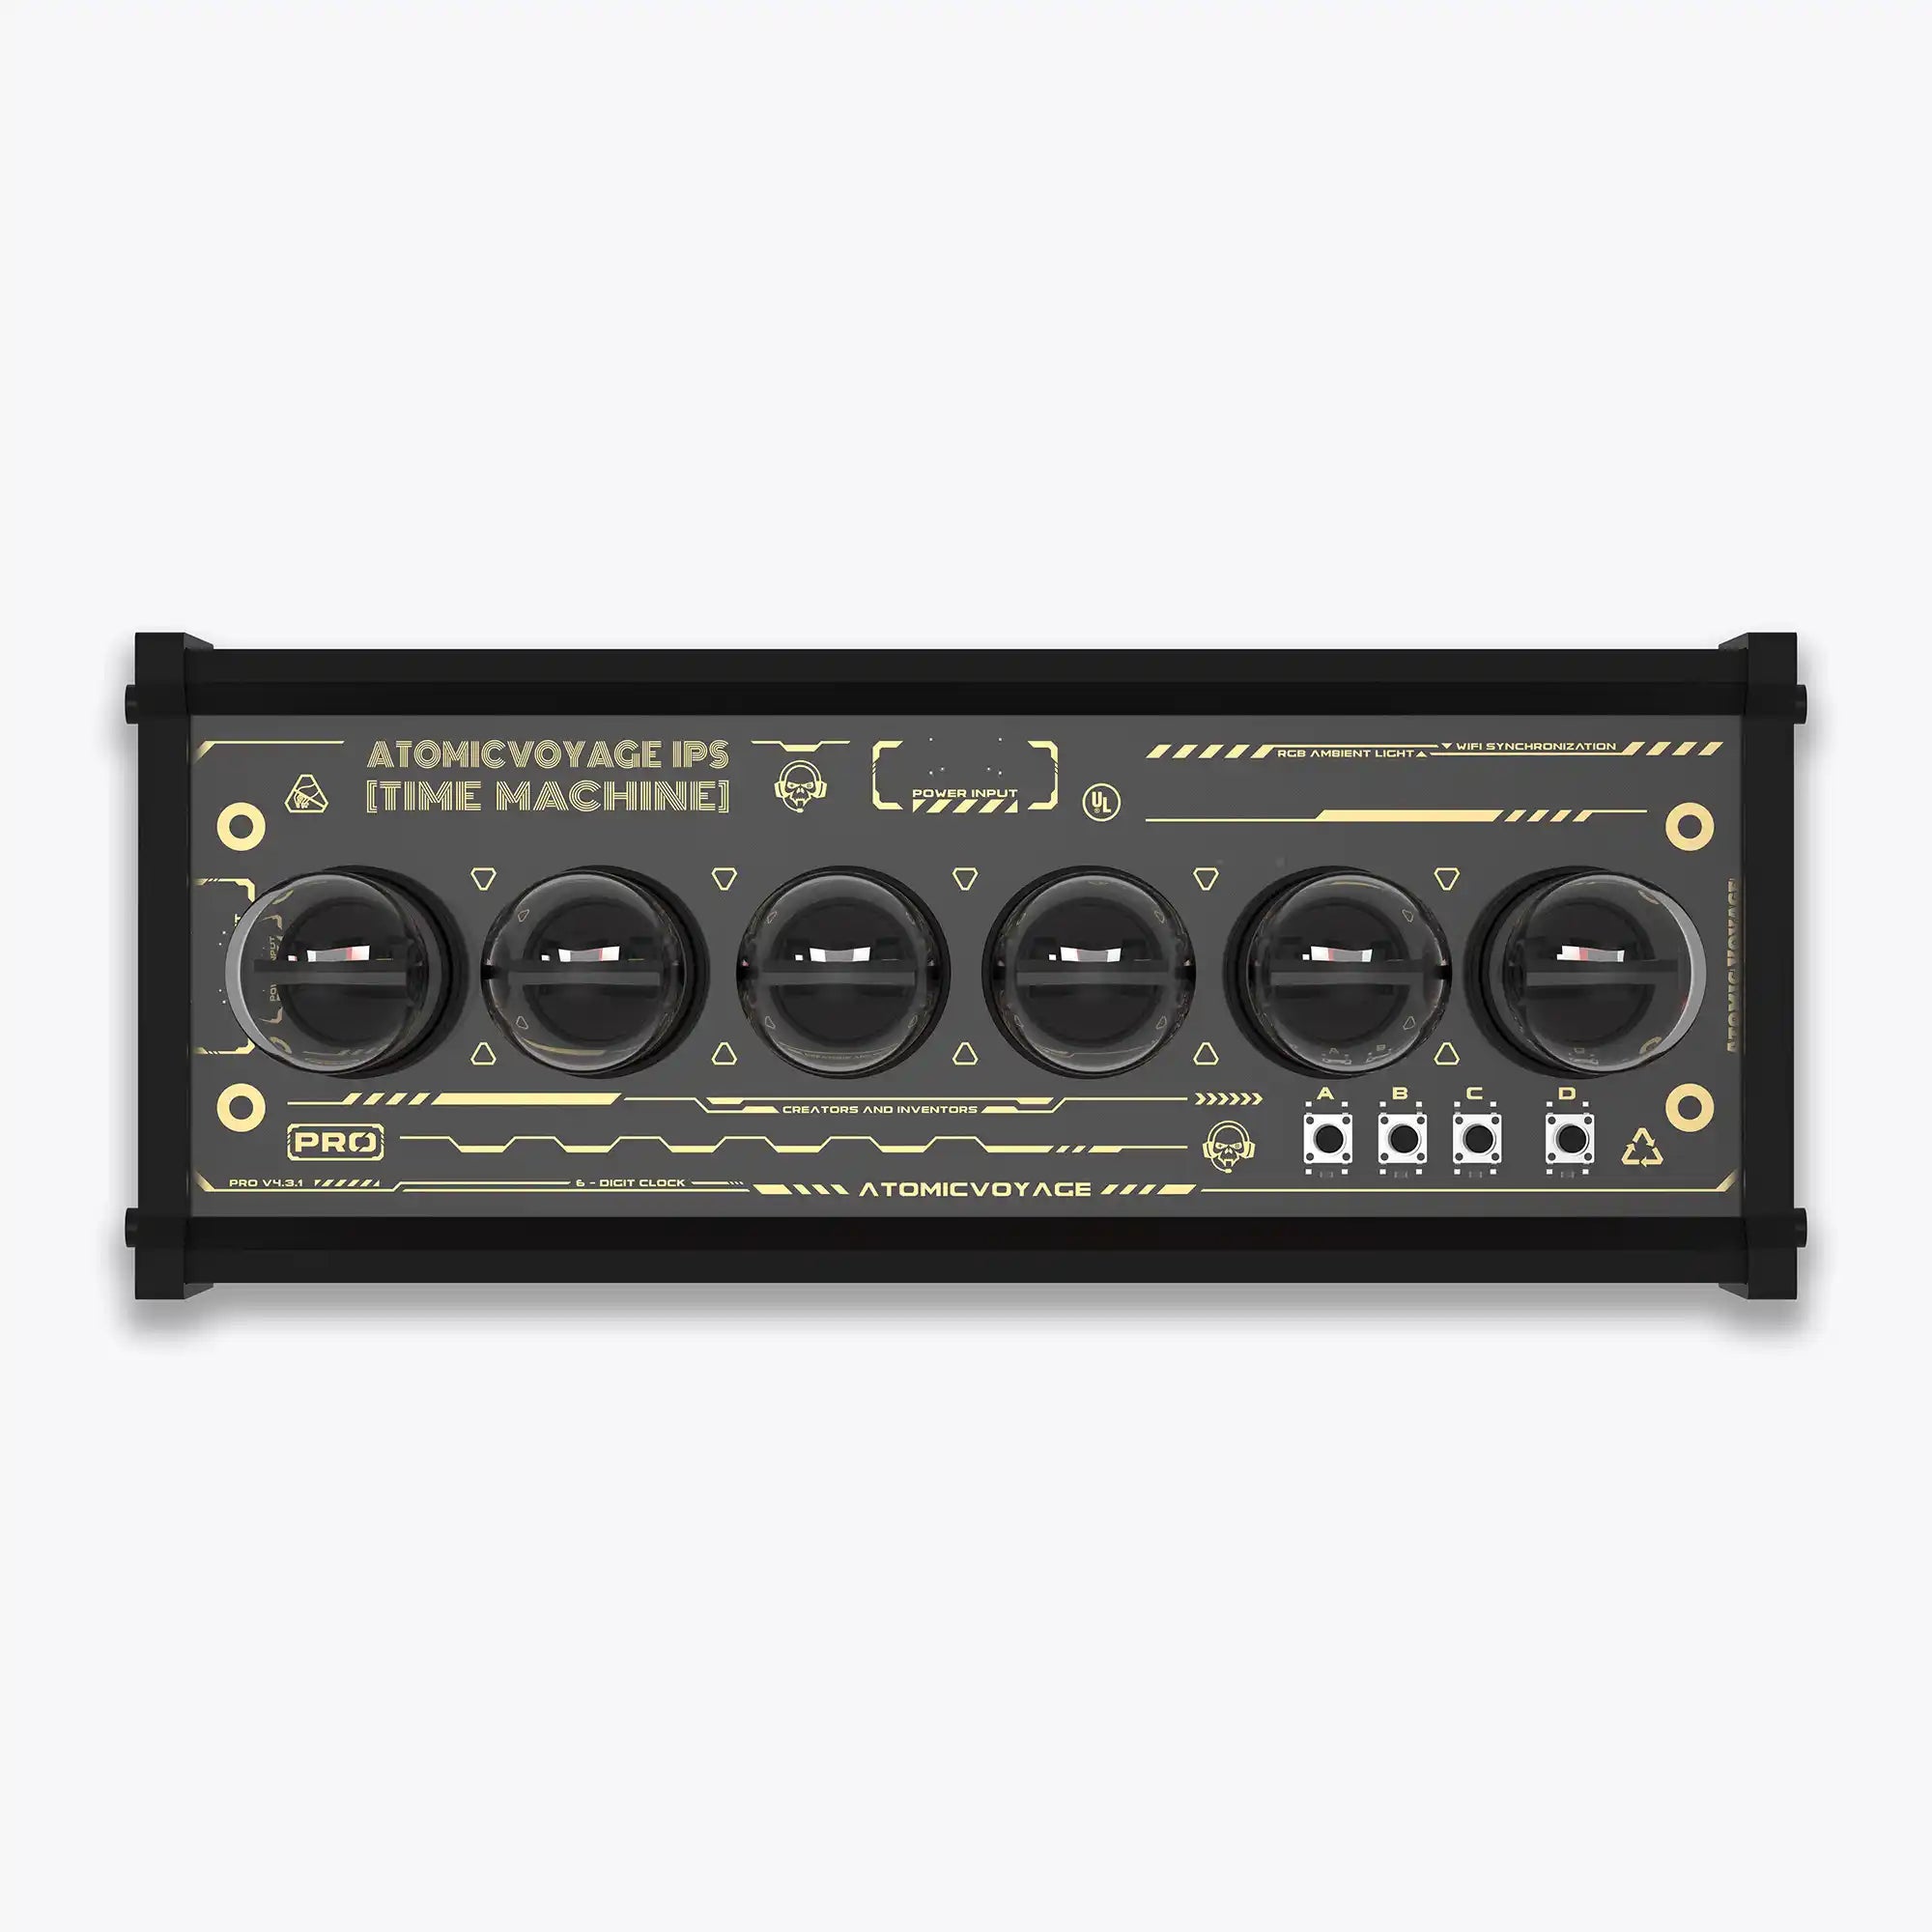
Crafted with Intention
Every detail is considered —
a custom black-and-gold PCB,
a soft matte finish,
and a solid aluminum base
that brings weight, stability,
and a quiet sense of precision.
Even diffusion, gentle transitions,
and a light that feels calm without losing clarity.
Thoughtful quality
in every part of IPS.
Tech Specs
What’s in the Box

Clock Unit
USB-C Cable

User Manual

Hex Key (Allen Key)

Non-slip Pad


Setup Guide/ Download Driver
Atomic Voyage Clock New WebUI Control Center Guide
Read moreabout Atomic Voyage Clock New WebUI Control Center Guide
How to Easily Set Up and Use Your Atomic Voyage WFD II
Read moreabout How to Easily Set Up and Use Your Atomic Voyage WFD II
Setup IPS Clock in a few easy steps
FAQs
Please read our FAQs page to find out more.
What’s the difference between IPS, PR2, PR3, and PRO models?
The only difference is the base material: IPS (aluminum alloy), PR2/PR3 (strengthened nylon), PRO (CNC-milled aluminum).
How do I exit the settings and return to the clock display?
Press Button D to exit settings and return to the clock display.
What kind of power supply does it need?
Any 5V / 1A USB adapter works. (Adapter not included.)
Does the clock need to stay connected to a computer?
No. A computer is only required for setup or uploading faces. Daily use just needs USB-C power.
How does the clock keep accurate time?
With built-in Wi-Fi and NTP sync, your clock stays always accurate.
Do I need to update firmware to use Web Control Center?
Yes. All units ship with factory firmware. Updating is optional — but required for Web Control Center features.
What if I don’t want to update?
No problem. The clock works normally out of the box. Updating only unlocks Web Control Center features.