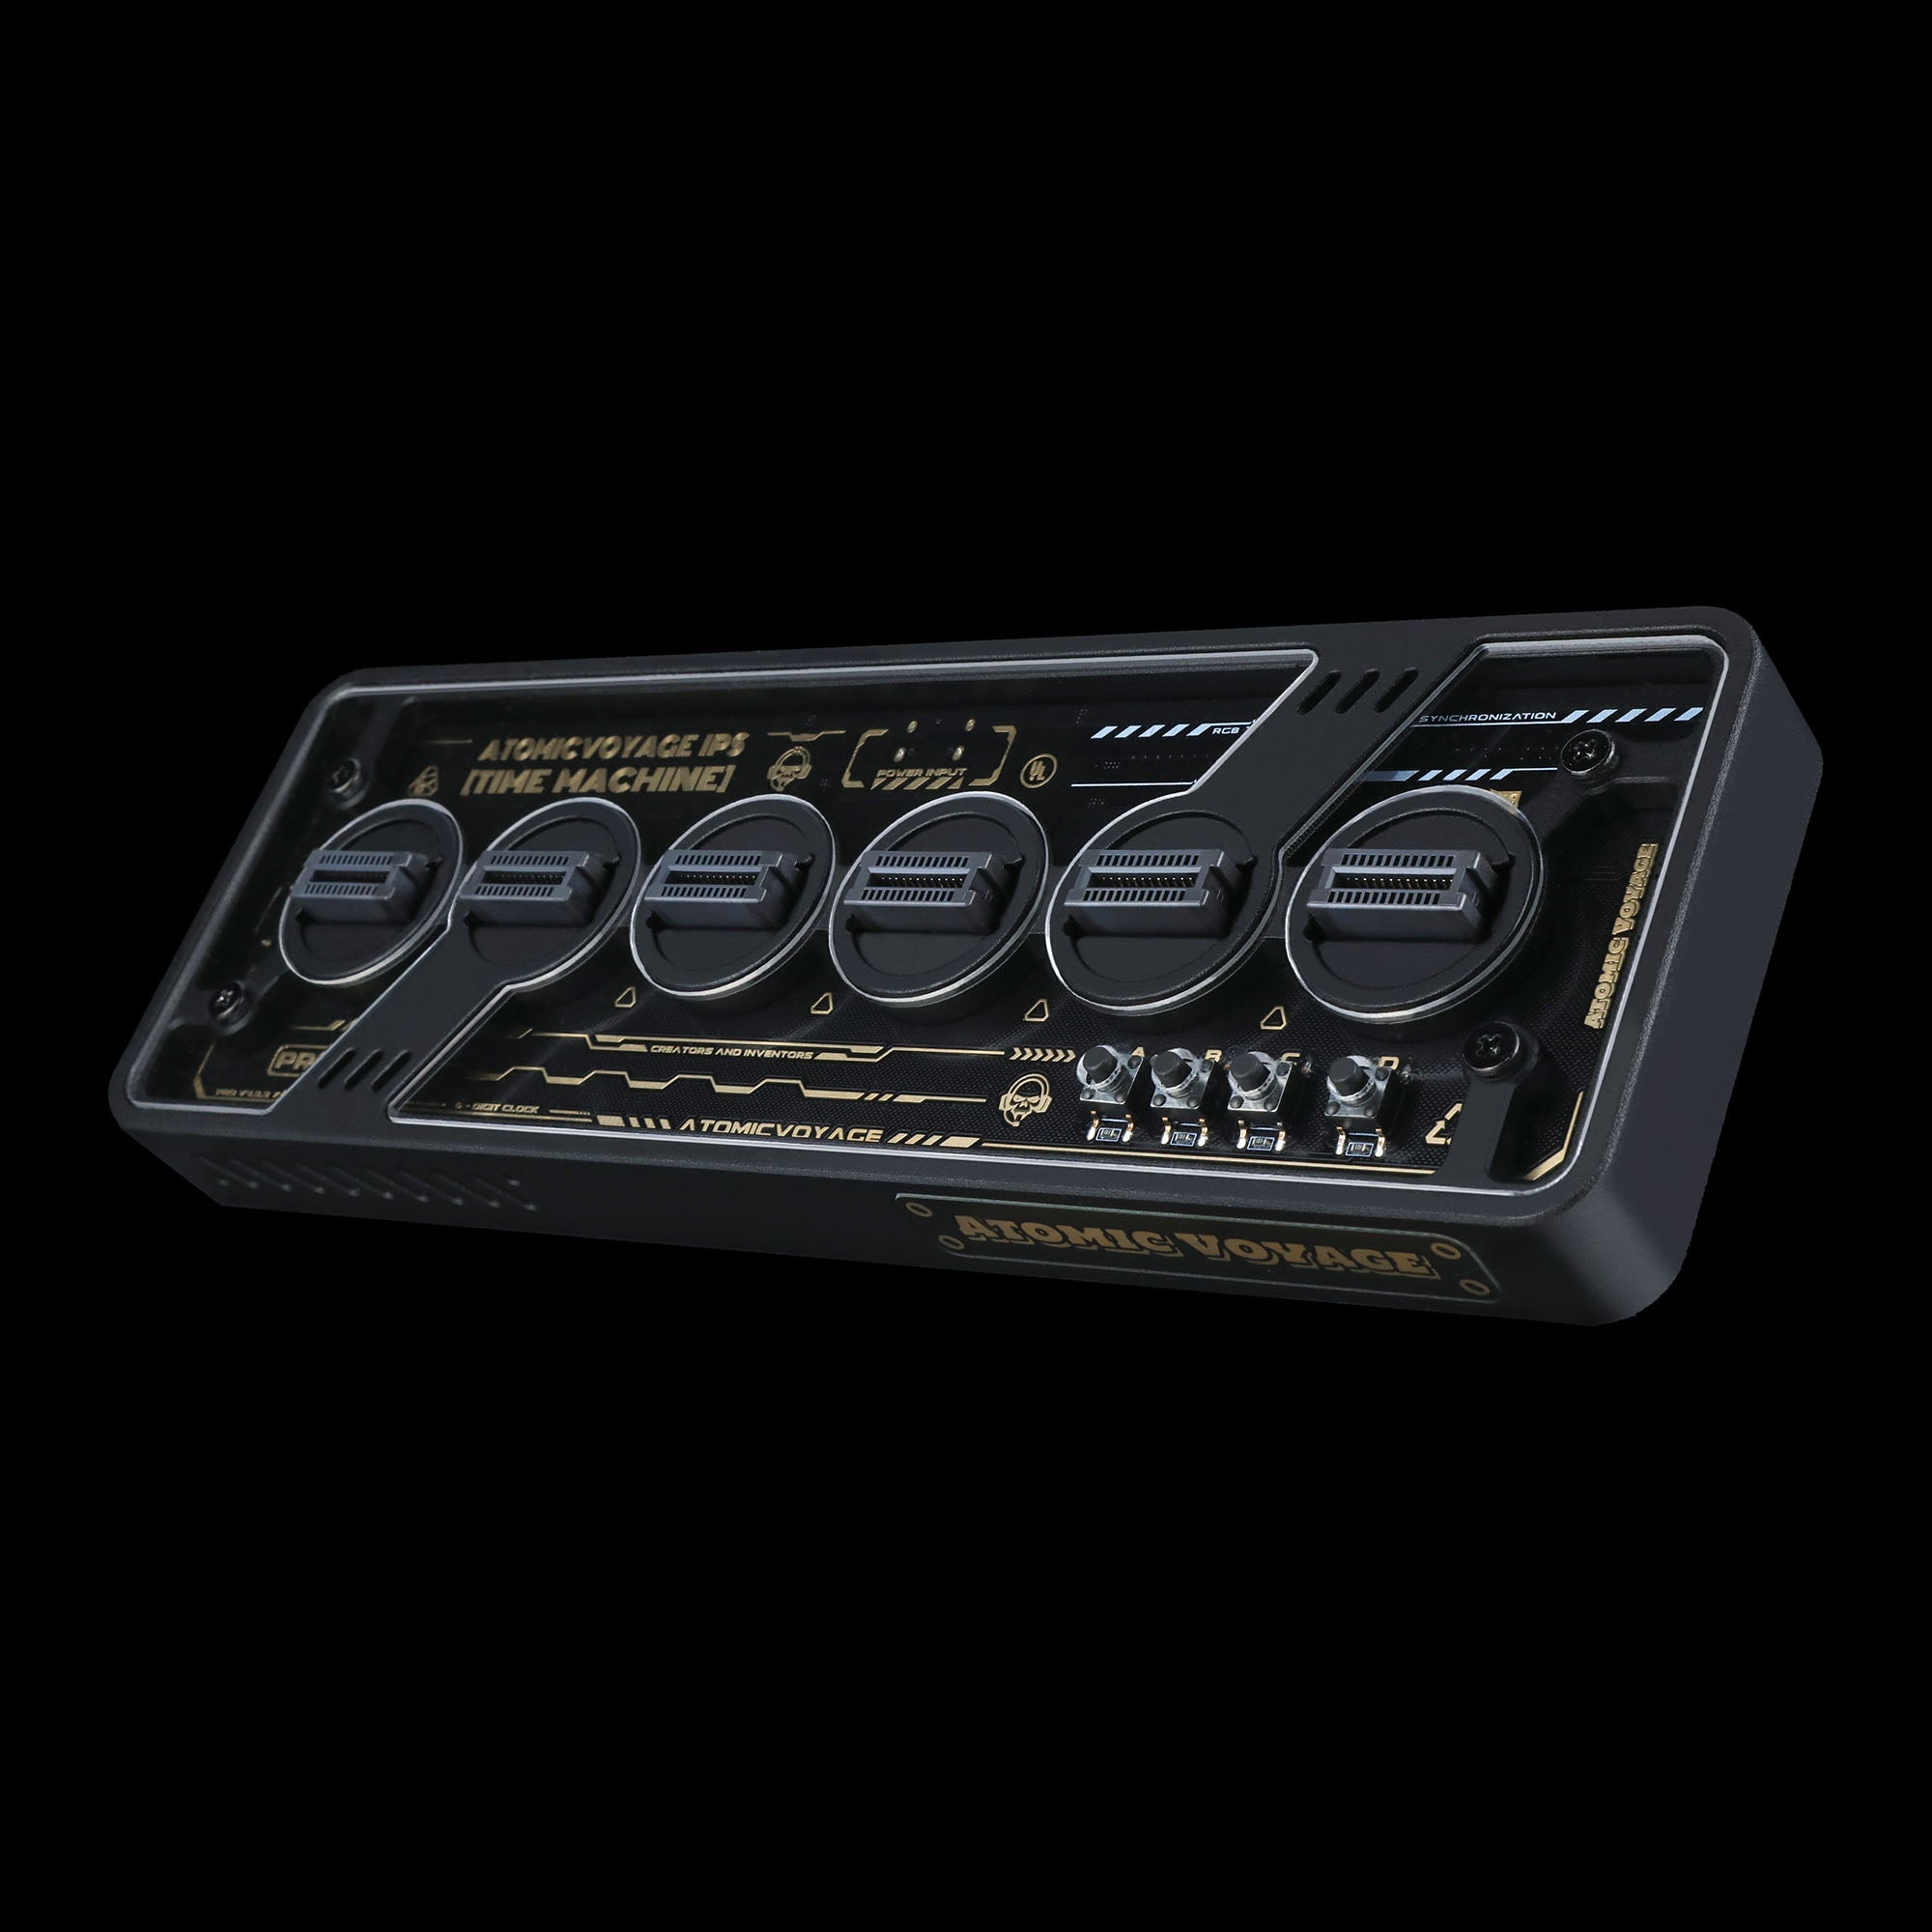

PRO
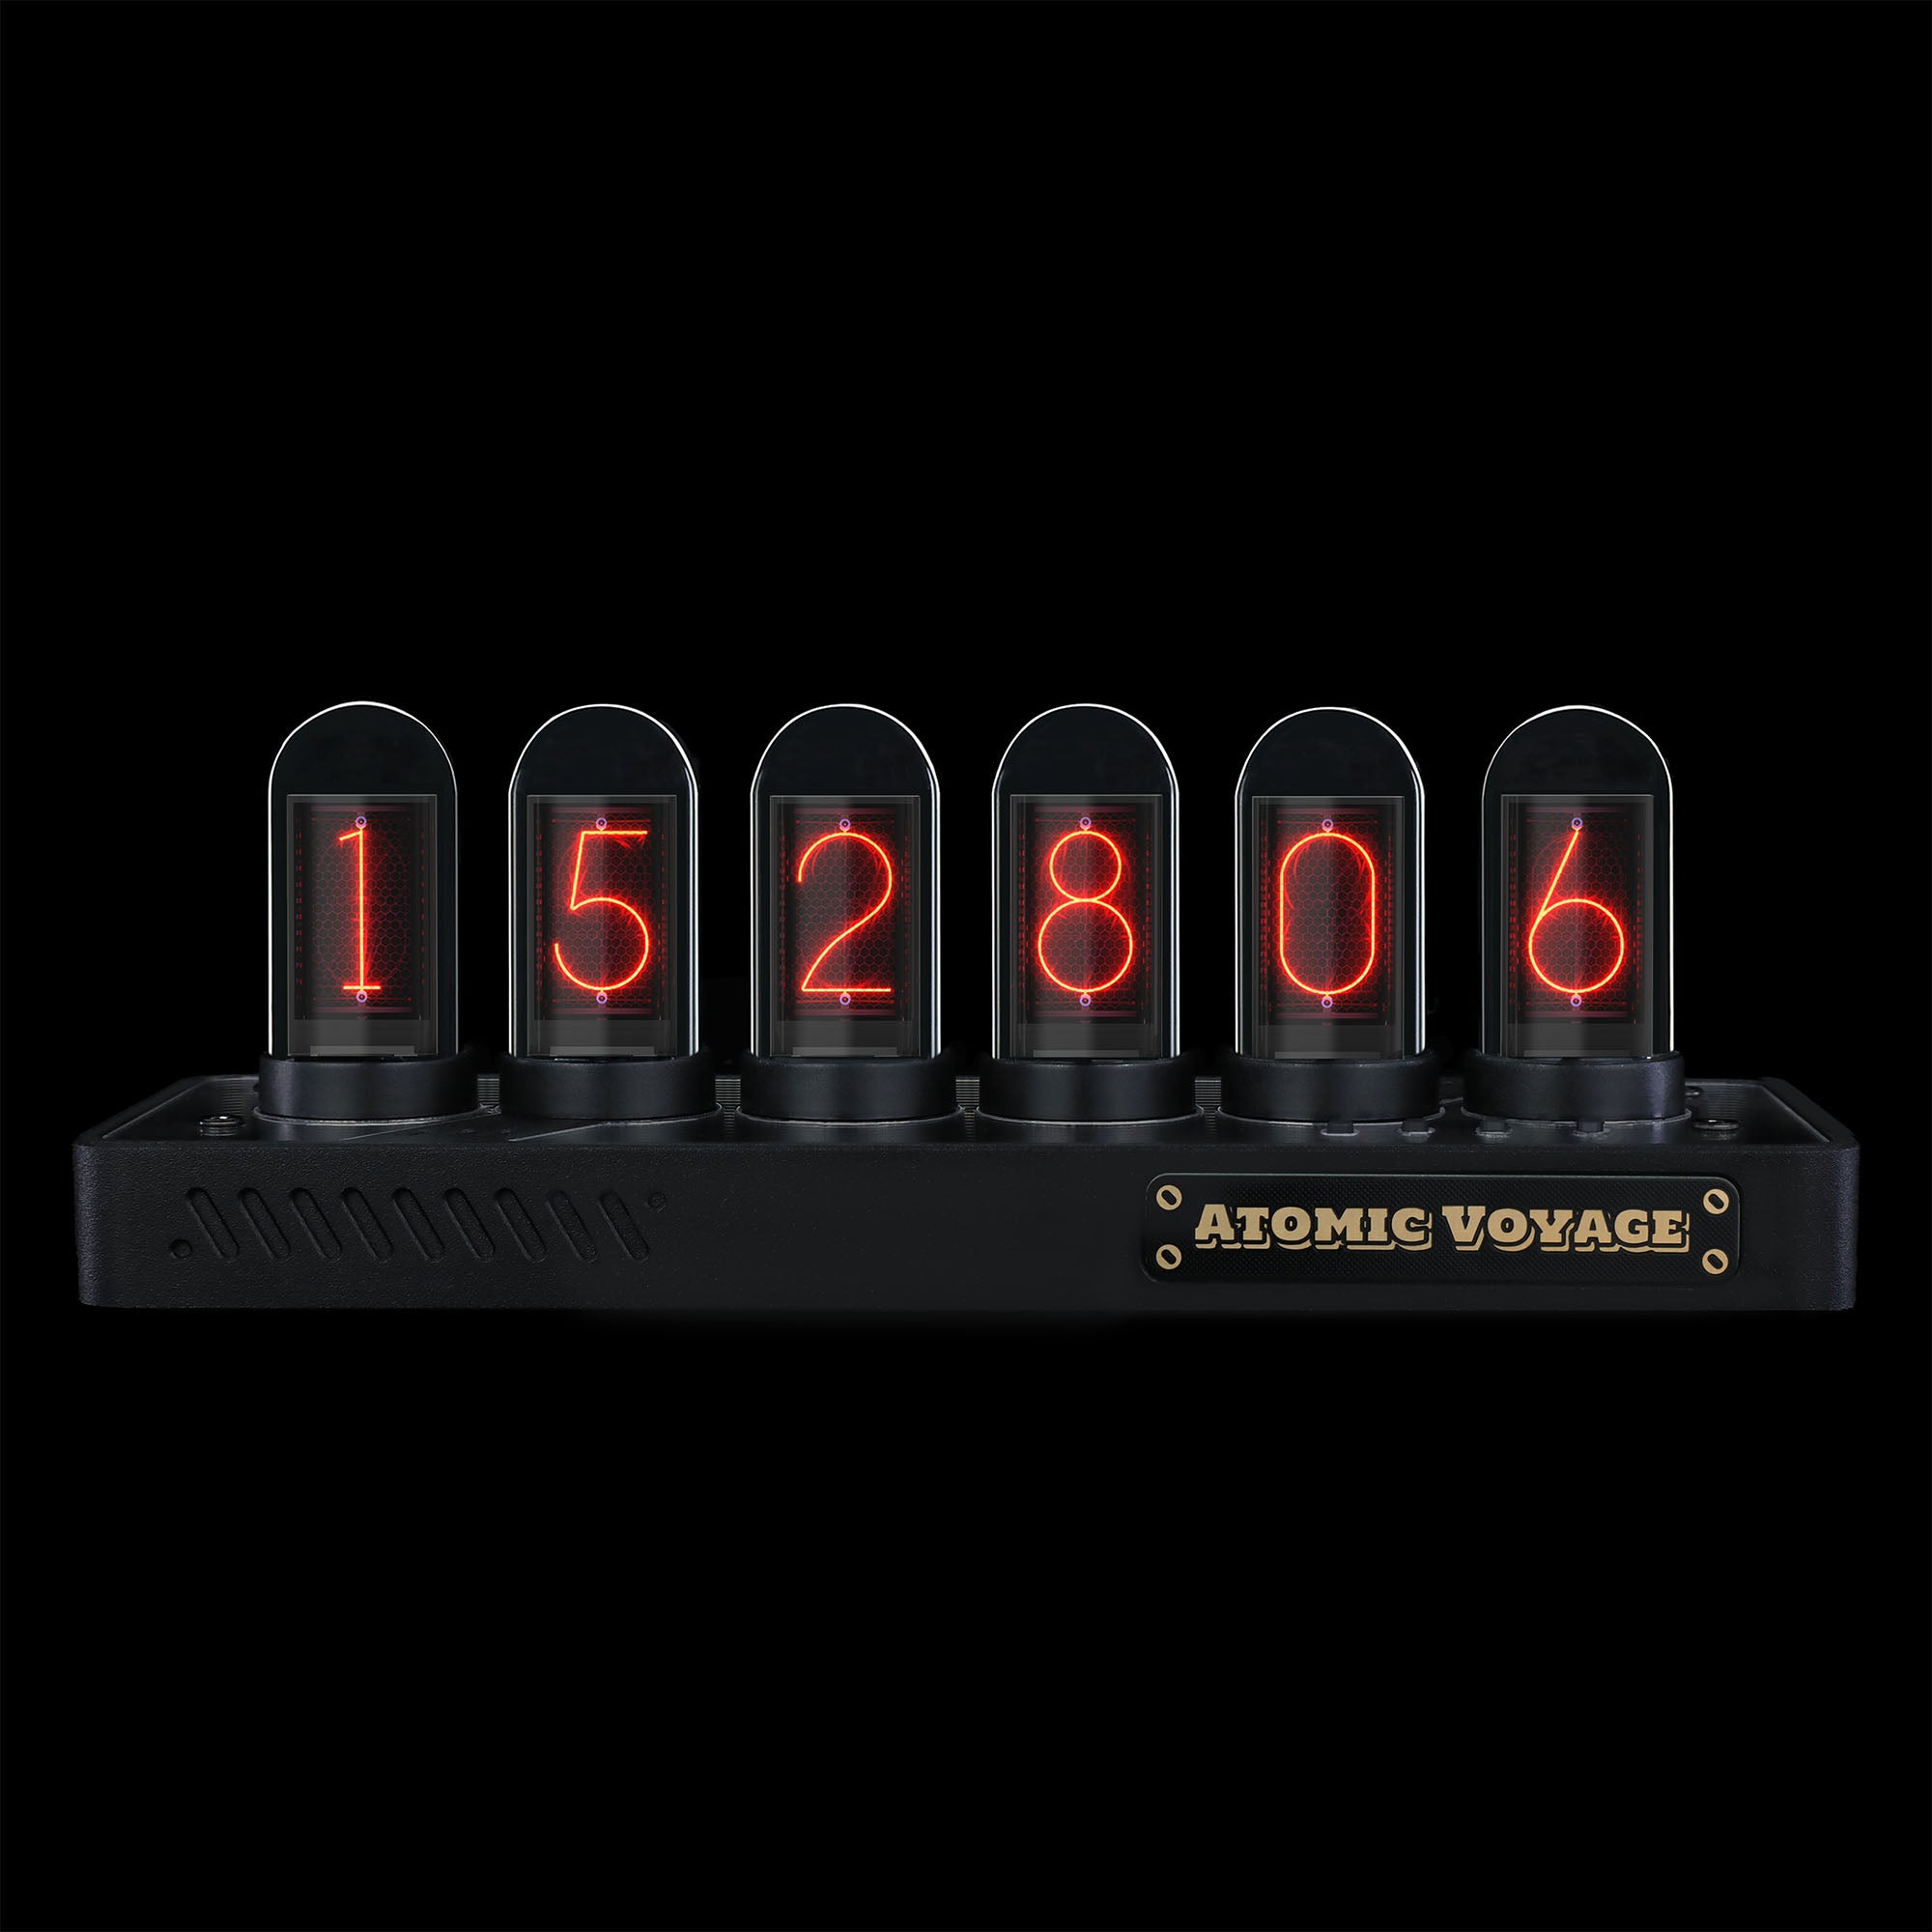
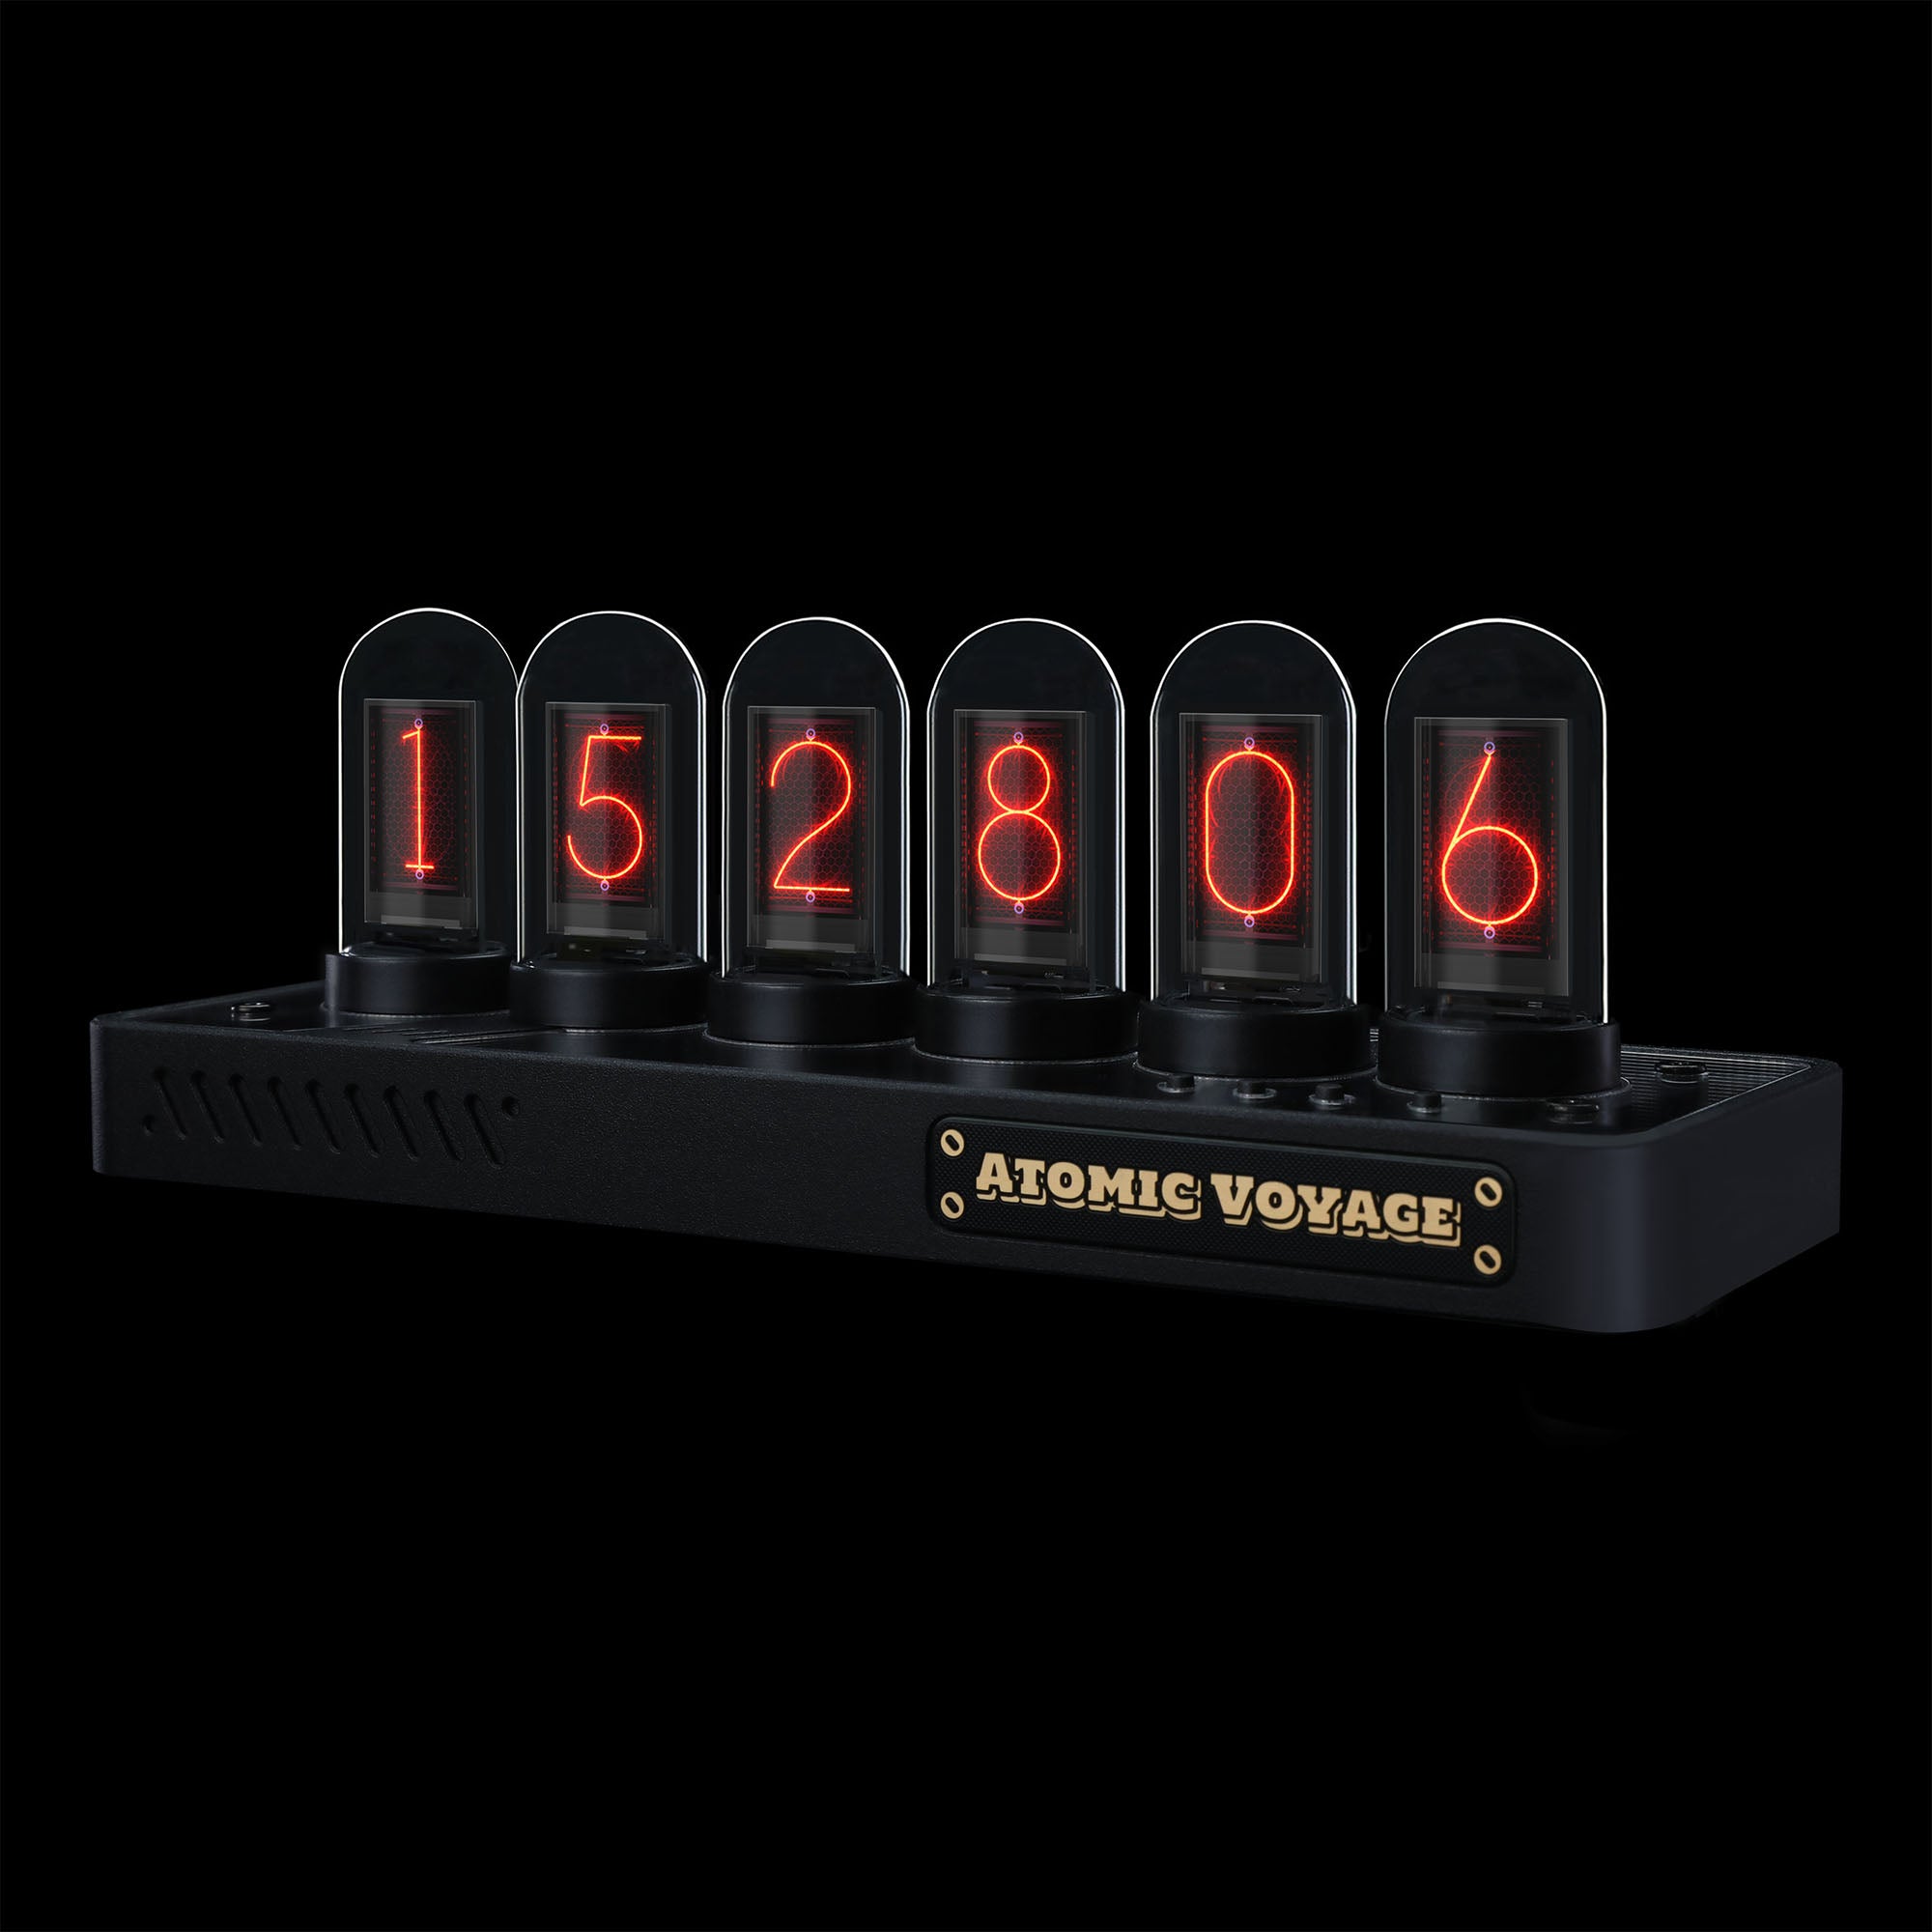
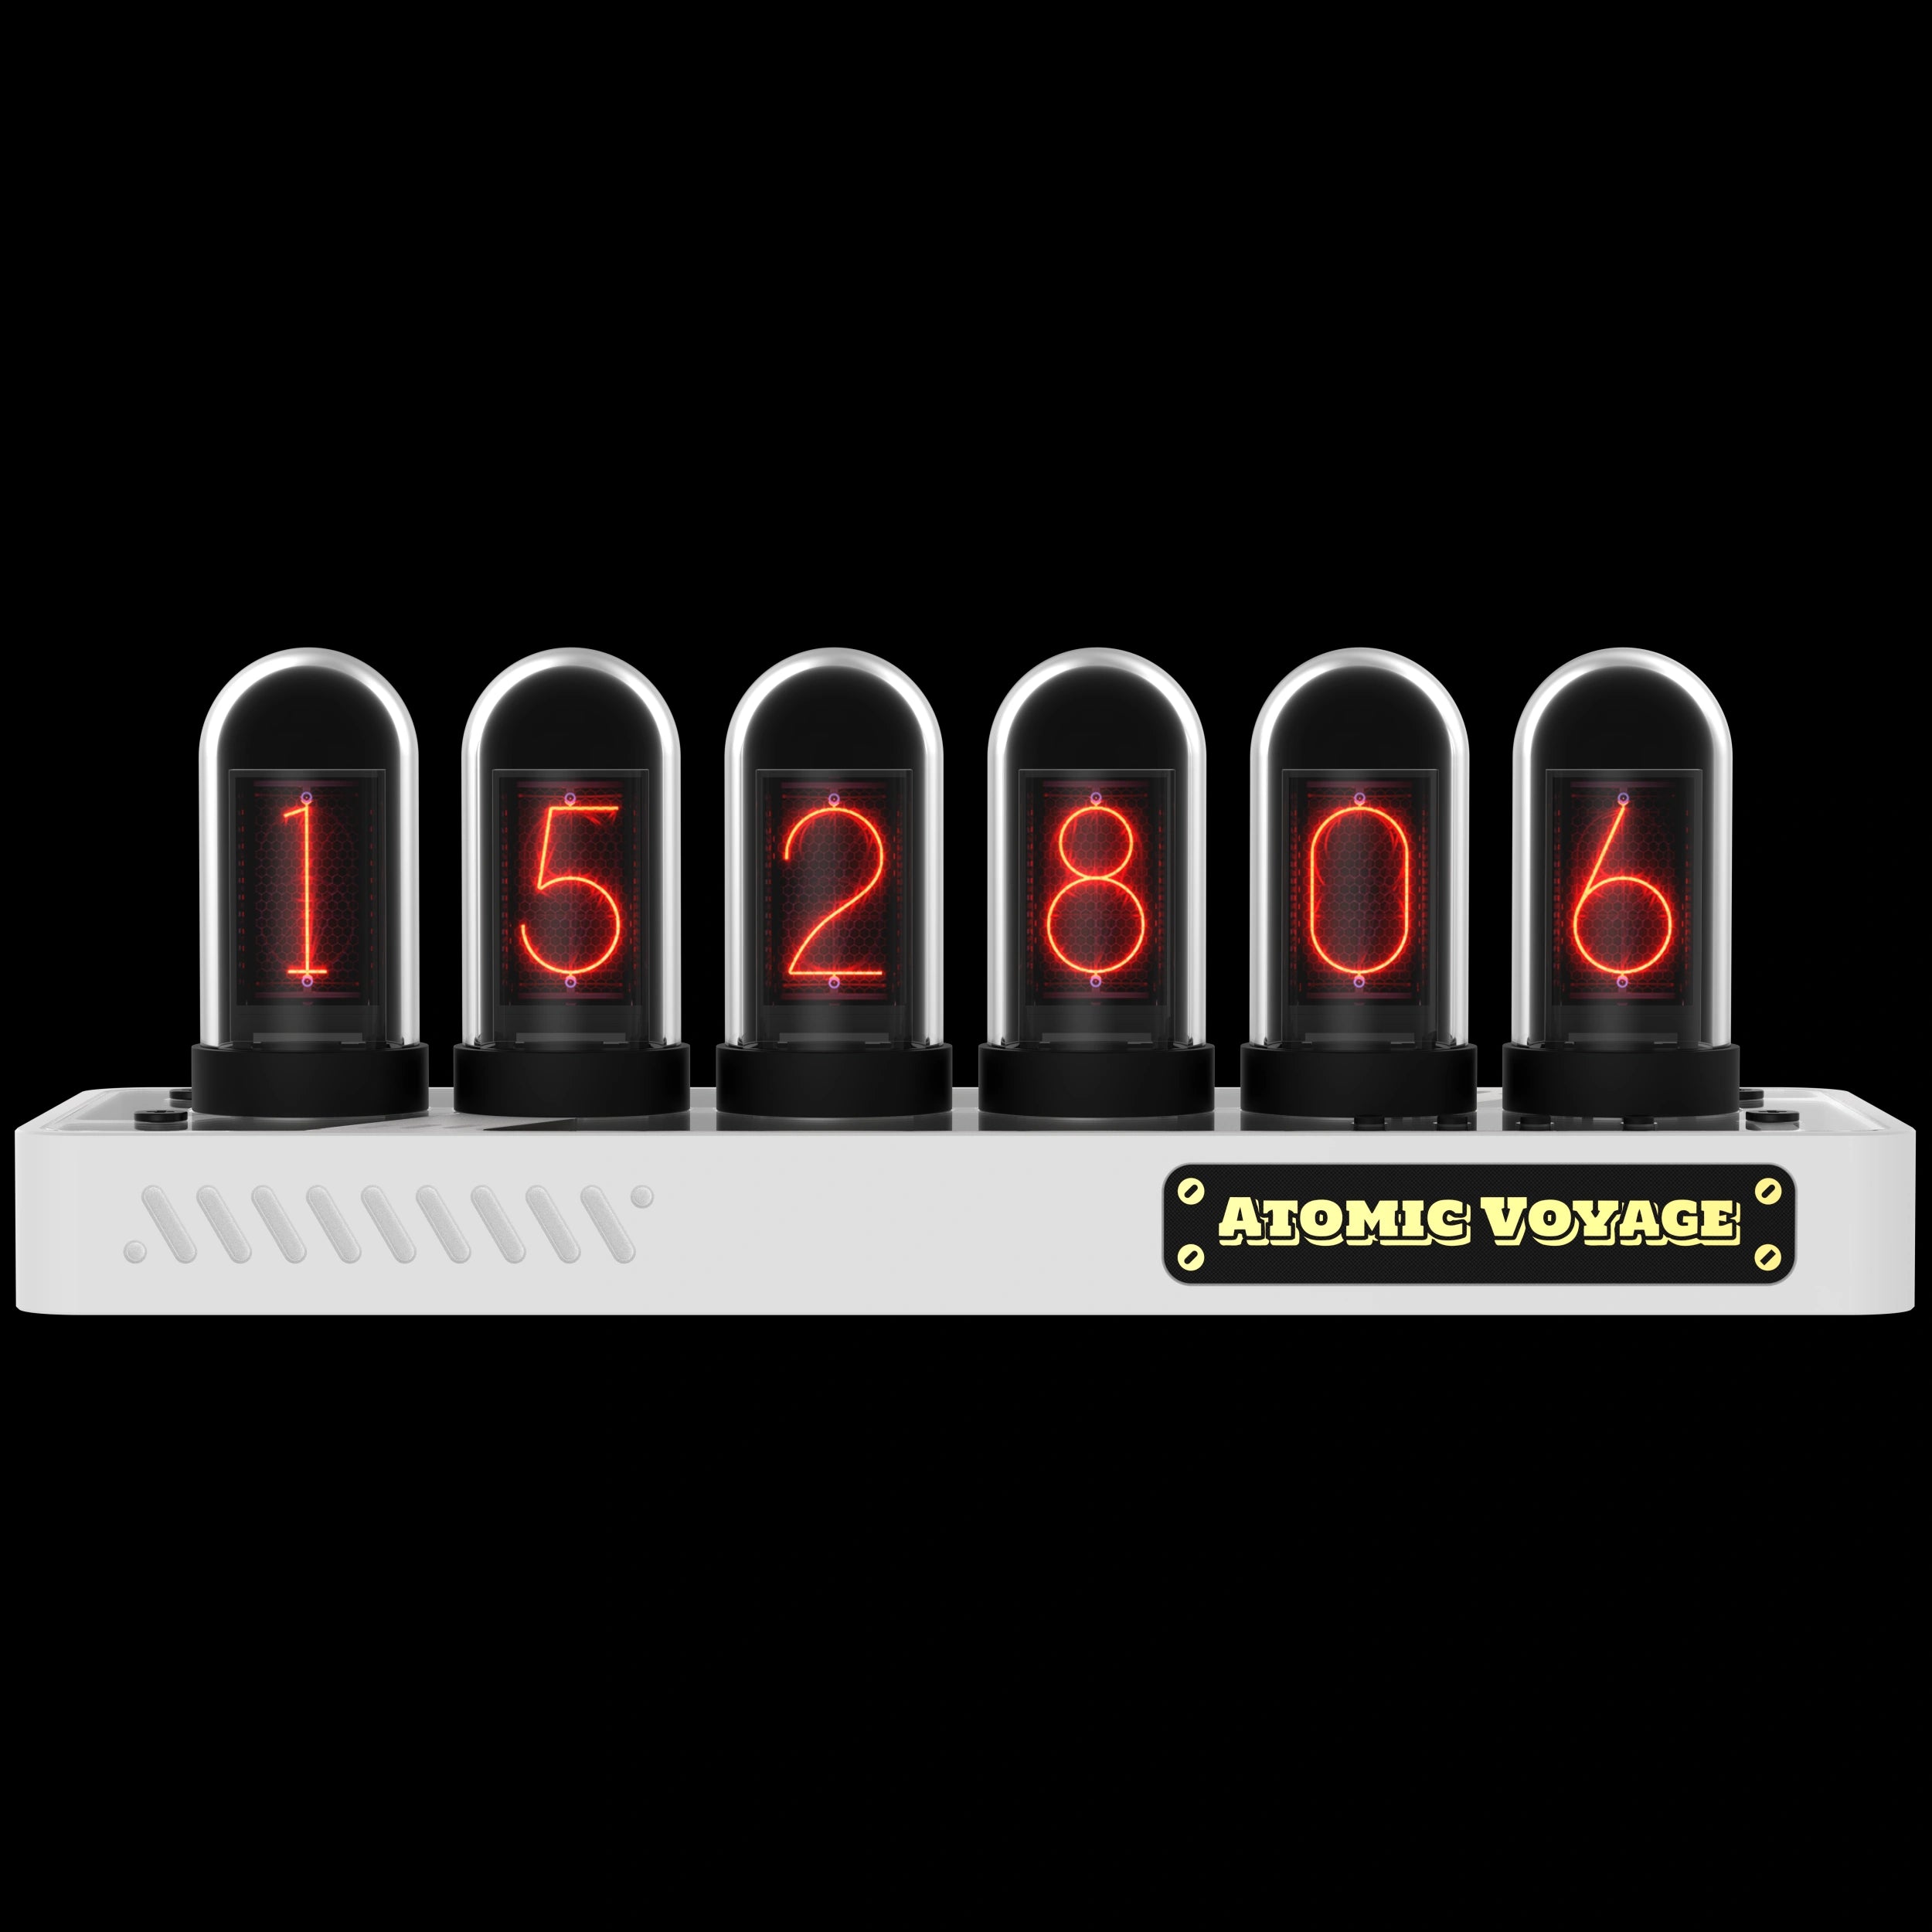
A warm Nixie-style glow in a black CNC-machined aluminum base, built as the flagship desk piece.
Ships from U.S. · 30-day returns
Add the display dome
PRO
If you have any questions, you are always welcome to contact us. We'll get back to you as soon as possible, within 24 hours on weekdays.
-
Shipping Information
We ship from our U.S. warehouse.
• Standard (2–7 business days)
Orders $0.00–$128.99 → $7.99
Orders $129.00 and up → Free
• Expedited (2–5 business days) → $11.99
• Express (1–3 business days) → $19.99 -
Customer Support
If you have any questions, please send an email to our support email address and we will respond within 48 hours.
Alternatively, you can contact us by opening the “Contact Us” page on the website.
-
Return & Refund
You can request our Return & Refund Service:
Unshipped Orders: Returns can be requested unconditionally. Please contact support@atomicvoyage.com to cancel your order.
Please log in to your Atomic Voyage account to cancel your order and the payment will be automatically refunded to your account.
Shipped Orders: Returns can be requested unconditionally within 30 days of the date of purchase.
The shipping fee can be removed due to product quality problems or wrong products sent, otherwise the customer has to pay the shipping fee.
Returned products should be confirmed that there is no human-caused damage affecting secondary sales, and the condition is new or nearly new, otherwise it will not be accepted.
Return & Refund Service will not be provided where:
It is requested beyond 30 days of the date of purchase.
A product sent to Atomic Voyage for Return & Refund Service does not include all original accessories, attachments, packaging or gift(s) included in original order, or any item is not in new or like-new condition, i.e. with cracks, dents or scratches.
Damage is caused to the product by improper installation, operation or unauthorized use or modification of the product.

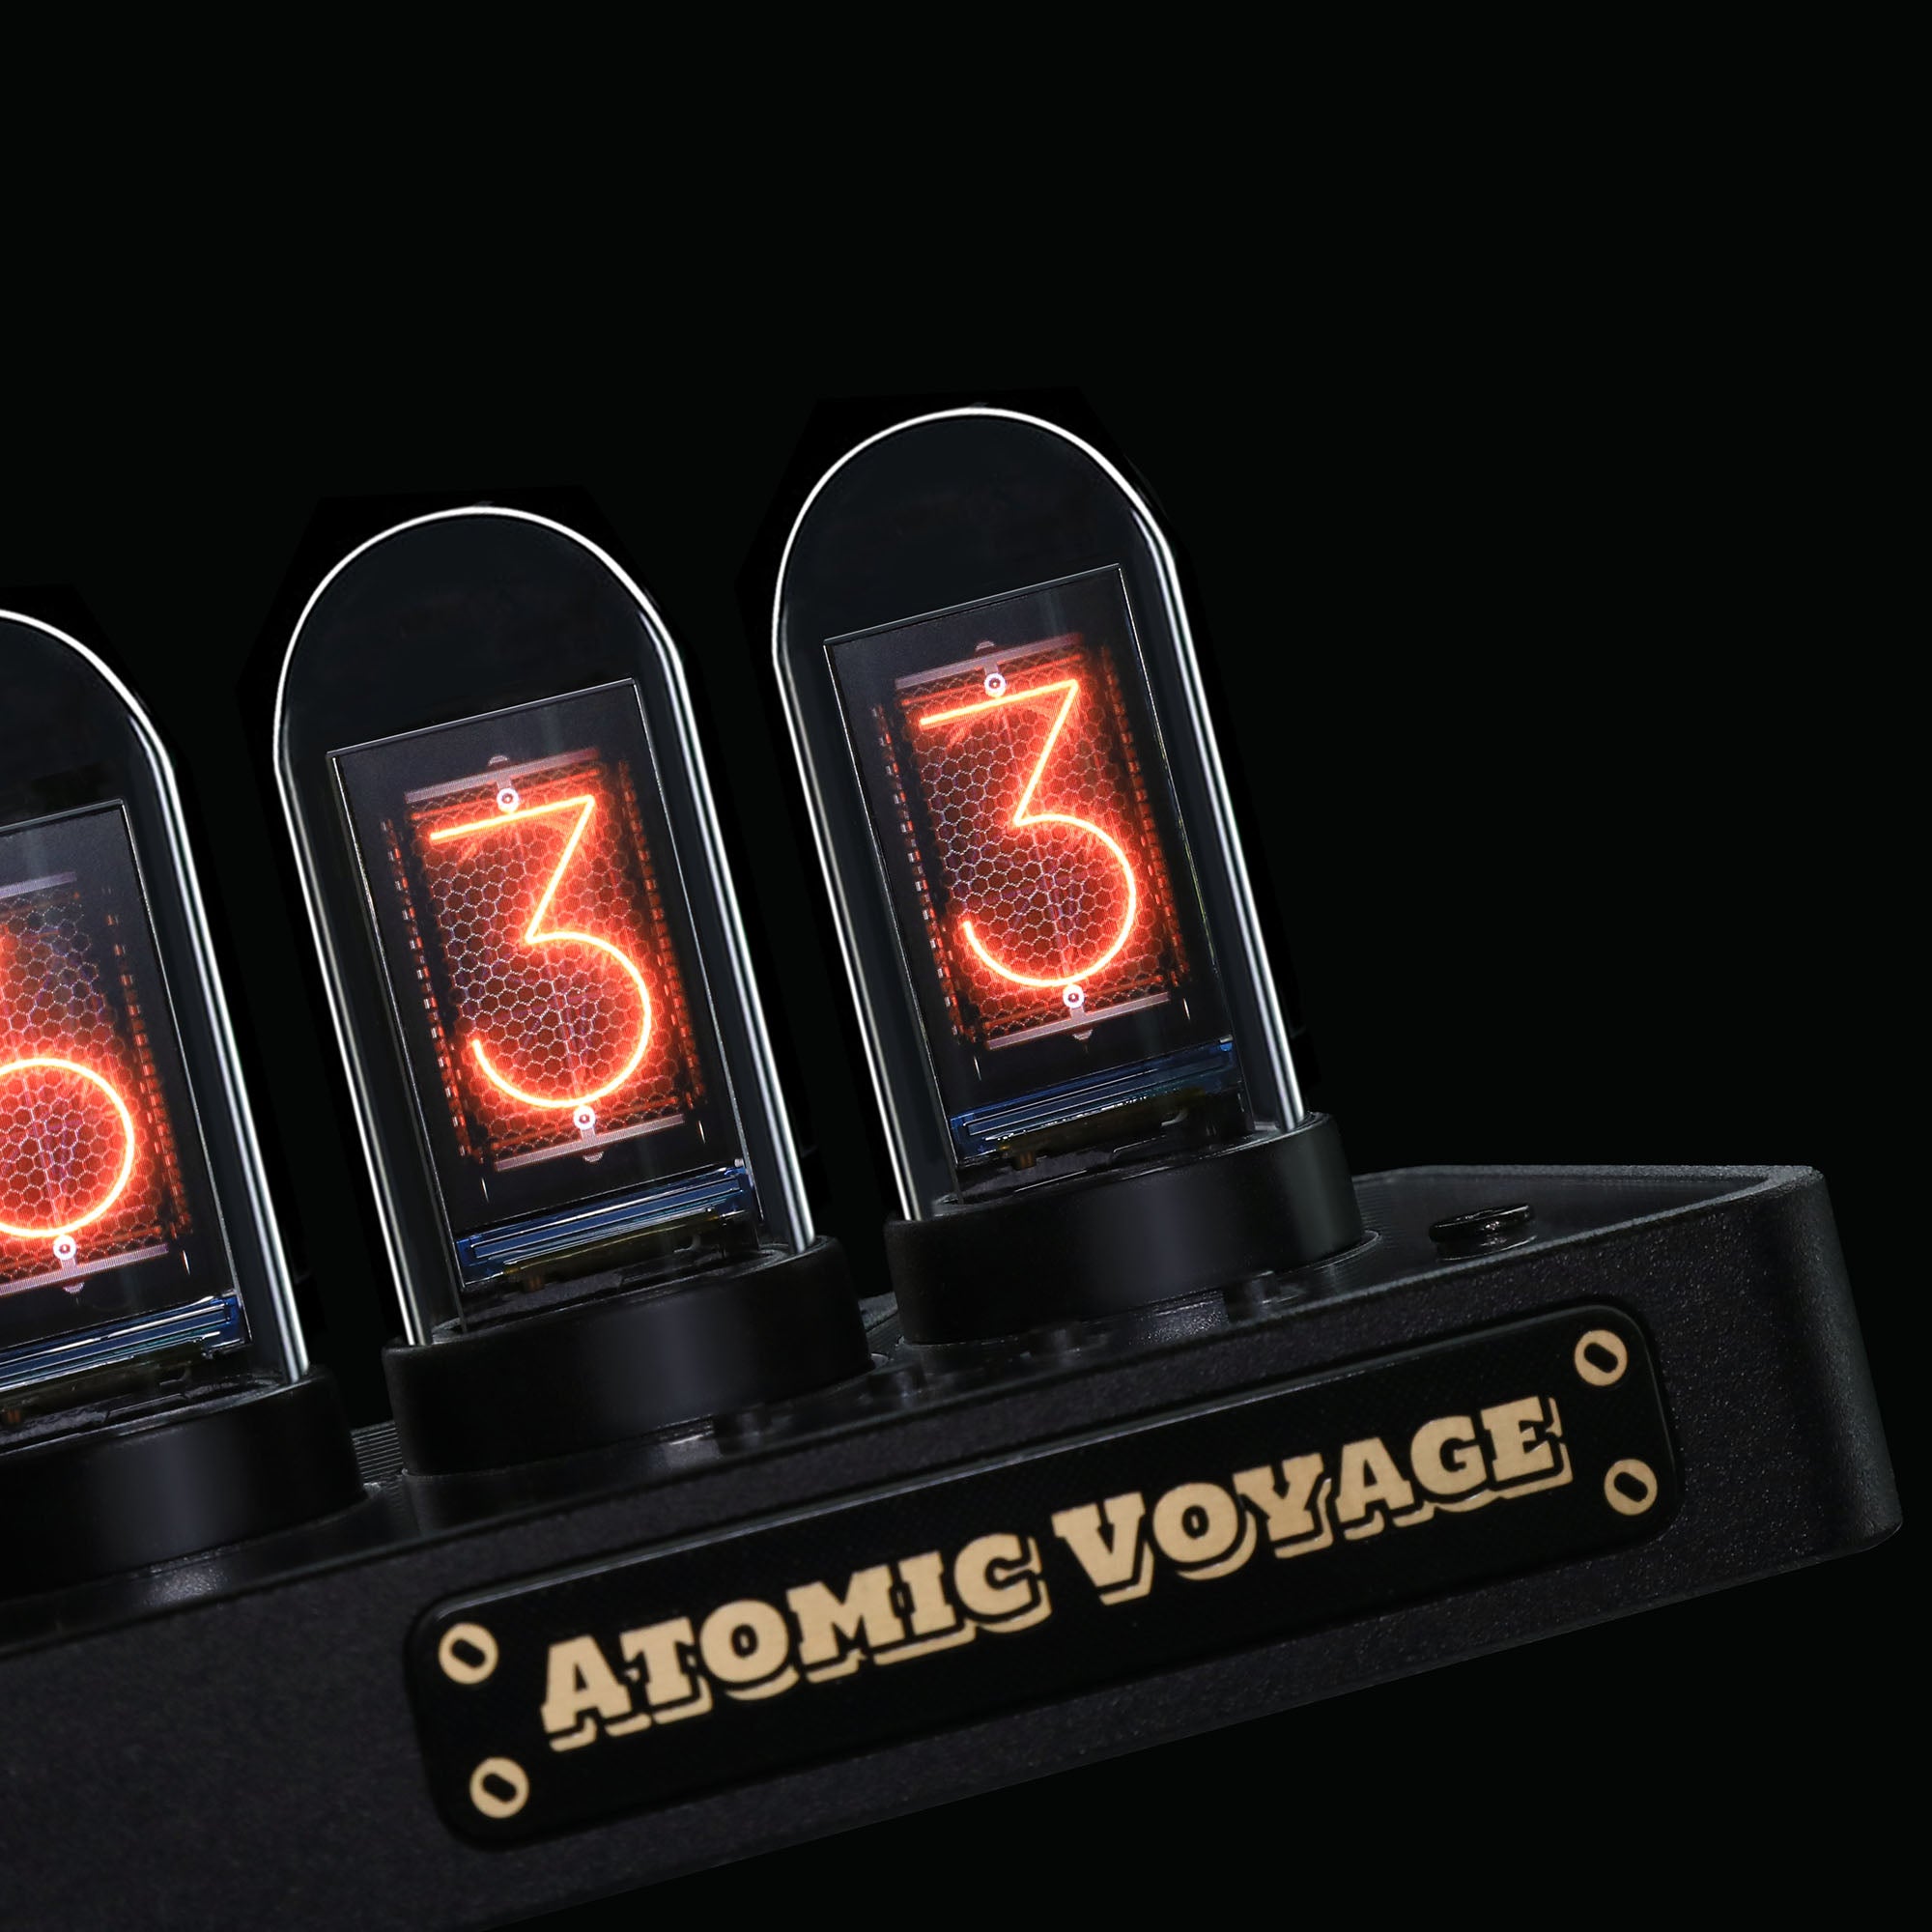
Vintage glow, modern space.


Minimal. Retro. Playful.
A style for every mood.


Weather at a glance.
See temperature, conditions,
and forecast updates right on the clock.


Always on Time.
Connect to Wi-Fi once.
PR2 keeps time in sync.
Time zones and automatic updates happen quietly in the background.


Precision you can feel.
Machined from CNC-machined aluminum.
Finished in black.
Designed to feel as solid as it looks.
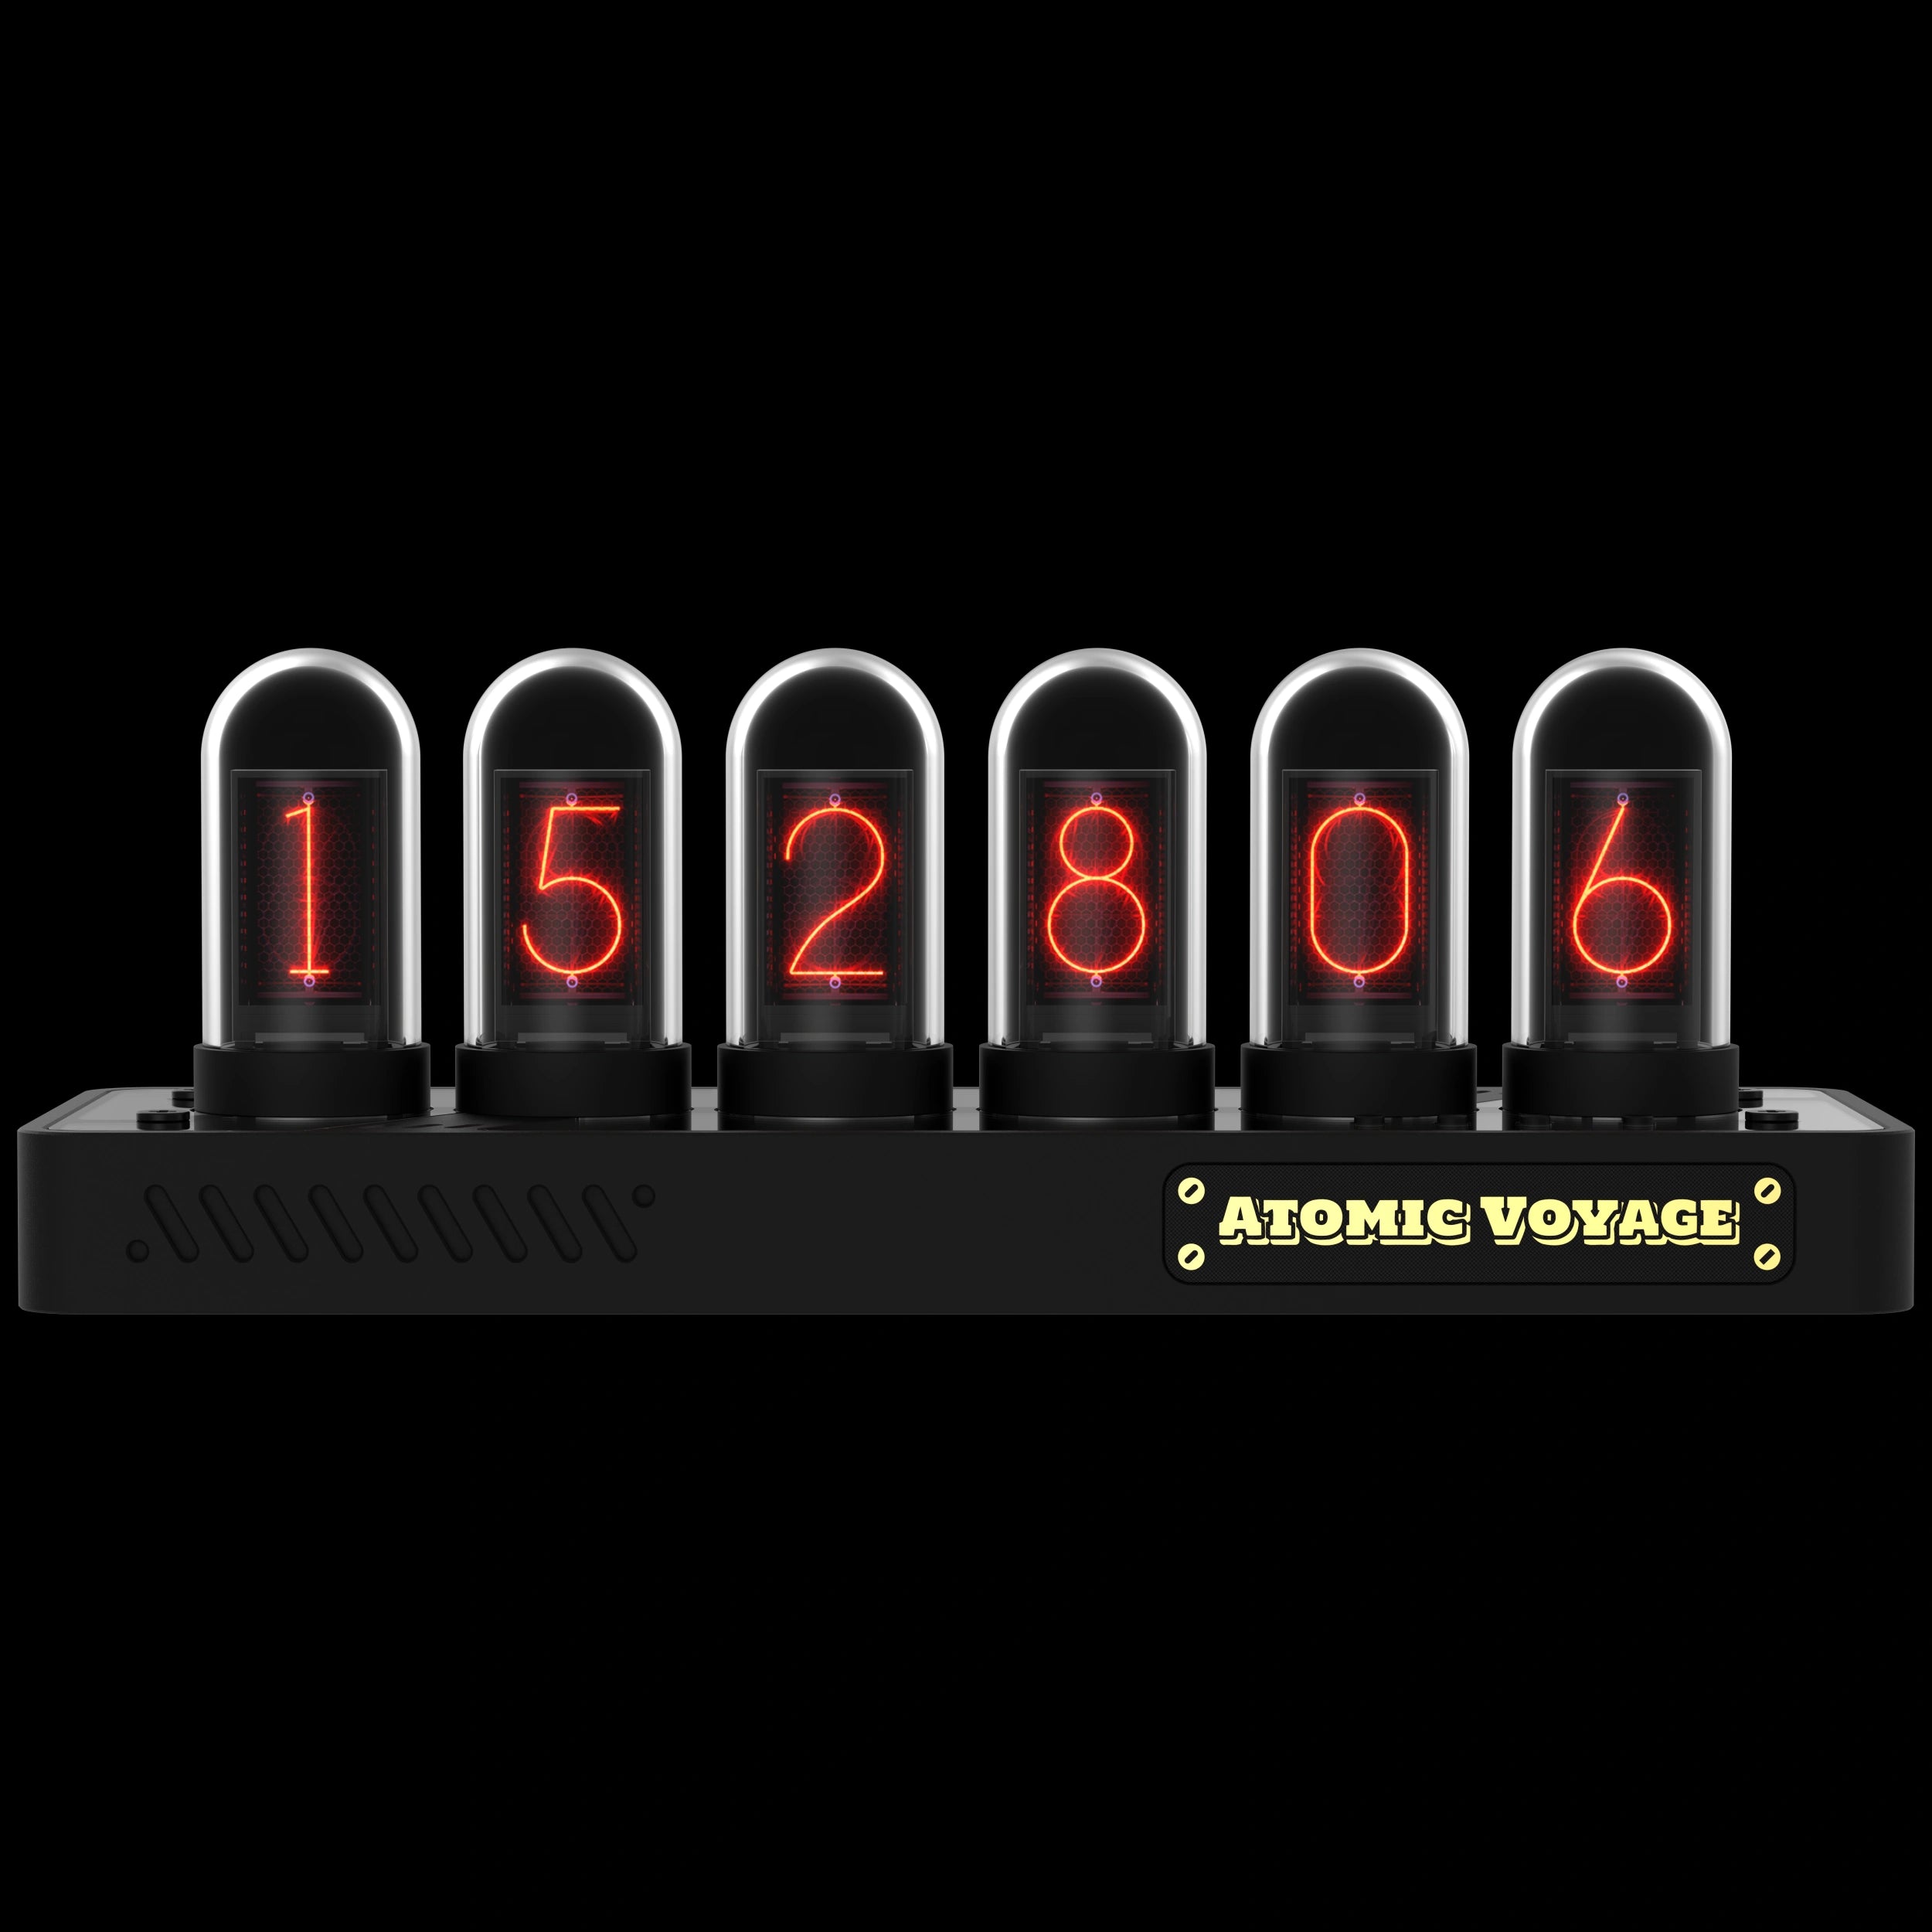
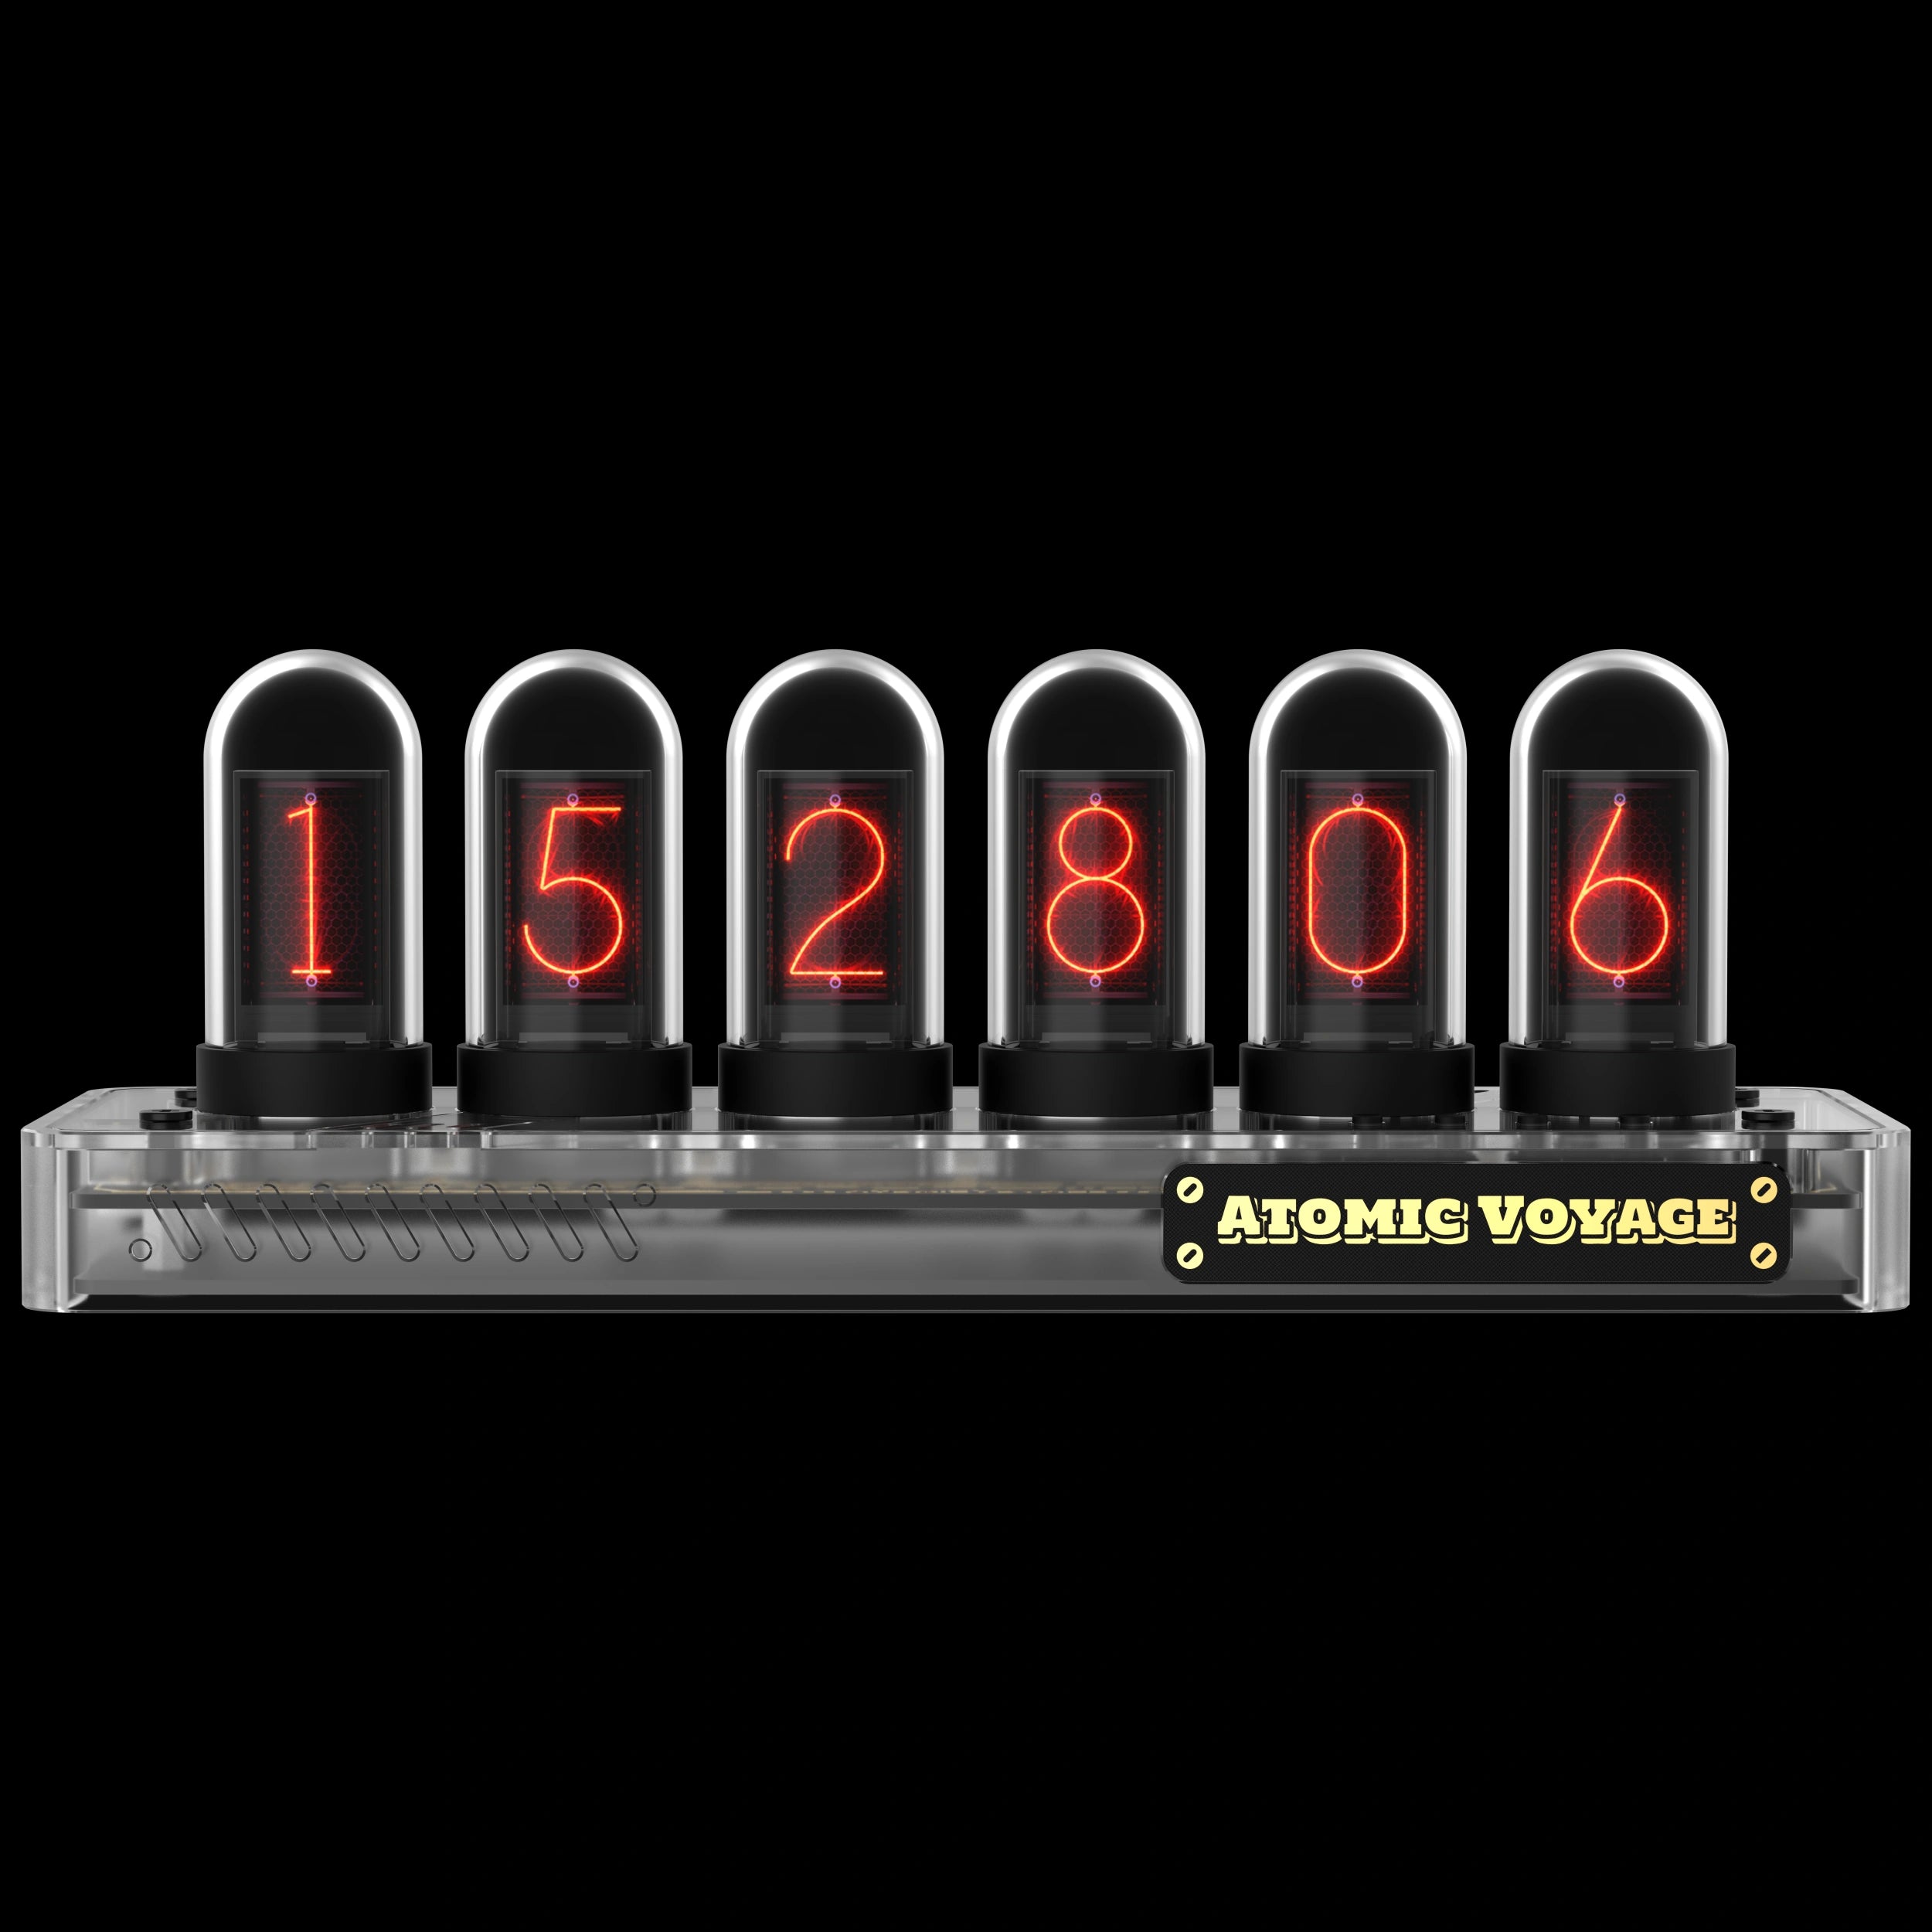
Find the right Nixie-style clock.
IPS, PR2, PR3, and PRO share the same core features.
Choose the base that fits your space.
Questions, answered.
What’s the difference between IPS, PR2, PR3, and PRO models?
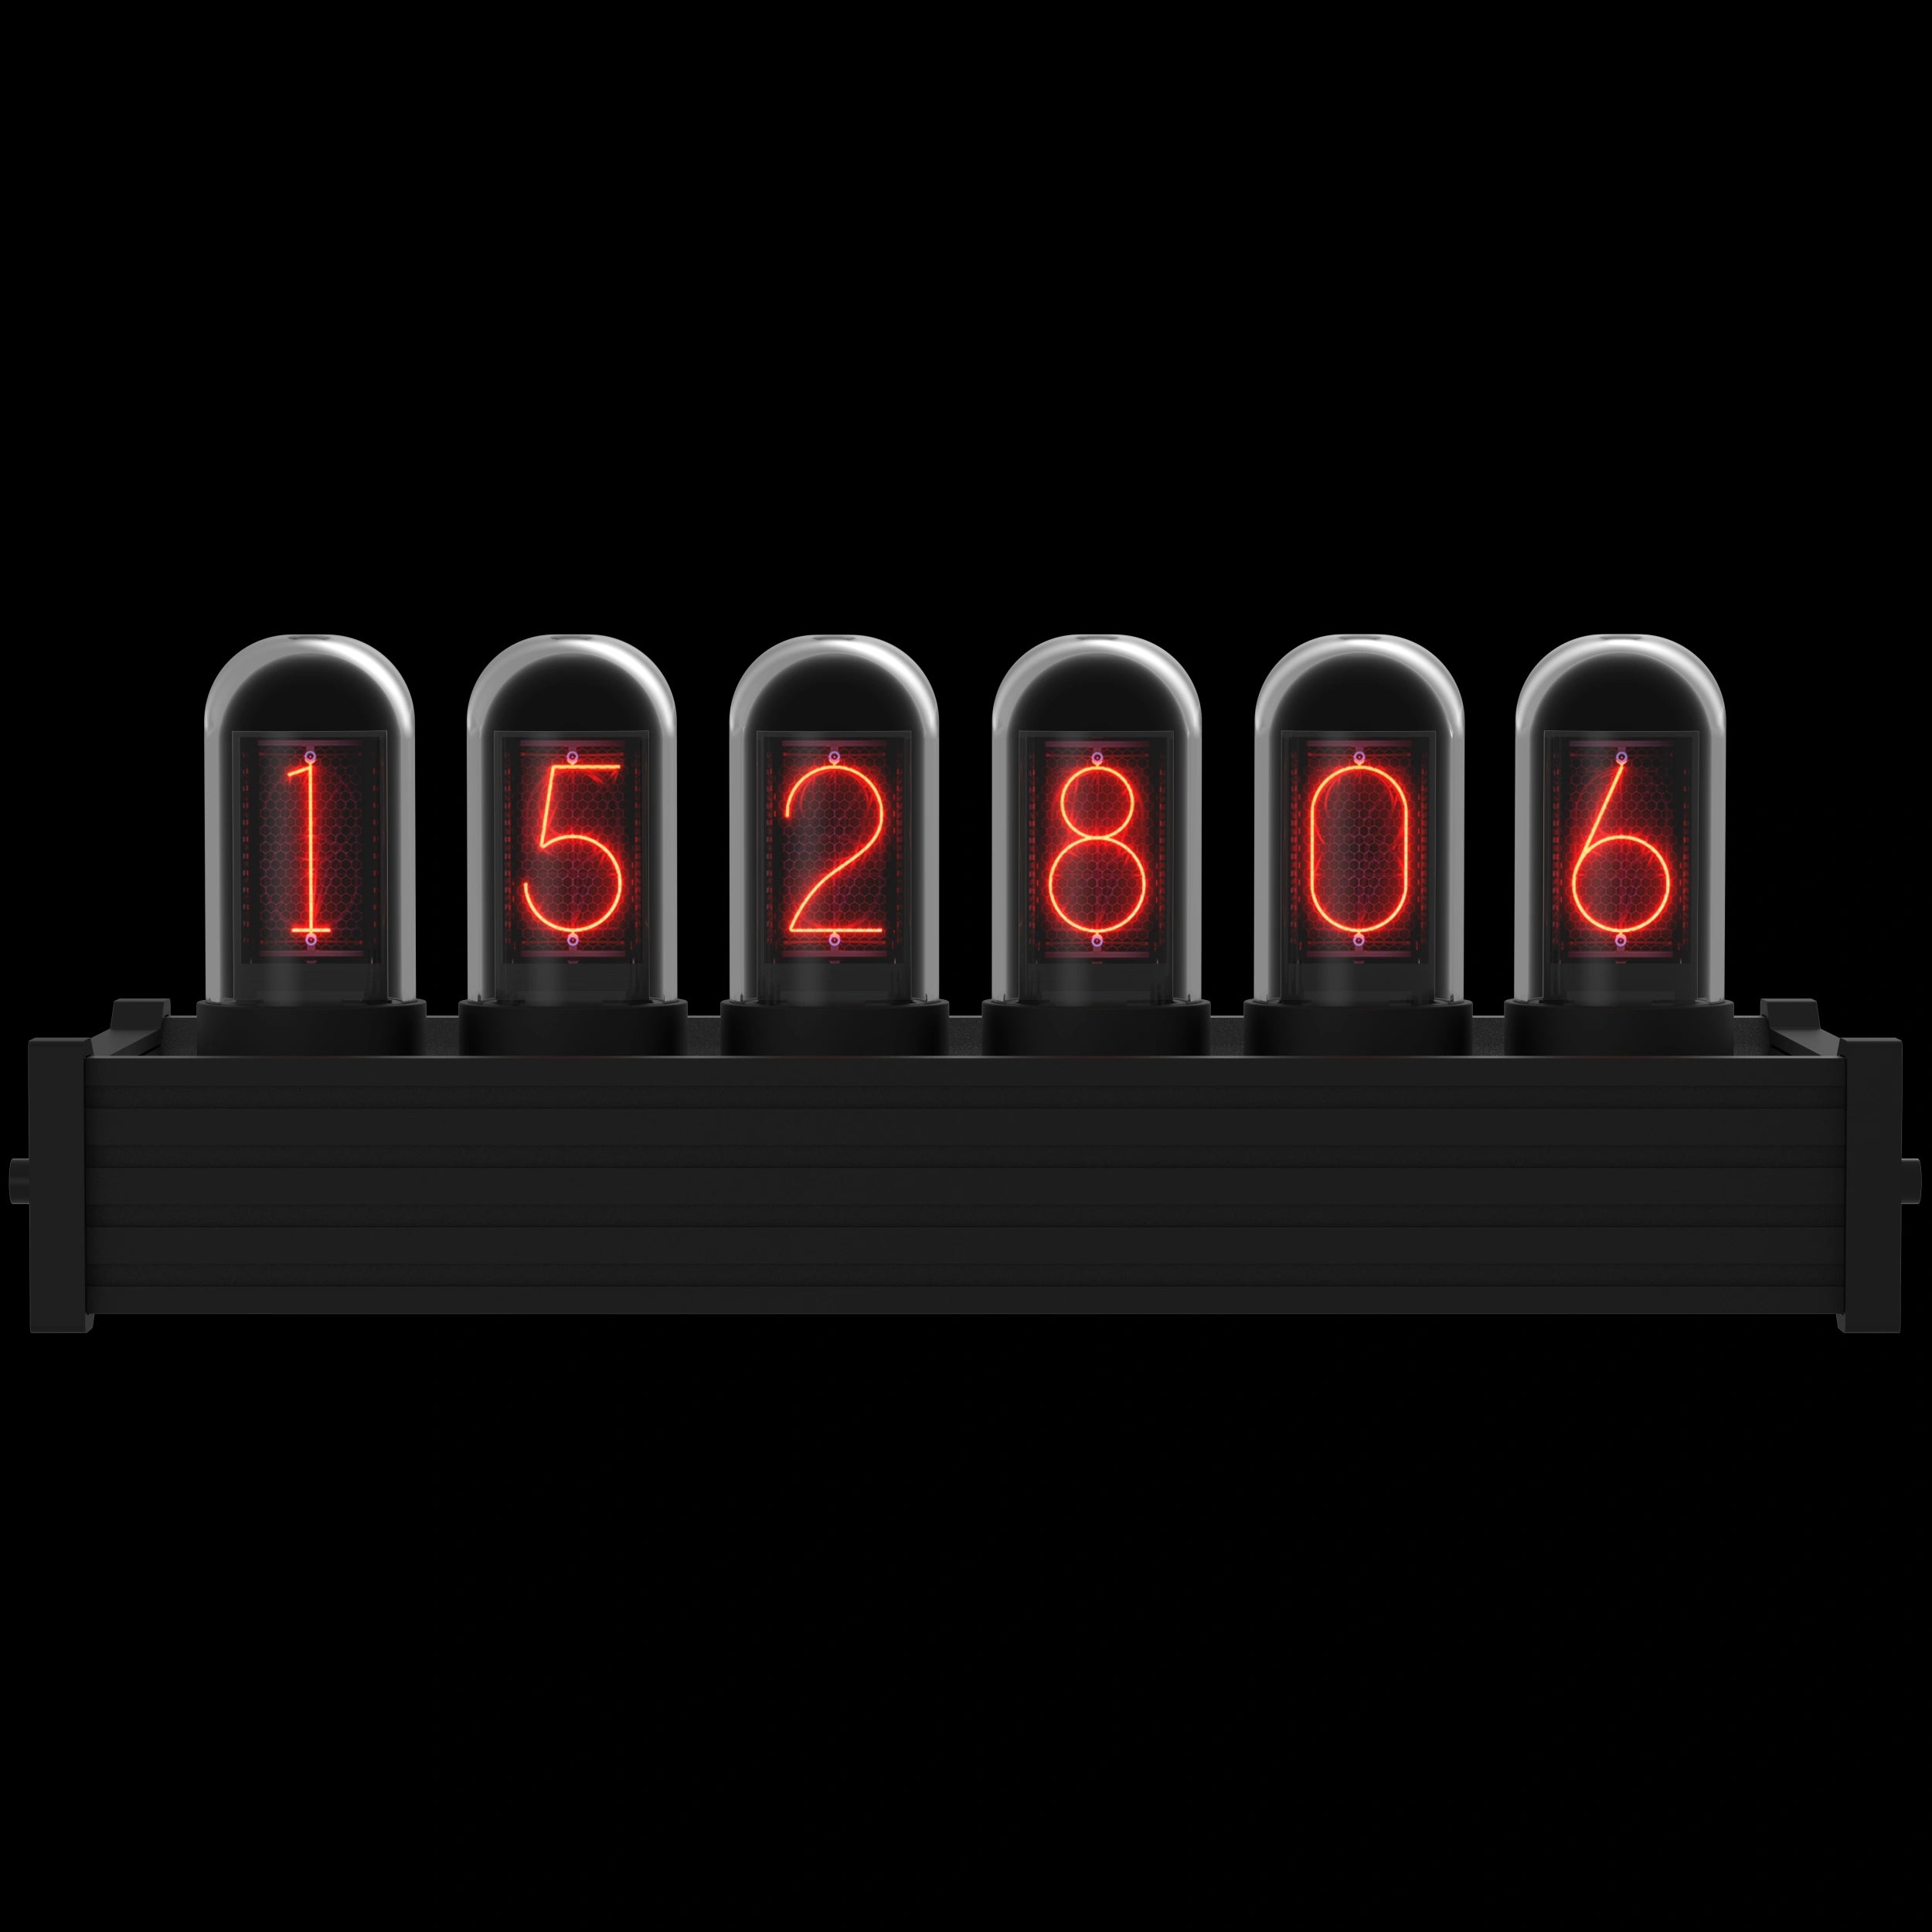
The only difference is the base material: IPS (aluminum alloy), PR2/PR3 (strengthened nylon), PRO (CNC-milled aluminum).
How do I exit the settings and return to the clock display?
Press Button D to exit settings and return to the clock display.
What kind of power supply does it need?
Any 5V / 1A USB adapter works. (Adapter not included.)
Does the clock need to stay connected to a computer?
No. A computer is only required for setup or uploading faces. Daily use just needs USB-C power.
How does the clock keep accurate time?
With built-in Wi-Fi and NTP sync, your clock stays always accurate.
Do I need to update firmware to use Web Control Center?
Yes. All units ship with factory firmware. Updating is optional — but required for Web Control Center features.
What if I don’t want to update?
No problem. The clock works normally out of the box. Updating only unlocks Web Control Center features.
Tech Specs
What’s in the Box
Clock Unit
USB-C Cable

User Manual

Hex Key (Allen Key)

Non-slip Pad


Setup Guide/ Download Driver
Atomic Voyage Clock New WebUI Control Center Guide
Read moreabout Atomic Voyage Clock New WebUI Control Center Guide
How to Easily Set Up and Use Your Atomic Voyage WFD II
Read moreabout How to Easily Set Up and Use Your Atomic Voyage WFD II
Setup IPS Clock in a few easy steps